Mercedes Xentry Diagnostics is a sophisticated software suite designed for in-depth diagnostics and programming of Mercedes-Benz vehicles. It offers mechanics, technicians, and workshops the capability to rapidly and effectively diagnose and resolve issues, leading to quicker repairs, reduced costs, and enhanced customer satisfaction. This guide will walk you through the key aspects of using Xentry Diagnostics.
Xentry Diagnostics is a software platform used to interface with the electronic control units (ECUs) of Mercedes-Benz, Smart, and sometimes Maybach vehicles. This software provides:
Mercedes Xentry Diagnostics is a robust tool that empowers automotive professionals to diagnose and repair Mercedes-Benz vehicles efficiently.
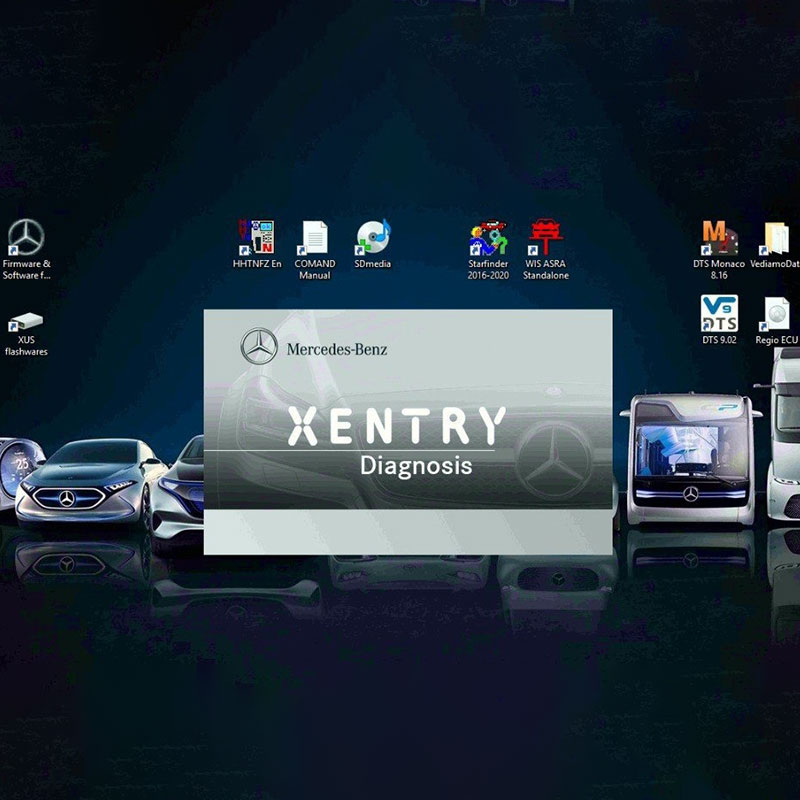
 Xentry Diagnostics software interface displaying vehicle diagnostic options
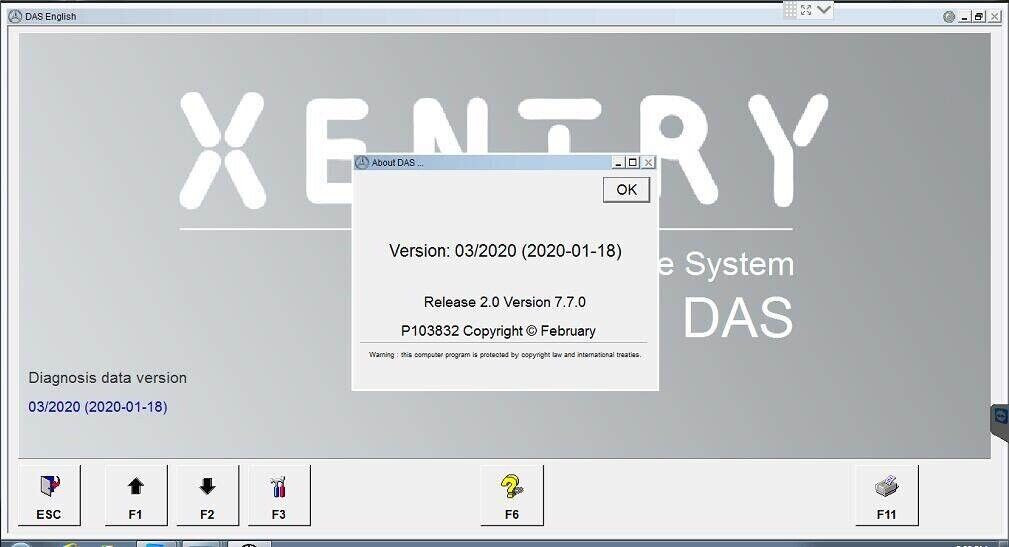
There are several versions of Xentry, and choosing the right one depends on your setup:
Note: Using cracked versions of Xentry is not recommended due to legality, instability, and lack of support.
Before you begin using Mercedes Xentry Diagnostics, verify that your system meets the necessary requirements and is compatible with the software. The minimum system requirements are:
Once you’ve confirmed your system meets these requirements, follow these steps to install the software:
Note that an active internet connection is essential for software updates and access to online resources. Furthermore, certain features may necessitate additional hardware, such as a diagnostic scanner.
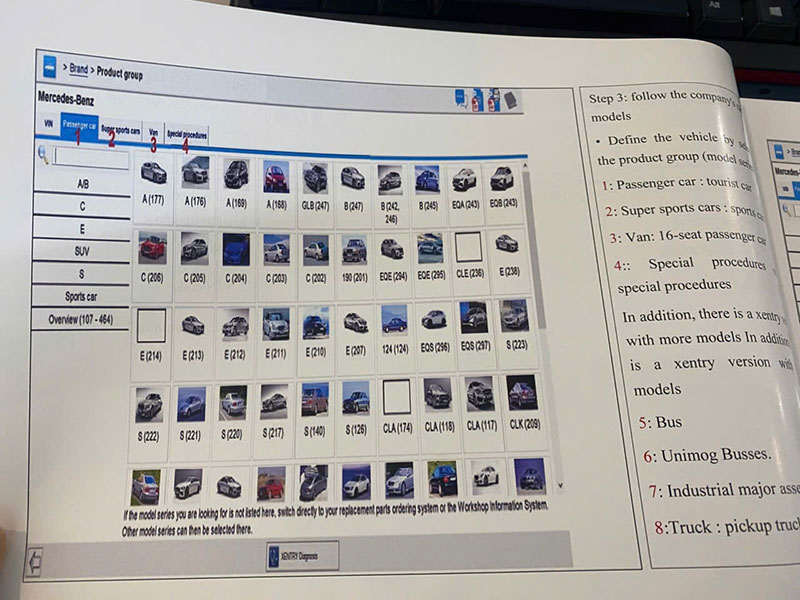
The Mercedes Xentry Diagnostics main interface is designed for ease of use and intuitive navigation. It comprises a series of tabs that provide access to different functionalities:
Enables users to select and work with different vehicles.
=> For deeper understanding, you can read the book Master Mercedes diagnostic with Xentry/DAS, WIS, STARFINDER
Provides access to the latest information and updates from Mercedes-Benz, along with a searchable database of information and troubleshooting guides.
=> You can watch this video for better understanding about Mercedes Xentry software:
Allows programming and coding of various vehicle modules, enabling changes to vehicle settings and software updates.
Access diagnostic information, including fault codes, live data, and system statuses. The guided troubleshooting feature is also located here.

Generate and view reports of diagnostic and programming work performed on a vehicle.
Access help resources and the user manual for the software.
The toolbar at the top of the screen provides quick access to frequently used functions like saving and printing diagnostic information.
The Diagnostics tab is the primary tool for diagnosing and troubleshooting issues with Mercedes-Benz vehicles. It provides access to comprehensive diagnostic information, including fault codes, real-time data, and system statuses.
To utilize the diagnostics feature, connect a diagnostic scanner to the vehicle’s OBD-II port and select the vehicle in the Vehicle Selection tab. Once a connection is established, you can access diagnostic information by selecting the appropriate tab and sub-tab within the Diagnostics tab.
The guided troubleshooting feature is particularly valuable for less experienced users or for tackling complex problems. It offers step-by-step instructions for diagnosing and resolving issues.
You can also save, print, or export diagnostic information for later review or to share with a technician.
The Programming tab enables the programming and coding of various modules in the vehicle, allowing for modifications to vehicle settings and software updates.
To use the programming feature, connect a diagnostic scanner to the vehicle’s OBD-II port and select the vehicle from the Vehicle Selection tab. Once connected, access programming options by selecting the appropriate tab and sub-tab within the Programming tab.
The software offers a variety of programming options, including adding new keys, programming control units, updating software versions, and configuring settings. It also provides instructions and prompts to guide you through the programming process.
Note that programming functions may vary depending on the vehicle model and model year, and some functions may require additional hardware or access codes.
The Information tab provides access to the latest information and updates from Mercedes-Benz. It also includes a search function to navigate the software’s database of information and troubleshooting guides.
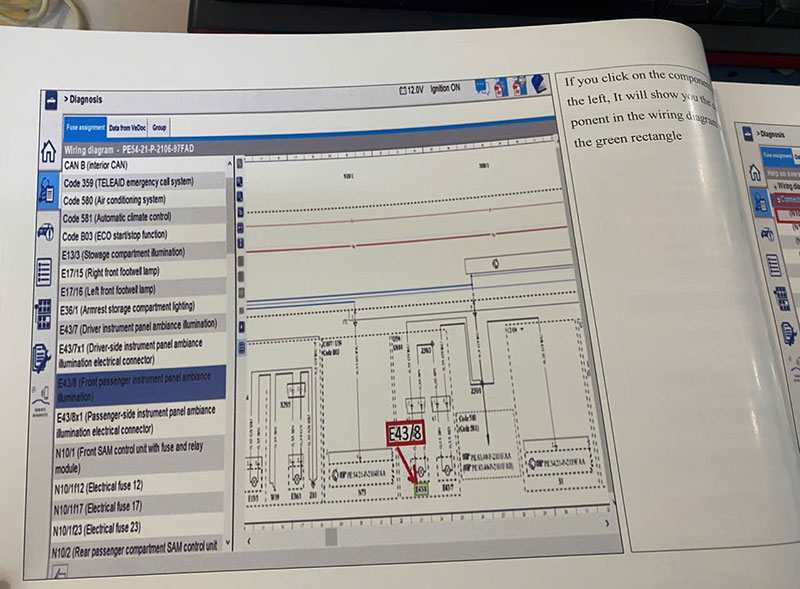
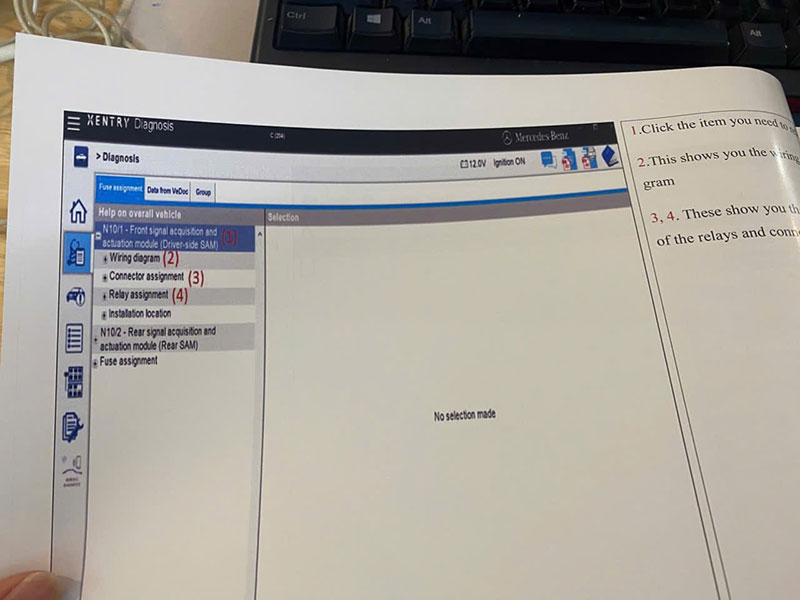
Access information by selecting the appropriate tab and sub-tab within the Information tab. Available resources include owner’s manuals, technical service bulletins, wiring diagrams, and repair instructions.
The search feature allows you to quickly locate the information you need by entering keywords or phrases. This is especially useful for finding specific information or troubleshooting guides related to a particular problem or vehicle.
You can save, print, or export the information for later reference or to share with a technician.
The Maintenance tab provides access to information and tools for performing regular maintenance on Mercedes-Benz vehicles. It includes features for tracking service intervals and scheduling upcoming maintenance tasks.
Access maintenance information by selecting the appropriate tab and sub-tab within the Maintenance tab. Available resources include recommended service intervals, maintenance schedules, and parts lists.
The software allows you to schedule and track upcoming maintenance tasks, which is helpful for staying on top of service requirements and planning for future maintenance.
You can also save, print, or export the maintenance information for later reference or to share with a technician.
The Troubleshooting tab offers a comprehensive collection of troubleshooting guides and instructions for resolving common problems with Mercedes-Benz vehicles. Access troubleshooting information by selecting the appropriate tab and sub-tab within the Troubleshooting tab.
Troubleshooting guides are organized by vehicle systems and components, making it easy to find the information you need. The guides provide detailed instructions, diagrams, and recommended tools and procedures for resolving problems.
The search feature allows you to quickly find specific troubleshooting guides by entering keywords or phrases related to the issue.
In addition to troubleshooting guides, the software provides access to a database of technical service bulletins (TSBs), which contain information on known issues and recommended repairs for specific vehicle models and years.
Remember that troubleshooting guides and TSBs are for informational purposes only and should be used in conjunction with the vehicle’s service manual and guidance from a qualified technician.
Mercedes Xentry Diagnostics is a powerful diagnostic and troubleshooting tool for Mercedes-Benz vehicles. The user-friendly interface allows easy access and navigation through various diagnostic and troubleshooting functions. The software provides a wide range of diagnostic options, including:
Additionally, it offers troubleshooting guides and instructions for resolving common problems and a database of technical service bulletins (TSBs) with information on known issues and recommended repairs.
Remember that the software’s functions may vary depending on the vehicle model and year, and some functions may require additional hardware or access codes. Always use the software in conjunction with the vehicle’s service manual and professional guidance from a qualified technician. For best support, contact AutoExplain via WhatsApp: +1(936)2896695.