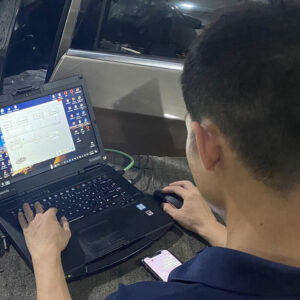
Mercedes Sprinter 909f Code: Expert Solutions & Diagnostics
Here’s how to address the Mercedes Sprinter 909f code efficiently. AutoExplain.com offers specialized services to accurately diagnose and resolve issues indicated by the Mercedes Sprinter 909f code, ensuring optimal vehicle performance. We deliver expert guidance and support.
Table of Contents
Toggle1. Understanding the Mercedes Sprinter 909f Code
The Mercedes Sprinter 909f code often relates to issues within the vehicle’s electronic systems, specifically the braking system. Accurately diagnosing and addressing these codes requires a comprehensive understanding of the Sprinter’s architecture and diagnostic tools.
1.1 Common Issues Associated with the 909f Code
The 909f code can point to various problems, including:
- Brake wear sensor malfunction
- Issues within the instrument cluster
- Wiring harness faults
- ECU (Engine Control Unit) or ABS (Anti-lock Braking System) module errors
1.2 Initial Steps for Diagnosing the 909f Code
Begin with these steps when you encounter the 909f code:
- Visual Inspection: Check brake pads, sensors, and wiring for physical damage.
- Diagnostic Scan: Use an OBD-II scanner to read and clear the code, noting any related codes.
- Review Technical Bulletins: Check for manufacturer-specific service bulletins or recalls related to the code.
- Check the brake fluid level: Ensure that the fluid level meets manufacture requirements.
2. Detailed Diagnostic Procedures
To accurately pinpoint the cause of the 909f code, follow these detailed diagnostic steps.
2.1 Inspecting Brake Wear Sensors
Brake wear sensors play a crucial role in triggering the 909f code.
2.1.1 How Brake Wear Sensors Work
Each brake wear sensor is a simple electrical circuit that closes when the brake pad wears down to a specific thickness. This closed circuit sends a signal to the instrument cluster, which then illuminates the brake wear indicator.
2.1.2 Steps to Inspect Brake Wear Sensors
- Visual Check: Look for physical damage, corrosion, or broken wires.
- Continuity Test: Use a multimeter to check the continuity of each sensor. A closed circuit indicates that the sensor has been triggered due to brake pad wear.
- Resistance Measurement: Measure the resistance across the sensor terminals. An open circuit should show infinite resistance, while a closed circuit should show near-zero resistance.
- Wiring Inspection: Inspect the wiring harness connected to the sensors for any breaks, shorts, or corrosion.
2.2 Evaluating the Instrument Cluster
The instrument cluster is responsible for interpreting signals from the brake wear sensors and illuminating the brake wear indicator.
2.2.1 Testing the Instrument Cluster
- Bulb Test: As described in the manual, the brake wear indicator should illuminate briefly when the ignition is turned on. If it doesn’t, the bulb or LED may be faulty.
- Scan Tool Diagnostics: Use a DRBIIIt scan tool to diagnose the instrument cluster circuitry. Check for any stored codes related to the cluster itself.
- Wiring Inspection: Inspect the wiring harness connected to the instrument cluster for any damage or corrosion.
- Ground Connection Test:
- Verify the ground connections of the instrument cluster. Poor grounding can cause various electrical issues.
- Power Supply Test:
- Check the power supply to the instrument cluster using a multimeter to ensure it’s within the specified voltage range.
2.3 Analyzing Wiring Harness Issues
Wiring harness problems can cause the 909f code by disrupting the signal between the brake wear sensors and the instrument cluster.
2.3.1 Common Wiring Issues
- Corrosion: Moisture and road salt can corrode wiring connectors and terminals, leading to poor connections.
- Breaks: Physical stress or damage can cause wires to break, interrupting the circuit.
- Shorts: Wires can short to ground or to each other, causing incorrect signals.
2.3.2 Wiring Inspection Techniques
- Visual Inspection: Look for any signs of damage, corrosion, or wear on the wiring harness.
- Continuity Test: Use a multimeter to check the continuity of each wire in the harness, ensuring that there are no breaks.
- Short to Ground Test: Use a multimeter to check for any shorts to ground in the wiring harness.
- Voltage Drop Test: Perform a voltage drop test to identify areas of high resistance in the wiring harness.
2.4 Checking the ECU and ABS Module
In some cases, the 909f code may be related to issues within the ECU or ABS module.
2.4.1 ECU and ABS Module Diagnostics
- Scan Tool Diagnostics: Use a high-quality scan tool to check for any stored codes related to the ECU or ABS module.
- Software Updates: Ensure that the ECU and ABS module have the latest software updates installed.
- Module Testing: Perform module-specific tests using the scan tool to check for proper operation.
- Wiring Inspection: Inspect the wiring harnesses connected to the ECU and ABS module for any damage or corrosion.
- Power and Ground Checks: Verify that the ECU and ABS module are receiving proper power and ground.
3. Step-by-Step Repair Procedures
Once you’ve identified the root cause of the 909f code, follow these repair procedures to resolve the issue.
3.1 Replacing Faulty Brake Wear Sensors
If a brake wear sensor is found to be faulty, replace it with a new one.
3.1.1 Procedure
- Preparation:
- Gather necessary tools: wrench, socket set, and a new brake wear sensor.
- Safely lift the vehicle and remove the wheel.
- Removal:
- Disconnect the electrical connector from the old brake wear sensor.
- Remove the old sensor from the brake pad.
- Installation:
- Install the new brake wear sensor into the brake pad.
- Connect the electrical connector to the new sensor.
- Completion:
- Reinstall the wheel.
- Lower the vehicle.
- Test the brake wear indicator to ensure it functions correctly.
Alternative Text: New brake wear sensor for Mercedes Sprinter, electrical connector visible, ready for installation
3.2 Repairing or Replacing Wiring Harnesses
If the wiring harness is found to be damaged, repair or replace it as necessary.
3.2.1 Repair Procedure
- Preparation:
- Gather necessary tools: wire strippers, crimpers, electrical tape, and new wiring.
- Identify the damaged section of the wiring harness.
- Repair:
- Cut out the damaged section of the wiring.
- Strip the ends of the remaining wires.
- Crimp new wire sections onto the existing wires.
- Insulate the connections with electrical tape.
- Completion:
- Secure the repaired wiring harness.
- Test the circuit to ensure it functions correctly.
3.2.2 Replacement Procedure
- Preparation:
- Gather necessary tools: wrench, socket set, and a new wiring harness.
- Disconnect the battery to prevent electrical shorts.
- Remove any components that are blocking access to the wiring harness.
- Removal:
- Disconnect all electrical connectors from the old wiring harness.
- Remove the old wiring harness from the vehicle.
- Installation:
- Install the new wiring harness into the vehicle.
- Connect all electrical connectors to the new wiring harness.
- Completion:
- Reinstall any components that were removed.
- Reconnect the battery.
- Test the circuit to ensure it functions correctly.
3.3 Addressing Instrument Cluster Issues
Instrument cluster problems may require specialized repair or replacement.
3.3.1 Repair Options
- Resoldering: If the issue is due to a faulty solder joint, resoldering the connection may resolve the problem.
- Component Replacement: If a specific component is faulty, replacing it may fix the issue.
- Professional Repair Services: Consider sending the instrument cluster to a professional repair service for diagnosis and repair.
3.3.2 Replacement Procedure
- Preparation:
- Gather necessary tools: wrench, socket set, and a new instrument cluster.
- Disconnect the battery to prevent electrical shorts.
- Remove any trim pieces that are blocking access to the instrument cluster.
- Removal:
- Disconnect all electrical connectors from the old instrument cluster.
- Remove the old instrument cluster from the vehicle.
- Installation:
- Install the new instrument cluster into the vehicle.
- Connect all electrical connectors to the new instrument cluster.
- Completion:
- Reinstall any trim pieces that were removed.
- Reconnect the battery.
- Test the instrument cluster to ensure it functions correctly.
3.4 ECU and ABS Module Solutions
ECU and ABS module issues may require reprogramming or replacement.
3.4.1 Reprogramming
- Preparation:
- Ensure you have the correct software and a compatible scan tool.
- Connect the scan tool to the vehicle.
- Reprogramming:
- Follow the scan tool’s instructions to reprogram the ECU or ABS module.
- Ensure a stable power supply during the reprogramming process.
- Completion:
- Verify that the reprogramming was successful.
- Clear any stored codes.
- Test the system to ensure it functions correctly.
3.4.2 Replacement
- Preparation:
- Gather necessary tools: wrench, socket set, and a new ECU or ABS module.
- Disconnect the battery to prevent electrical shorts.
- Remove any components that are blocking access to the ECU or ABS module.
- Removal:
- Disconnect all electrical connectors from the old ECU or ABS module.
- Remove the old ECU or ABS module from the vehicle.
- Installation:
- Install the new ECU or ABS module into the vehicle.
- Connect all electrical connectors to the new ECU or ABS module.
- Completion:
- Reinstall any components that were removed.
- Reconnect the battery.
- Program the new module using a compatible scan tool.
- Test the system to ensure it functions correctly.
4. Advanced Diagnostic Tools and Techniques
Using advanced diagnostic tools can significantly improve the accuracy and efficiency of diagnosing the 909f code.
4.1 Using Oscilloscopes
An oscilloscope can be used to analyze the signals from the brake wear sensors and the instrument cluster. This can help identify issues such as signal distortion or intermittent connections.
4.1.1 Setup and Usage
- Connection: Connect the oscilloscope probes to the appropriate terminals on the brake wear sensor circuit or the instrument cluster.
- Signal Analysis: Analyze the waveform displayed on the oscilloscope to identify any anomalies in the signal.
- Intermittent Issues: Use the oscilloscope to monitor the signal over time and identify any intermittent issues.
4.2 Utilizing Advanced Scan Tools
Advanced scan tools provide in-depth diagnostic capabilities, including the ability to read live data, perform component tests, and access manufacturer-specific diagnostic information.
4.2.1 Features and Benefits
- Live Data: View real-time data from the brake wear sensors, instrument cluster, ECU, and ABS module.
- Component Tests: Perform tests on individual components to verify their operation.
- Manufacturer-Specific Information: Access detailed diagnostic information and repair procedures specific to Mercedes Sprinter vehicles.
4.3 Performing Circuit Load Testing
Circuit load testing involves applying a load to the circuit and measuring the voltage drop. This can help identify areas of high resistance or poor connections.
4.3.1 Procedure
- Connection: Connect a load tester to the circuit.
- Voltage Measurement: Measure the voltage drop across the circuit.
- Analysis: Analyze the voltage drop to identify any areas of high resistance or poor connections.
5. Preventive Maintenance to Avoid the 909f Code
Preventive maintenance can help avoid the 909f code and other brake system issues.
5.1 Regular Brake Inspections
Regularly inspect the brake system, including the brake pads, rotors, sensors, and wiring, to identify any potential problems early on.
5.1.1 Inspection Checklist
- Brake pad thickness
- Rotor condition
- Sensor condition
- Wiring condition
- Brake fluid level and condition
5.2 Maintaining Wiring Connections
Keep wiring connections clean and protected from corrosion to ensure reliable signal transmission.
5.2.1 Best Practices
- Use dielectric grease on electrical connections.
- Inspect wiring harnesses for damage and repair as needed.
- Protect wiring from moisture and road salt.
5.3 Brake Fluid Management
Maintain proper brake fluid levels and flush the brake system regularly to remove contaminants and moisture.
5.3.1 Recommendations
- Check brake fluid level regularly.
- Flush the brake system every two years or as recommended by the manufacturer.
- Use the correct type of brake fluid for your vehicle.
Alternative Text: Mercedes-Benz Sprinter brake disc, showcasing rotor and associated brake system components
6. Common Mistakes to Avoid
Avoiding these common mistakes can save time and prevent further complications when diagnosing and repairing the 909f code.
6.1 Neglecting Visual Inspections
Always start with a thorough visual inspection of the brake system, sensors, and wiring before proceeding with more complex diagnostic procedures.
6.2 Ignoring Related Codes
Pay attention to any other codes that may be present, as they can provide valuable clues about the root cause of the 909f code.
6.3 Skipping Basic Tests
Perform basic tests, such as continuity tests and voltage drop tests, before assuming that a component is faulty.
6.4 Overlooking Wiring Issues
Wiring problems are a common cause of the 909f code, so be sure to thoroughly inspect the wiring harness for any damage or corrosion.
7. When to Seek Professional Help from AutoExplain.com
If you are unable to diagnose or repair the 909f code yourself, or if you lack the necessary tools or expertise, seek professional help from AutoExplain.com.
7.1 Benefits of Professional Assistance
- Expertise: Access to experienced technicians with specialized knowledge of Mercedes Sprinter vehicles.
- Advanced Tools: Use of advanced diagnostic tools and equipment.
- Accurate Diagnosis: Precise identification of the root cause of the problem.
- Reliable Repairs: High-quality repairs that are performed correctly the first time.
7.2 How AutoExplain.com Can Help
AutoExplain.com offers remote support and expert diagnostics to help you resolve the 909f code quickly and efficiently.
- Remote Diagnostics: Our technicians can remotely diagnose the problem using advanced diagnostic tools and techniques.
- Step-by-Step Guidance: We provide step-by-step guidance on how to repair the issue.
- Parts Assistance: We can help you identify and source the correct parts for your vehicle.
- Expert Advice: Our team can answer any questions you have and provide expert advice on how to maintain your vehicle.
8. Case Studies: Real-World Examples
Examining real-world case studies can provide valuable insights into how the 909f code is diagnosed and repaired in practice.
8.1 Case Study 1: Brake Wear Sensor Failure
A Mercedes Sprinter van displayed the 909f code. The technician performed a visual inspection and found that one of the brake wear sensors was damaged. After replacing the sensor, the code was cleared, and the brake wear indicator functioned correctly.
8.2 Case Study 2: Wiring Harness Corrosion
A Mercedes Sprinter truck displayed the 909f code. The technician performed a thorough inspection of the wiring harness and found corrosion at one of the connectors. After cleaning the connector and applying dielectric grease, the code was cleared, and the brake wear indicator functioned correctly.
8.3 Case Study 3: Instrument Cluster Issue
A Mercedes Sprinter bus displayed the 909f code. The technician performed a scan tool diagnostic and found a code related to the instrument cluster. After replacing the instrument cluster, the code was cleared, and the brake wear indicator functioned correctly.
9. The Future of Automotive Diagnostics
Automotive diagnostics are becoming increasingly complex, with advanced technologies such as artificial intelligence and machine learning playing a greater role.
9.1 AI-Powered Diagnostics
AI-powered diagnostic tools can analyze vast amounts of data to quickly identify the root cause of complex issues, improving the accuracy and efficiency of the diagnostic process.
9.2 Remote Diagnostics
Remote diagnostics are becoming more common, allowing technicians to diagnose and repair vehicles from anywhere in the world. This can save time and money by reducing the need for on-site visits.
9.3 Predictive Maintenance
Predictive maintenance uses data analysis to identify potential issues before they occur, allowing vehicle owners to schedule maintenance proactively and avoid costly breakdowns.
10. Staying Updated with Industry Trends
Staying updated with the latest industry trends and technologies is essential for technicians who want to remain competitive and provide the best possible service to their customers.
10.1 Online Resources
Numerous online resources, such as industry publications, forums, and training websites, can help technicians stay informed about the latest developments in automotive diagnostics and repair.
10.2 Training Programs
Attending training programs and workshops can provide technicians with hands-on experience and in-depth knowledge of new technologies and techniques.
10.3 Certification Programs
Obtaining certifications from reputable organizations can demonstrate a technician’s expertise and commitment to quality.
11. Optimizing Your Diagnostic Process
Improving your diagnostic process can save time and money, and improve the quality of your work.
11.1 Creating a Checklist
Creating a checklist of steps to follow when diagnosing the 909f code can help ensure that you don’t miss any important steps.
11.2 Documenting Your Work
Documenting your work, including the steps you took, the tests you performed, and the results you obtained, can help you track your progress and identify any areas where you can improve.
11.3 Seeking Feedback
Seeking feedback from other technicians or from your customers can help you identify areas where you can improve your skills and your diagnostic process.
12. The Role of Software in Modern Diagnostics
Software plays a critical role in modern automotive diagnostics, providing technicians with access to a wide range of tools and information.
12.1 Diagnostic Software
Diagnostic software can be used to read and clear codes, perform component tests, and access manufacturer-specific diagnostic information.
12.2 Repair Information Systems
Repair information systems provide technicians with access to detailed repair procedures, wiring diagrams, and other technical information.
12.3 Calibration Tools
Calibration tools are used to calibrate sensors and other components after they have been replaced or repaired.
13. Ethical Considerations in Automotive Diagnostics
Ethical considerations are an important aspect of automotive diagnostics, ensuring that technicians provide honest and accurate service to their customers.
13.1 Honesty and Transparency
Technicians should be honest and transparent with their customers, providing them with accurate information about the condition of their vehicle and the repairs that are needed.
13.2 Avoiding Unnecessary Repairs
Technicians should avoid performing unnecessary repairs, only recommending services that are truly needed to keep the vehicle in good working order.
13.3 Protecting Customer Data
Technicians should protect customer data, such as vehicle identification numbers and personal information, from unauthorized access.
14. Environmental Responsibility
Environmental responsibility is an increasingly important aspect of automotive diagnostics and repair.
14.1 Proper Disposal of Waste
Technicians should properly dispose of waste materials, such as used oil, coolant, and brake fluid, to prevent pollution.
14.2 Reducing Energy Consumption
Technicians should reduce energy consumption in their shops by using energy-efficient equipment and practices.
14.3 Promoting Sustainable Practices
Technicians should promote sustainable practices, such as recycling and using environmentally friendly products, to reduce their impact on the environment.
15. Future Trends in Brake System Technology
Brake system technology is constantly evolving, with new innovations being introduced all the time.
15.1 Electronic Braking Systems (EBS)
Electronic braking systems use electronic sensors and actuators to control the braking force at each wheel, improving stability and control.
15.2 Regenerative Braking Systems
Regenerative braking systems capture energy during braking and store it for later use, improving fuel efficiency.
15.3 Brake-by-Wire Systems
Brake-by-wire systems eliminate the mechanical connection between the brake pedal and the brake calipers, providing more precise control and improved performance.
16. The Importance of Continuous Learning
The automotive industry is constantly evolving, so continuous learning is essential for technicians who want to remain competitive and provide the best possible service to their customers.
16.1 Staying Updated with New Technologies
Technicians should stay updated with new technologies by attending training programs, reading industry publications, and participating in online forums.
16.2 Developing New Skills
Technicians should develop new skills by learning how to use new tools and equipment, and by mastering new diagnostic and repair techniques.
16.3 Seeking Mentorship
Technicians should seek mentorship from experienced professionals who can provide guidance and support.
17. Conclusion: Mastering the Mercedes Sprinter 909f Code
Mastering the Mercedes Sprinter 909f code requires a combination of technical knowledge, diagnostic skills, and attention to detail. By following the steps outlined in this guide, you can accurately diagnose and repair the 909f code and ensure that your Mercedes Sprinter is running smoothly and safely. Remember, AutoExplain.com is here to assist you with expert diagnostics and remote support whenever you need it.
18. FAQ: Addressing Your Questions About the Mercedes Sprinter 909f Code
Here are some frequently asked questions to help you better understand and address the Mercedes Sprinter 909f code:
18.1 What does the Mercedes Sprinter 909f code mean?
The 909f code typically indicates an issue within the braking system, often related to the brake wear sensors, wiring, or instrument cluster.
18.2 Can I fix the 909f code myself?
Depending on your technical skills and the complexity of the issue, you may be able to fix the 909f code yourself. However, professional assistance is recommended for complex problems.
18.3 What tools do I need to diagnose the 909f code?
You will need a basic OBD-II scanner, a multimeter, and potentially a more advanced scan tool for in-depth diagnostics.
18.4 How often should I inspect my brake wear sensors?
Brake wear sensors should be inspected during regular brake maintenance, typically every 6 months or 6,000 miles.
18.5 What are the symptoms of a faulty brake wear sensor?
Symptoms include the brake wear indicator light illuminating on the instrument cluster, even when the brake pads are not worn.
18.6 How do I clear the 909f code after fixing the issue?
Use an OBD-II scanner to clear the code after repairing the problem. Ensure the underlying issue is resolved first.
18.7 Can a low battery cause the 909f code?
In some cases, a low battery can cause electrical issues that trigger the 909f code. Ensure your battery is in good condition.
18.8 Is it safe to drive with the 909f code illuminated?
It is generally safe to drive with the 909f code illuminated, but it’s essential to have the issue diagnosed and repaired as soon as possible to ensure optimal braking performance.
18.9 What is the cost to repair the 909f code?
The cost to repair the 909f code can vary depending on the cause. Replacing a brake wear sensor may cost between $50 and $150, while more complex repairs, such as replacing the instrument cluster or ECU, could cost several hundred dollars.
18.10 How can AutoExplain.com help with the 909f code?
AutoExplain.com offers expert diagnostics and remote support to help you resolve the 909f code quickly and efficiently, providing step-by-step guidance and parts assistance.
Facing a stubborn Mercedes Sprinter 909f code? Don’t let it slow you down. Contact AutoExplain.com for fast, expert support via WhatsApp at +1(936)2896695 or email us at [email protected]. Our team of skilled technicians is ready to provide you with the precise diagnostics and solutions you need. Reach out today and let us help you get back on the road with confidence. Our office is located at 4590 Angus Road, New York, United States. For more information, visit AutoExplain.com and experience automotive expertise at your fingertips.


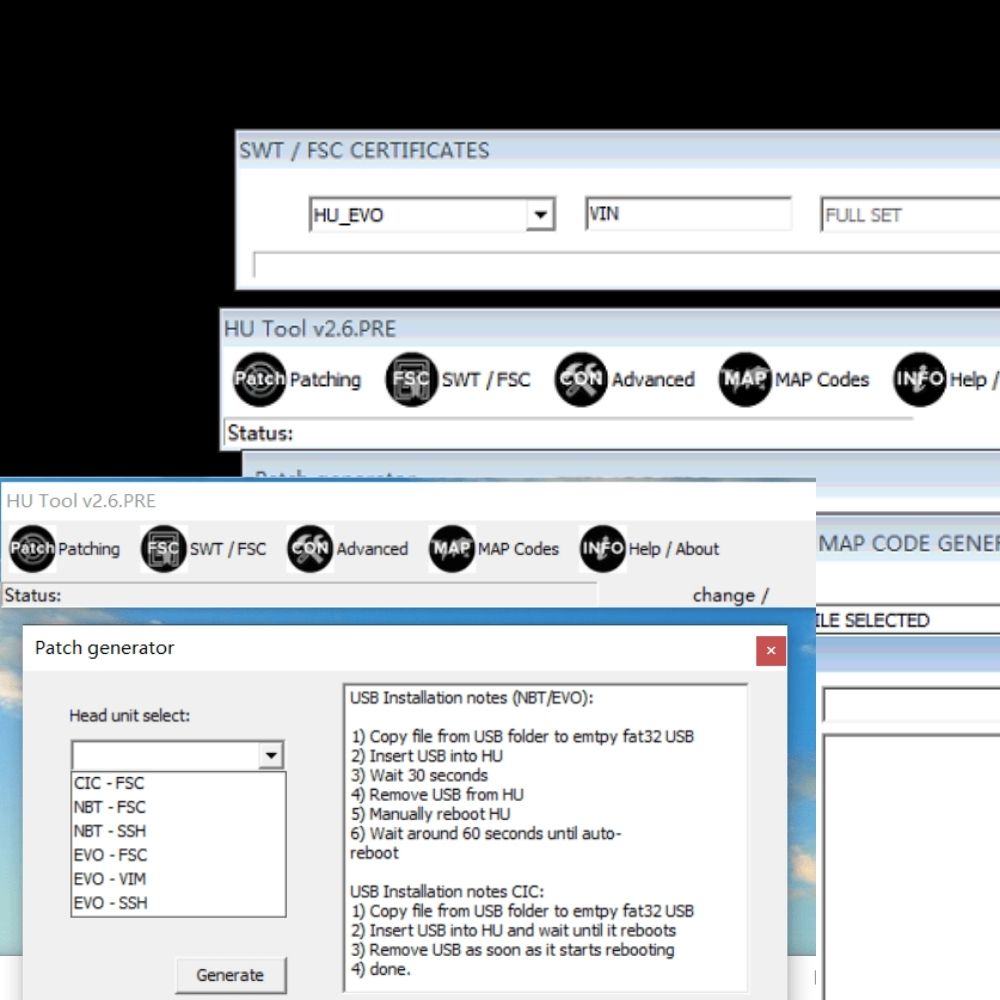
BMW FSC Codes Explained: Full FSC Code List for F-Series
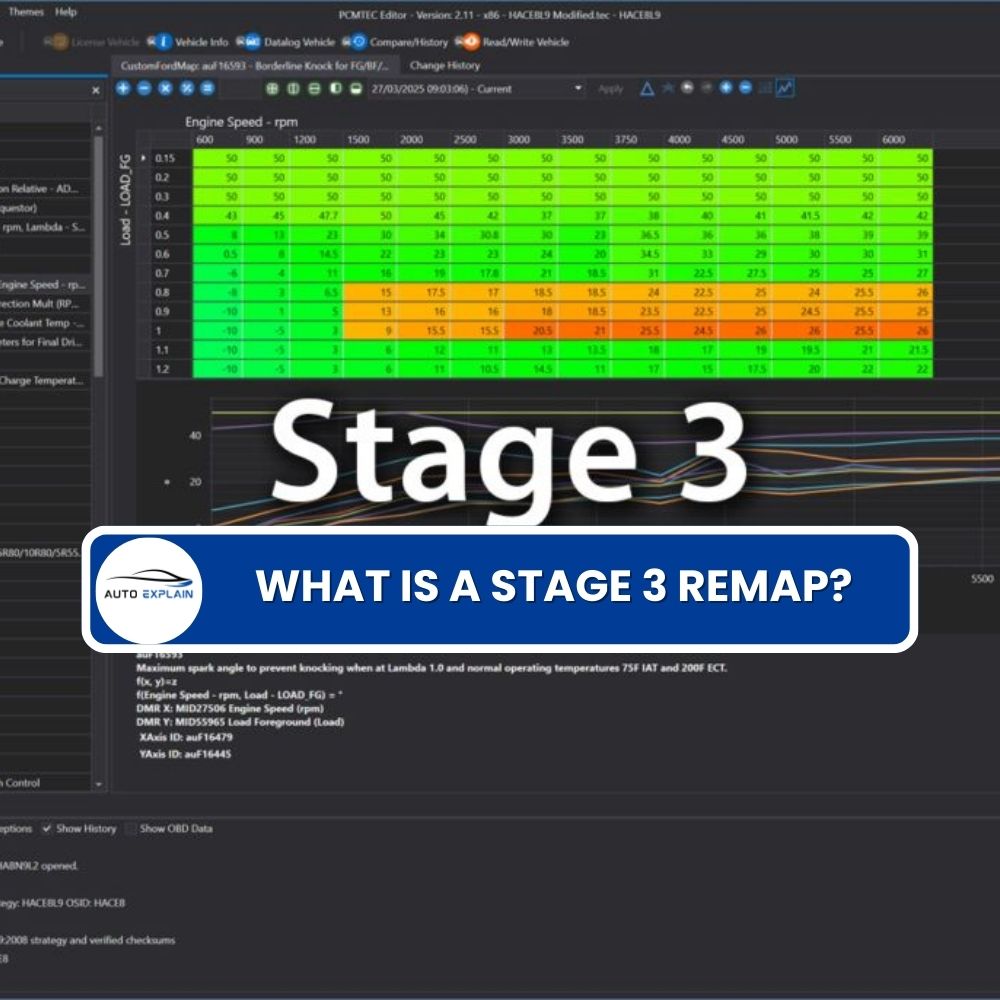
What is a Stage 3 Remap?

The Best Car Tuning Software in 2026: A Comprehensive Guide for Professionals


