Upgrading the instrument cluster on your Mercedes W211 or W219 to an AMG-style 320km/h overlay is one of the most effective visual enhancements—especially if you’re running a powerful V8 Kompressor engine. This upgrade doesn’t just give your dashboard a sportier AMG appearance; it also reflects the performance hidden beneath your hood.
However, simply installing the new 320km/h faceplate or cluster won’t make it work out of the box. Unlike some other car brands, Mercedes vehicles use a high-security architecture that requires coding or adaptation before the new cluster can function properly. Without this crucial step, your speedometer, RPM gauge, or even cluster lighting may behave incorrectly—or not respond at all.
In this guide, AutoExPlain will walk you through the entire process, from physically replacing the overlay to the technical steps required to recalibrate and encode your instrument cluster—ensuring full functionality and factory-level precision. Whether you’re a DIYer or a pro technician, this article has the insights you need to complete the upgrade successfully.
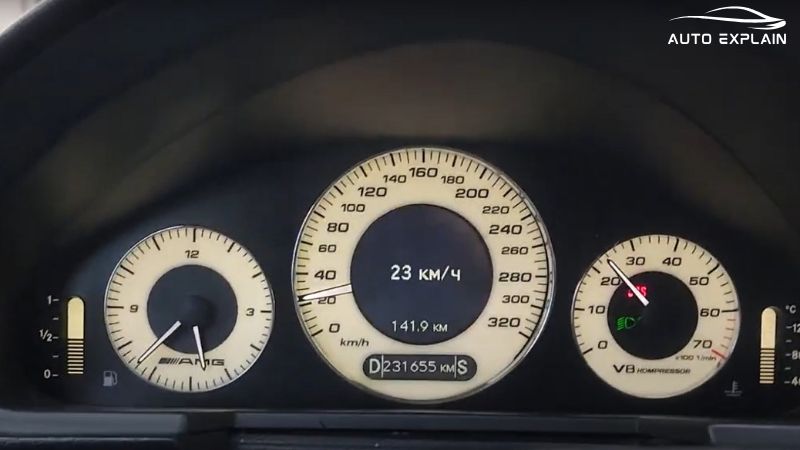
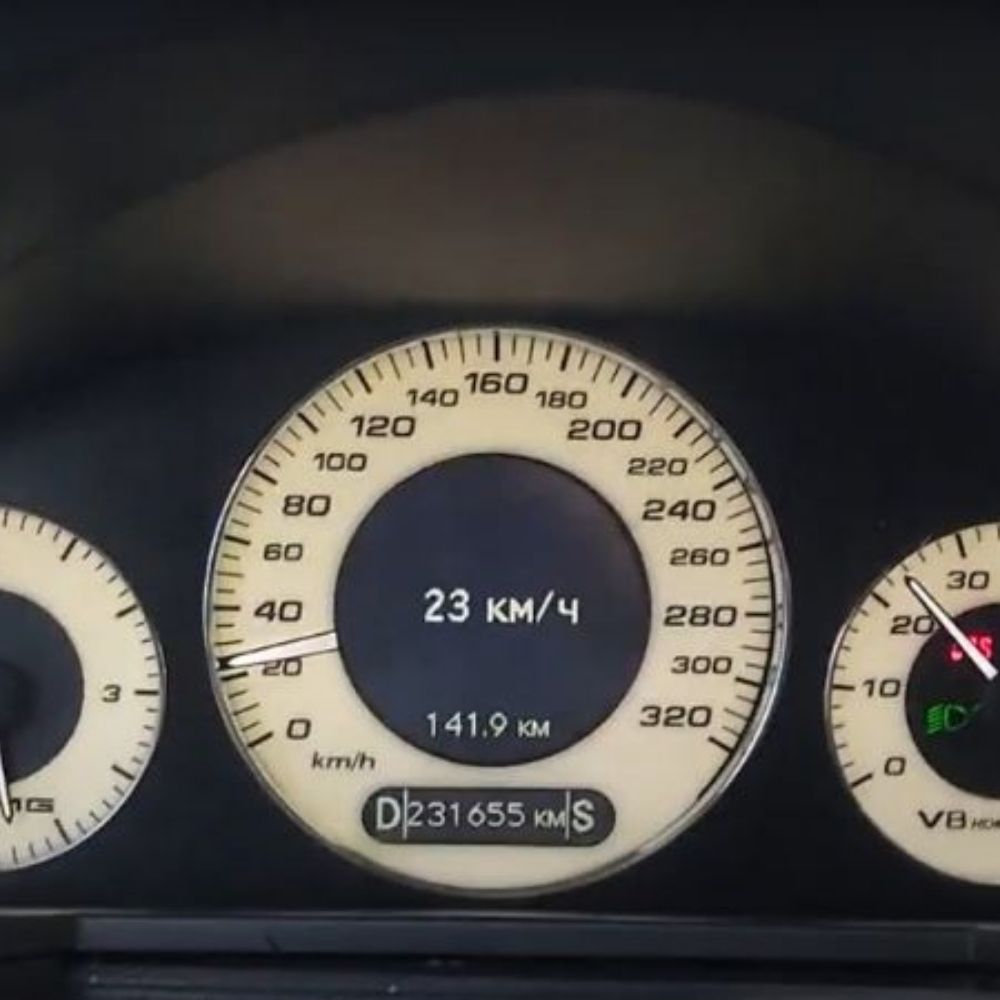
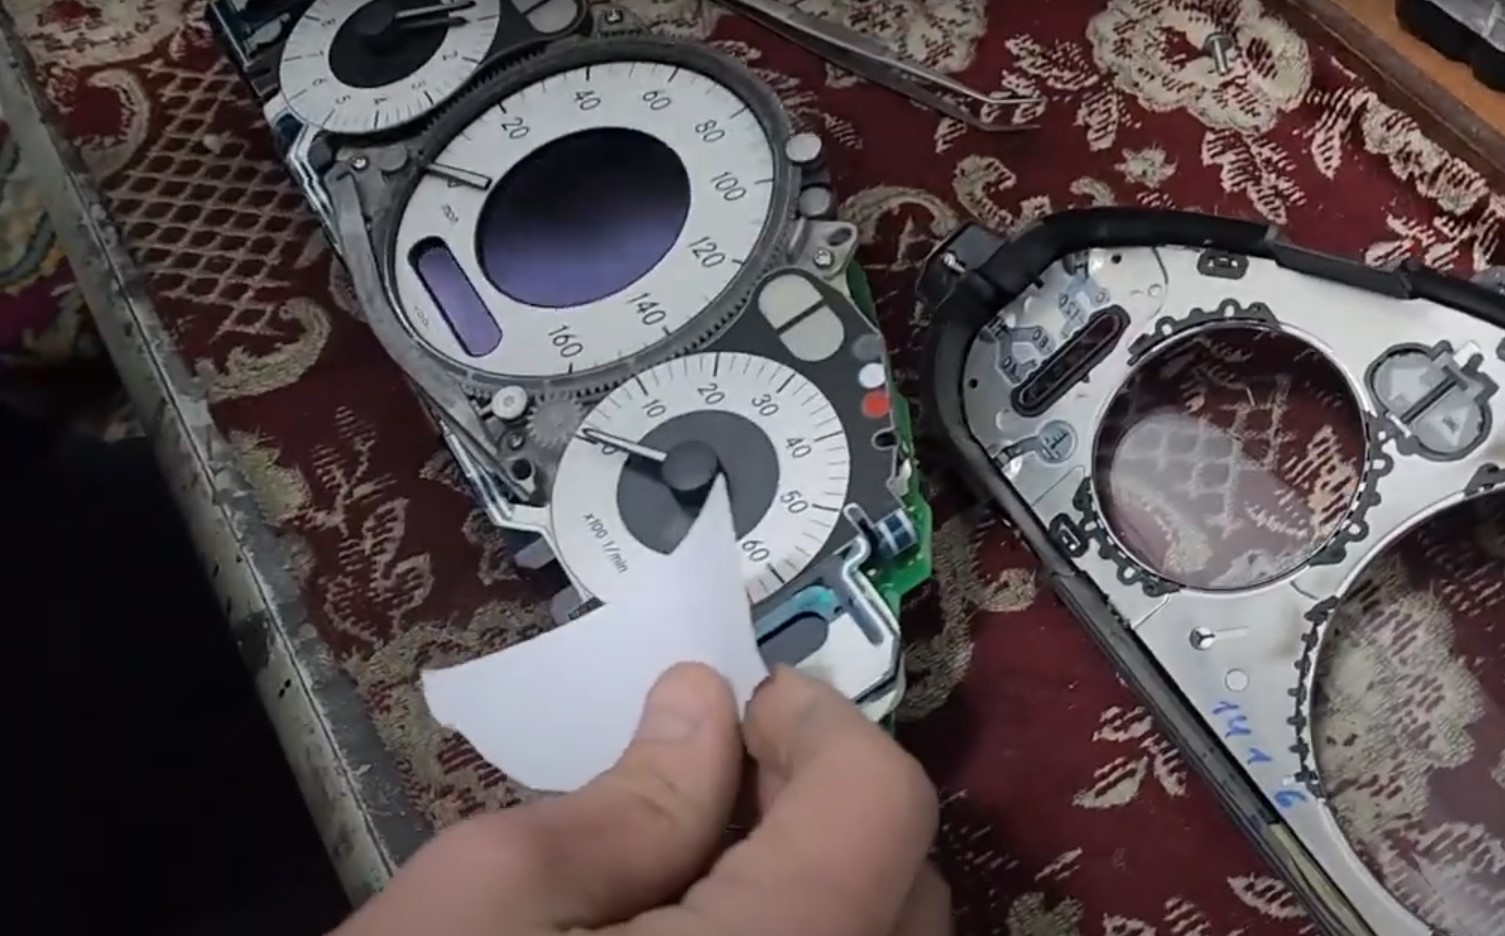
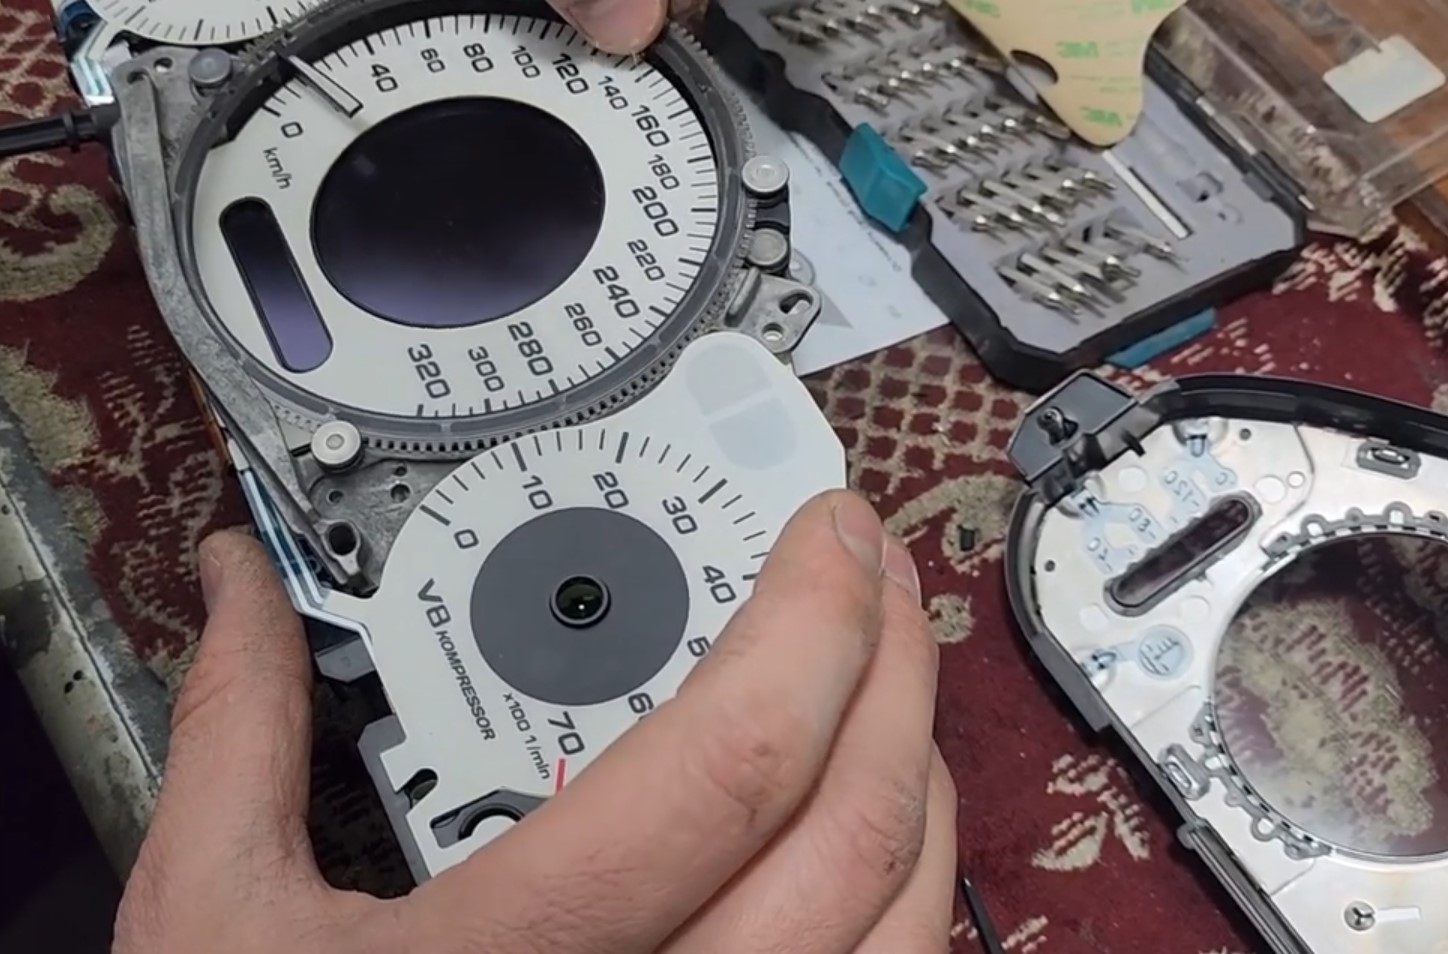
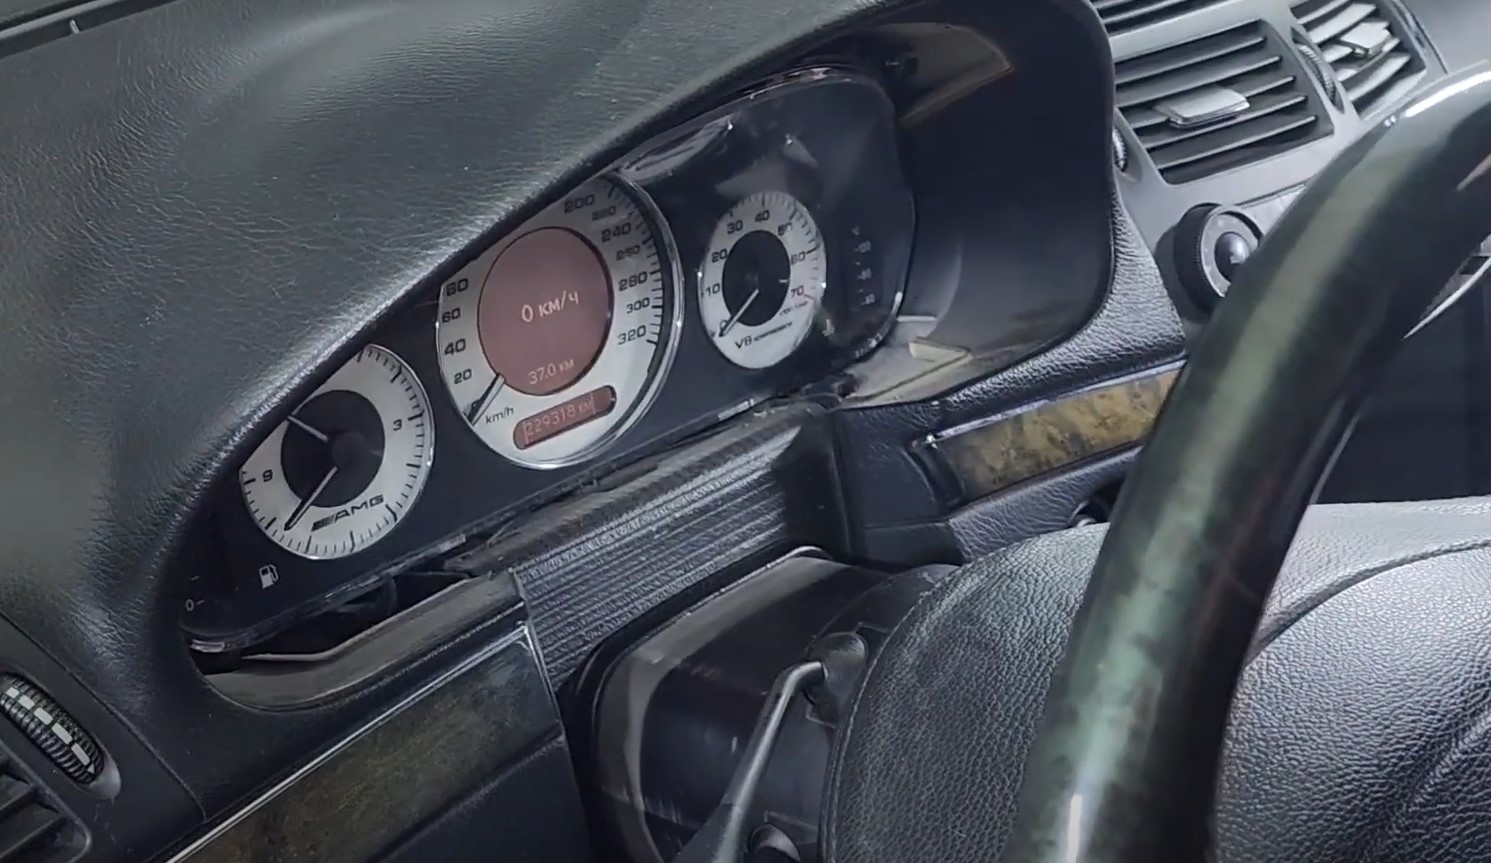
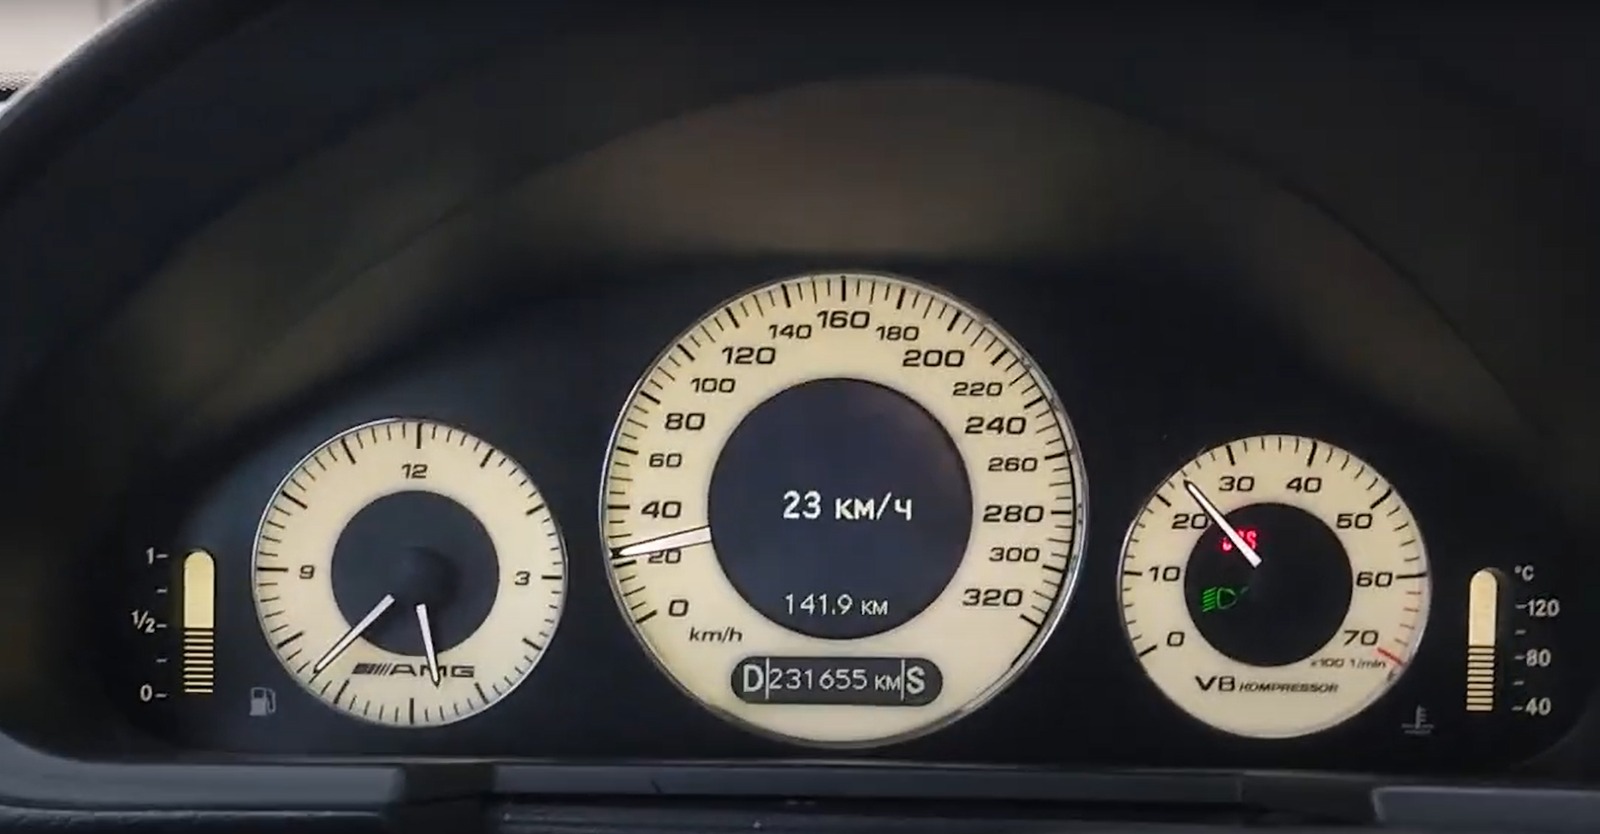
The instrument cluster overlay is the printed plastic dial face that sits on top of the gauge needles inside the instrument cluster. It displays the speed in kilometers per hour (km/h), tachometer RPM scale, fuel level, and temperature. In AMG models, this overlay is different—it shows a 320 km/h speedometer scale instead of the standard 160 km/h, 260 km/h or 280 km/h.
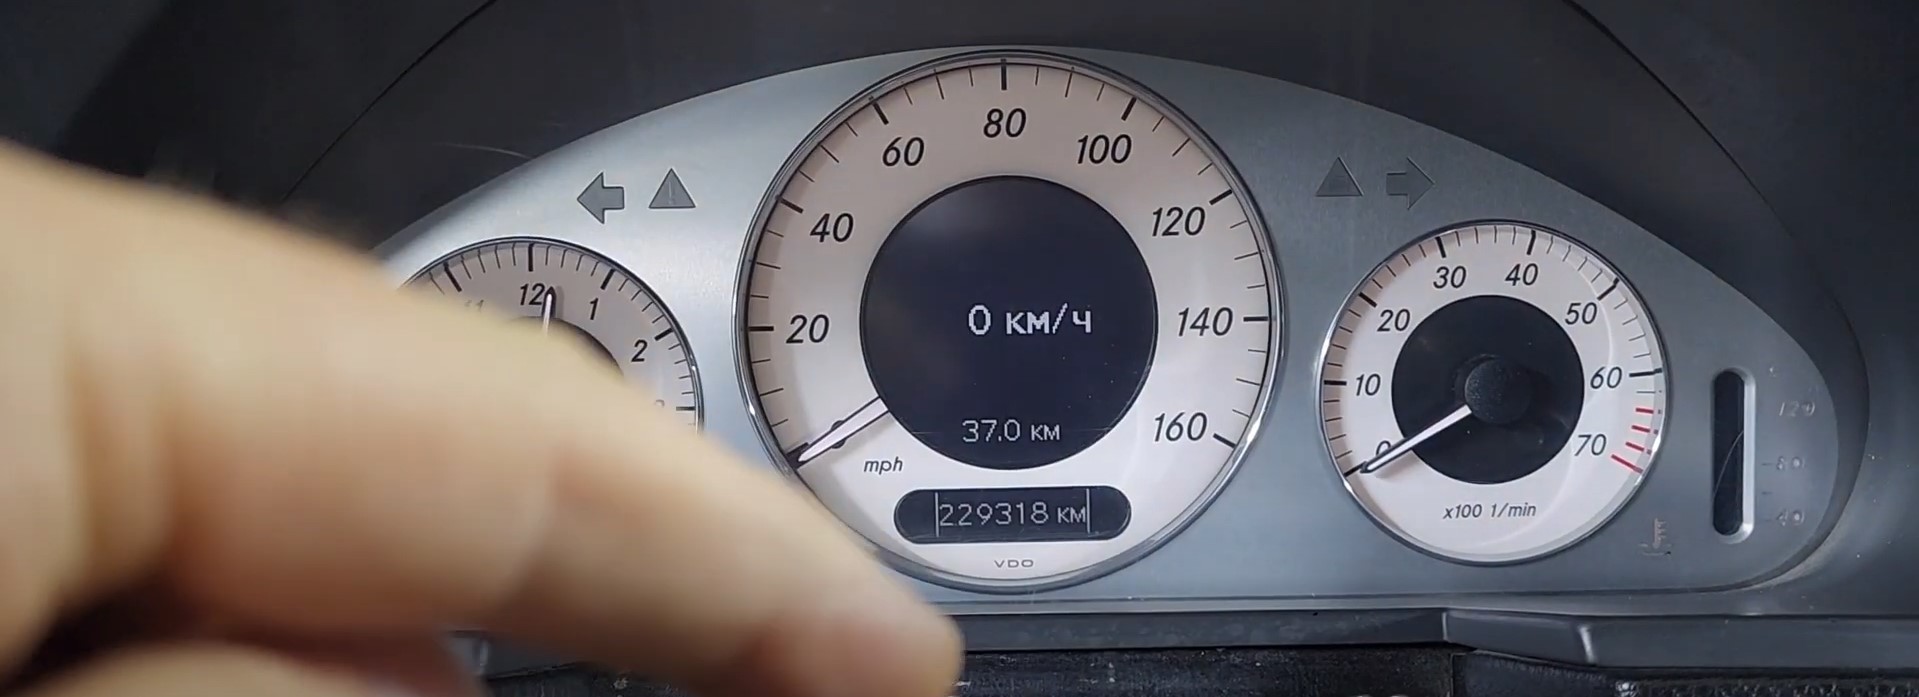
Mercedes Instrument Cluster 160 km/h
The standard Mercedes-Benz W211 and W219 models typically feature a maximum speed display of 240–260 km/h on the instrument cluster. For enthusiasts who want to modify their cars to achieve higher top speeds, simply upgrading the performance of the engine is not enough. The instrument cluster overlay must also be replaced with one that has a higher maximum speed, such as AMG 320 km/h.
Benefits of upgrading include:
After installing the new overlay, programming and calibration are required so that the speedometer accurately reflects the vehicle’s actual top speed. Here is the full breakdown of what equipment to prepare for repair and how to replace and coding to ensure the replacement process goes smoothly, you’ll need the correct tools, software, and diagnostic equipment.
Upgrading the instrument cluster in a Mercedes-Benz, especially to an AMG-style 320 km/h version, is not a simple plug-and-play process. Due to the vehicle’s security protocols, Mercedes clusters require proper coding and configuration to work correctly. Below is a detailed list of tools you will need to carry out the replacement and ensure the cluster functions as expected.
Before you begin, make sure you have the following:
Always disconnect the vehicle’s battery before working with the instrument cluster. Wait at least 10 minutes after disconnection to allow capacitors to discharge fully. This prevents triggering fault codes or damaging components.
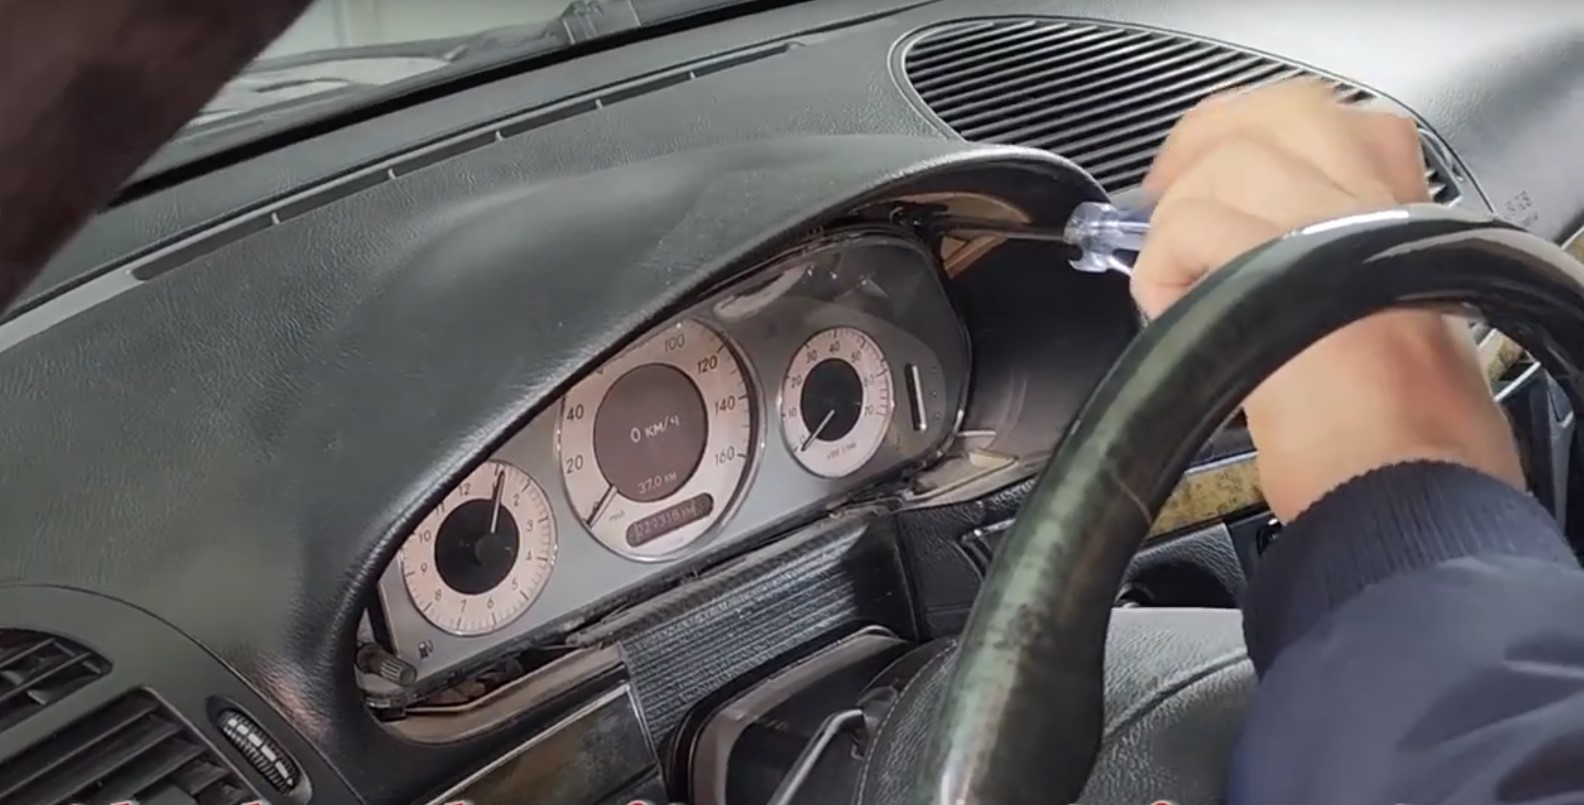
After confirming everything is in place, reconnect the battery and turn on the ignition.
Note: The replacement process doesn’t end with mechanical installation. Due to Mercedes’ advanced security system, the instrument cluster will not function immediately after being replaced. If your new cluster is not working yet, keep reading to learn how to code the Mercedes-Benz instrument cluster after upgrading for the W211/W219 AMG 320km/h overlay.
If you’re looking for a complete package of software and equipment for coding, feel free to contact AutoExPlain via WhatsApp: +1(936)2896695. Our team will guide you with the most suitable solution for your vehicle and setup requirements.
Once the new AMG 320km/h instrument cluster is physically installed, the system will not operate correctly until coding is completed. Follow the steps below to ensure proper function and communication with the vehicle’s ECU:
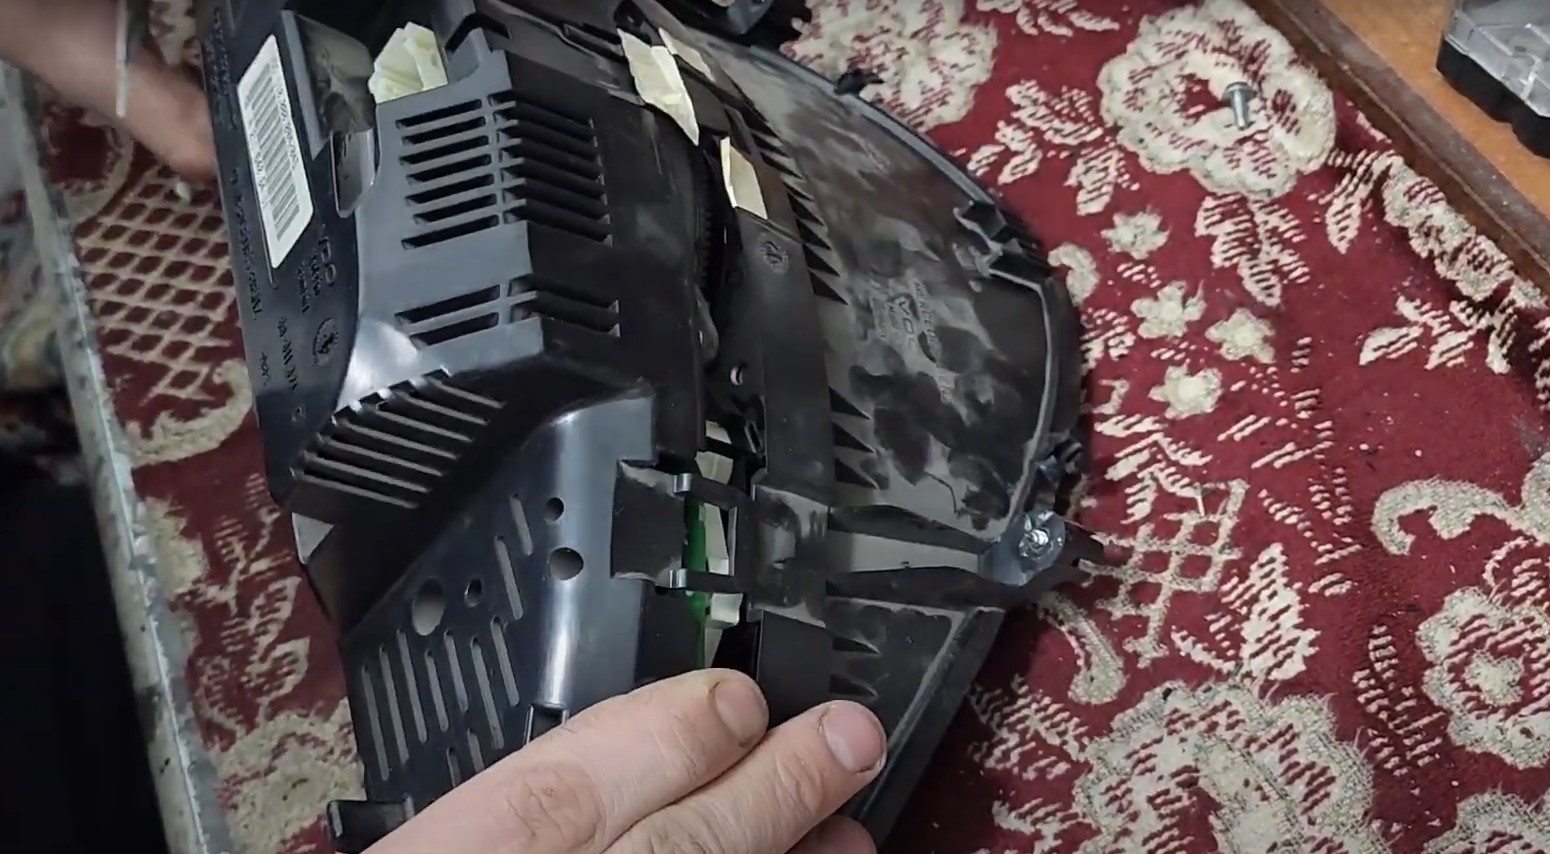
Remove the old cluster and connect the new AMG-style instrument cluster in place.
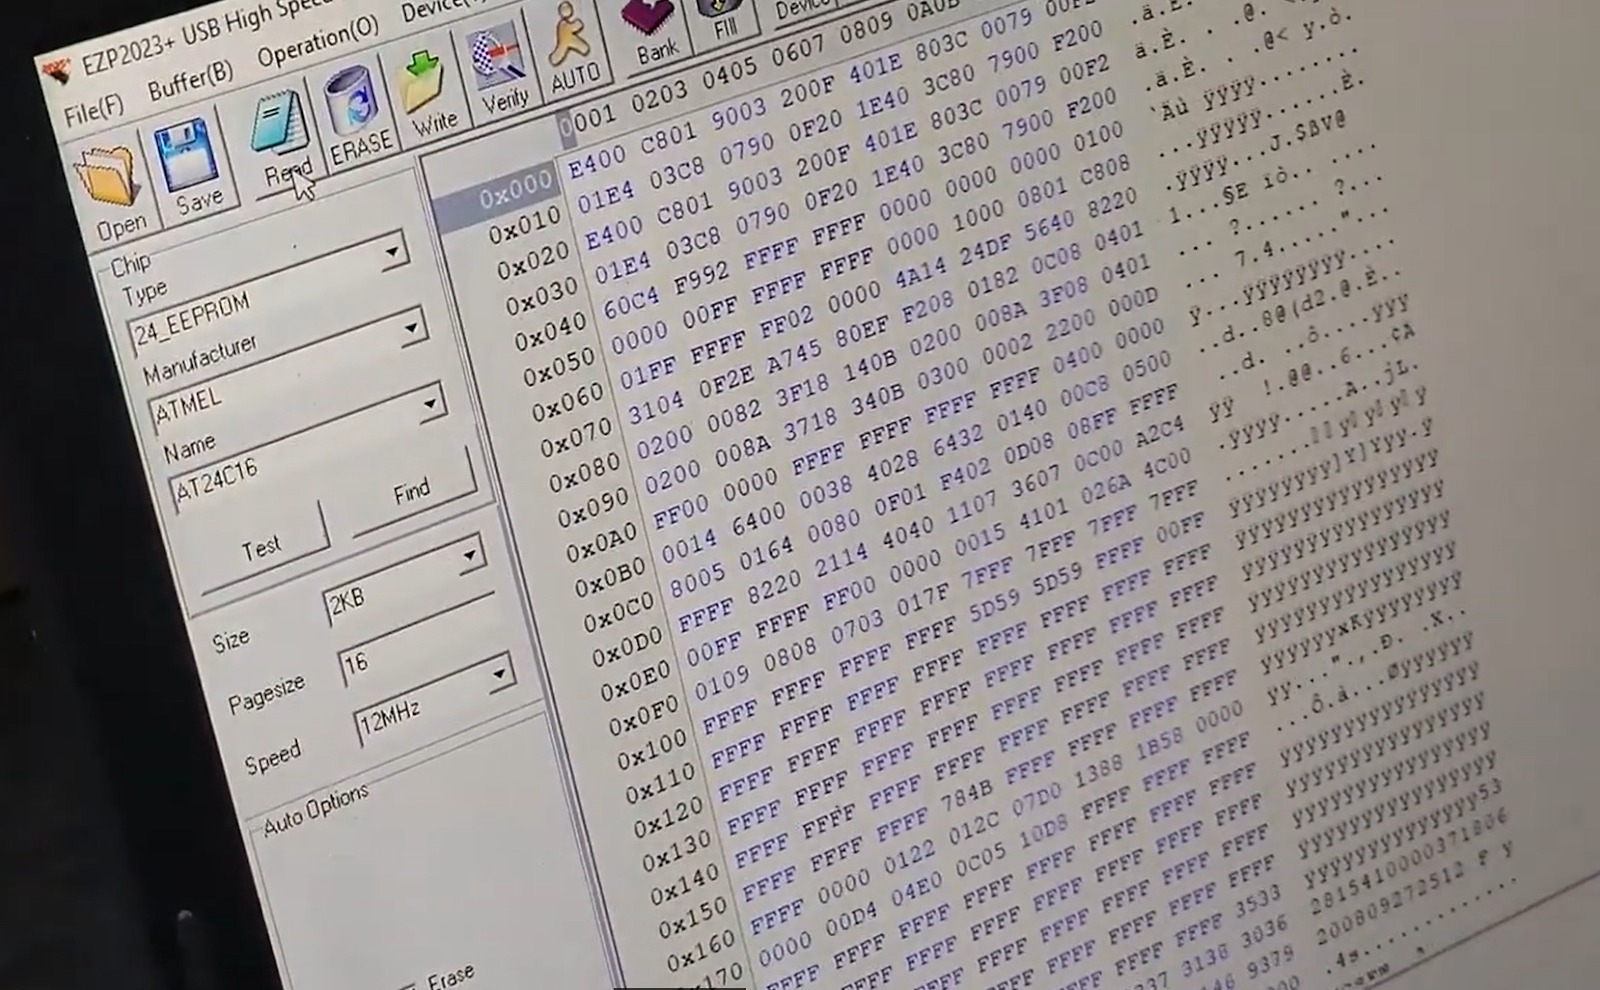
Use an EEPROM reader to extract the memory data (such as mileage, VIN, and immobilizer info) from the old instrument cluster.
Then, write this EEPROM data into the new cluster to retain original identity and synchronization with the car’s control modules.
Connect a compatible diagnostic interface (such as SD Connect C4) to your laptop. Launch Vediamo and load the correct .cbf file for your model.
In Vediamo:
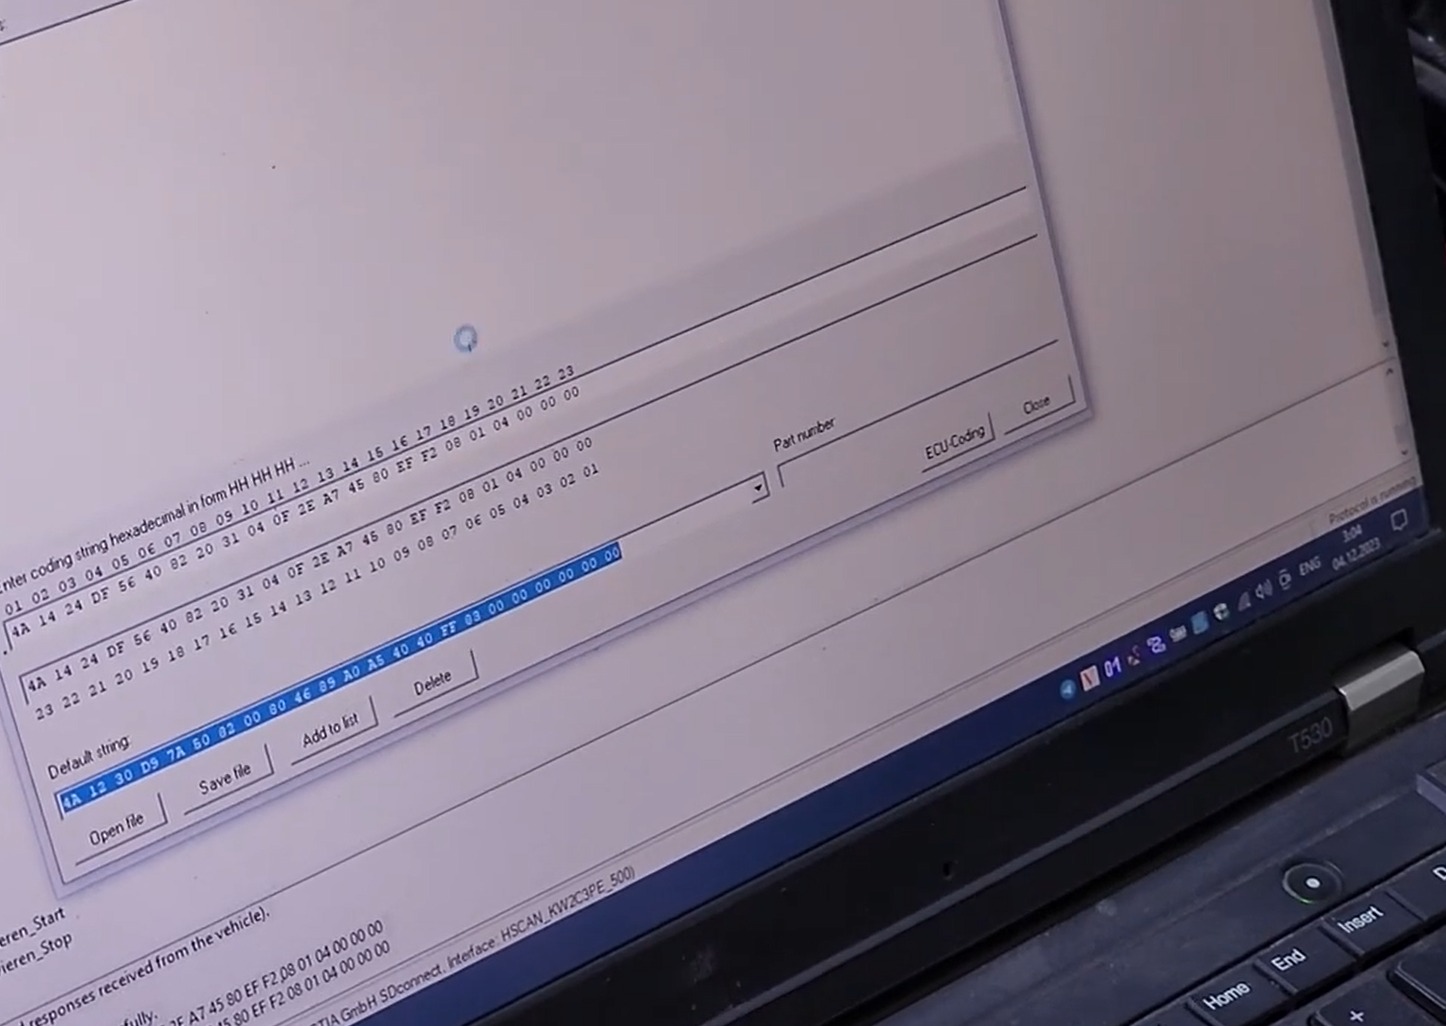
Note: Coding must be accurate to prevent issues such as mileage mismatch, immobilizer error, or CAN communication failure.
If you’re unsure about EEPROM handling or coding procedures, AutoExPlain provides full remote coding support for instrument cluster upgrades.
Our technicians can:
If you’re not experienced with EEPROM handling or Mercedes coding via Vediamo, we strongly advise not attempting the procedure without proper guidance. Incorrect steps can lead to serious faults, immobilizer lockouts, or a completely non-functional dashboard.
For the best and safest results, reach out to AutoExPlain’s technical team via WhatsApp: +1(936)2896695. We offer step-by-step support or full remote service to ensure your upgrade is done right.
In addition to our remote technical support services, AutoExPlain also provides Mercedes repair manual for coding and programming. These manuals are specifically designed to help you understand and perform coding tasks like instrument cluster upgrades and module replacements. Whether you’re a professional or a DIY enthusiast, our books offer step-by-step guidance to ensure you do it right.

DTS Monaco Guidebook: Mercedes – Benz Diagnostic and Programming for Rookie (2025 Edition) |

|
Above is the complete guide to replacing and coding the instrument cluster overlay for Mercedes W211/W219 AMG V8 KOMPRESSOR 320km/h, as shared by AutoExPlain. If you need remote support for instrument cluster coding or EEPROM transfer, feel free to contact us via WhatsApp: +1 (936) 289-6695.
We also provide a wide range of helpful resources on Mercedes-Benz fault code repairs, coding solutions, and retrofit guides — be sure to explore more on our website!
You may also be interested in: