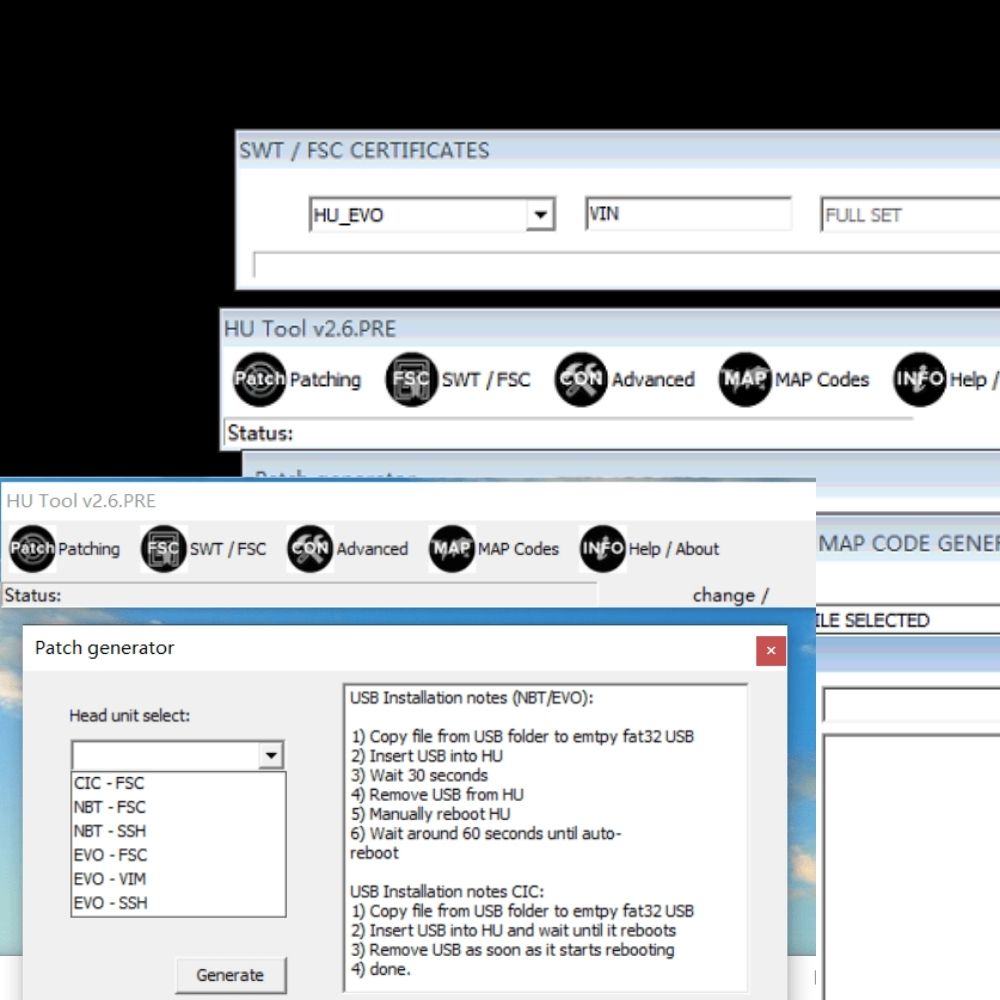
B210D00 Mercedes Fault Code: Expert Diagnostic Guide
B210D00 Mercedes Fault Code indicates a specific issue within the vehicle’s electrical system, often related to the headlights. AutoExplain.com provides in-depth diagnostics and remote programming services to resolve these complex automotive problems efficiently, reducing downtime and ensuring accurate repairs. With expert insights and advanced troubleshooting, we help you navigate intricate electrical issues with confidence, offering solutions for ECU issues, module malfunctions, and navigation updates.
Table of Contents
Toggle1. Understanding the B210D00 Mercedes Fault Code
The B210D00 fault code in Mercedes-Benz vehicles indicates a problem with the left headlight. Specifically, it points to an issue in the control circuit or functioning of the left headlight, often suggesting an open circuit or a communication error. This can lead to the headlight not functioning correctly, causing safety concerns and potentially failing vehicle inspections. Resolving this code requires a systematic approach, starting with identifying the root cause and implementing the appropriate repair. AutoExplain.com offers expert remote diagnostics to help pinpoint the exact problem and guide you through the necessary steps.
1.1. Definition of B210D00
The B210D00 Mercedes fault code is defined as:
- B210D00: Left Headlight Control Circuit Open
This code indicates an interruption in the electrical circuit controlling the left headlight. The open circuit prevents the headlight from receiving the necessary power or signals to operate correctly.
1.2. Common Symptoms Associated with B210D00
When the B210D00 fault code is present, you might observe several symptoms:
- Left Headlight Malfunction: The most obvious symptom is that the left headlight does not turn on or functions intermittently.
- Error Messages on Dashboard: The vehicle’s dashboard may display error messages related to the headlight, indicating a problem with the lighting system.
- Reduced Visibility: A non-functional headlight significantly reduces visibility during nighttime or adverse weather conditions, posing a safety risk.
- Failure to Adjust: The headlight leveling system may fail to adjust, leading to improper beam alignment.
- Intermittent Operation: The headlight might work sporadically, making diagnosis more challenging.
1.3. Vehicles Most Commonly Affected by B210D00
The B210D00 fault code is commonly observed in the following Mercedes-Benz models:
- C-Class (W205): Often reported due to wiring issues and headlight control module problems.
- E-Class (W213): Known for electrical faults affecting the headlight system.
- S-Class (W222): High-end models with advanced lighting systems prone to complex issues.
- GLC (X253): SUVs experiencing similar headlight control circuit faults.
- Other Models: Various other Mercedes-Benz models equipped with advanced lighting systems.
2. Potential Causes of the B210D00 Fault Code
Identifying the root cause of the B210D00 fault code is crucial for effective repair. Several potential issues can trigger this code, ranging from simple wiring problems to more complex module failures.
2.1. Wiring Issues
Wiring problems are a frequent cause of the B210D00 code. These issues can manifest in several ways:
- Broken or Damaged Wires: Physical damage to the wiring harness, such as cuts, abrasions, or breaks, can interrupt the circuit.
- Corroded Connectors: Corrosion on the headlight connector or related wiring connectors can increase resistance and disrupt the electrical flow.
- Loose Connections: Loose connections at the headlight connector, ground points, or other electrical junctions can cause intermittent faults.
- Short Circuits: Although less common for an open circuit code, a short circuit can sometimes lead to related issues that trigger the B210D00 code.
2.2. Headlight Assembly Problems
Issues within the headlight assembly itself can also lead to the B210D00 fault code:
- Faulty Headlight Bulb: A burned-out or malfunctioning headlight bulb can cause the system to report an open circuit.
- Internal Assembly Damage: Physical damage inside the headlight assembly, such as broken components or loose connections, can disrupt the circuit.
- Headlight Control Module Failure: The control module within the headlight assembly may fail, leading to incorrect operation and fault codes.
2.3. Control Module Issues
The headlight control module, responsible for managing the headlight’s functions, can also be a source of problems:
- Software Glitches: Software errors within the control module can cause it to misinterpret signals or fail to operate correctly.
- Module Failure: The control module may fail due to internal component issues or electrical damage.
- Communication Problems: The control module may lose communication with the vehicle’s central control unit, leading to fault codes.
2.4. Other Electrical Issues
Various other electrical problems can contribute to the B210D00 fault code:
- Blown Fuses: A blown fuse in the headlight circuit can cause an open circuit.
- Grounding Problems: Poor grounding can affect the electrical flow and cause the system to report faults.
- Voltage Issues: Fluctuations or drops in voltage can disrupt the operation of the headlight system.
3. Step-by-Step Diagnostic Procedure
Diagnosing the B210D00 fault code requires a systematic approach to pinpoint the exact cause. Follow these steps to effectively diagnose the issue. AutoExplain.com offers expert support via WhatsApp at +1(936)2896695 or email at [email protected] to assist you through the diagnostic process.
3.1. Initial Inspection
- Visual Inspection: Begin by visually inspecting the left headlight assembly for any signs of physical damage, such as cracks, broken connectors, or exposed wires.
- Check Headlight Bulb: Verify that the headlight bulb is not burned out. Replace the bulb if necessary and recheck for the fault code.
- Inspect Wiring Harness: Carefully inspect the wiring harness connected to the headlight for any signs of damage, such as cuts, abrasions, or corrosion.
3.2. Using a Diagnostic Scan Tool
- Connect Scan Tool: Connect a diagnostic scan tool to the vehicle’s OBD-II port.
- Read Fault Codes: Retrieve all stored fault codes, including the B210D00 code. Note any other related codes that may provide additional clues.
- Clear Fault Codes: Clear the fault codes and retest the system to see if the B210D00 code returns.
- Live Data: Use the scan tool to monitor live data related to the headlight circuit, such as voltage and current readings, to identify any anomalies.
3.3. Testing the Wiring and Connections
- Continuity Test: Use a multimeter to perform a continuity test on the wiring between the headlight connector and the control module. Check for any breaks or high resistance in the circuit.
- Voltage Test: Perform a voltage test at the headlight connector to ensure that the correct voltage is reaching the headlight.
- Ground Test: Check the ground connection for the headlight circuit to ensure it is properly grounded. A poor ground can cause various electrical issues.
- Connector Inspection: Inspect the headlight connector and related wiring connectors for corrosion, loose pins, or damage. Clean or replace connectors as necessary.
3.4. Checking the Headlight Control Module
- Visual Inspection: Inspect the headlight control module for any signs of physical damage, such as water damage or burned components.
- Module Testing: If possible, use a diagnostic tool to perform specific tests on the headlight control module to verify its functionality.
- Software Update: Check for any available software updates for the headlight control module. Outdated software can sometimes cause issues.
- Module Replacement: If the module is suspected to be faulty, consider replacing it with a new or known-good module to see if the issue is resolved.
3.5. Advanced Diagnostics
- Wiring Diagrams: Consult the vehicle’s wiring diagrams to trace the headlight circuit and identify any potential issues.
- Component Testing: Test individual components within the headlight assembly, such as the ballast or igniter, to ensure they are functioning correctly.
- CAN Bus Communication: Check the CAN bus communication between the headlight control module and the vehicle’s central control unit to ensure there are no communication issues.
4. Repairing the B210D00 Fault Code
Once the cause of the B210D00 fault code has been identified, the next step is to perform the necessary repairs. Here’s a detailed guide on how to address the most common issues. AutoExplain.com offers expert remote programming services to ensure proper module configuration and optimal performance.
4.1. Repairing Wiring Issues
- Broken Wires:
- Identify the Break: Locate the exact point where the wire is broken.
- Repair the Wire: Use a wire stripper to expose the ends of the broken wire. Connect the wires using a crimp connector or solder and cover with heat shrink tubing for protection.
- Test the Connection: Use a multimeter to ensure continuity in the repaired wire.
- Corroded Connectors:
- Clean the Connector: Use a wire brush or electrical contact cleaner to remove corrosion from the connector pins.
- Apply Dielectric Grease: Apply dielectric grease to the connector pins to prevent future corrosion.
- Replace the Connector: If the connector is severely corroded or damaged, replace it with a new connector.
- Loose Connections:
- Tighten Connections: Ensure that all connections are tight and secure.
- Use Locking Connectors: If possible, use locking connectors to prevent connections from coming loose in the future.
4.2. Addressing Headlight Assembly Problems
- Faulty Headlight Bulb:
- Replace the Bulb: Replace the faulty headlight bulb with a new bulb of the correct type and wattage.
- Test the New Bulb: Ensure that the new bulb is functioning correctly and that the B210D00 fault code is no longer present.
- Internal Assembly Damage:
- Inspect the Assembly: Carefully inspect the headlight assembly for any signs of internal damage, such as broken components or loose connections.
- Repair or Replace: Repair any damaged components or replace the entire headlight assembly if necessary.
- Headlight Control Module Failure:
- Replace the Module: Replace the faulty headlight control module with a new or known-good module.
- Program the Module: Program the new module to the vehicle’s specifications using a diagnostic scan tool. AutoExplain.com provides remote programming services to assist with this process.
4.3. Resolving Other Electrical Issues
- Blown Fuses:
- Identify the Blown Fuse: Locate the blown fuse in the headlight circuit.
- Replace the Fuse: Replace the blown fuse with a new fuse of the correct amperage.
- Check for Shorts: If the fuse blows again immediately, check for a short circuit in the headlight circuit.
- Grounding Problems:
- Inspect Ground Connections: Inspect all ground connections for the headlight circuit to ensure they are clean and tight.
- Clean Ground Points: Clean any corroded ground points and reattach the ground wires securely.
- Voltage Issues:
- Check Voltage at Battery: Ensure that the vehicle’s battery is providing the correct voltage.
- Test Voltage at Headlight: Test the voltage at the headlight connector to ensure that the correct voltage is reaching the headlight.
- Repair Voltage Drops: If there is a significant voltage drop, identify the cause and repair it.
4.4. Post-Repair Verification
- Clear Fault Codes: After completing the repairs, use a diagnostic scan tool to clear the B210D00 fault code and any other related codes.
- Retest the System: Retest the headlight system to ensure that the headlight is functioning correctly and that the fault code does not return.
- Road Test: Perform a road test to verify that the headlight system operates correctly under various driving conditions.
5. Advanced Troubleshooting Tips
For complex cases, consider these advanced troubleshooting tips to resolve the B210D00 fault code effectively. AutoExplain.com offers expert technical support via WhatsApp at +1(936)2896695 or email at [email protected].
5.1. Using Wiring Diagrams
- Access Wiring Diagrams: Obtain the correct wiring diagrams for the vehicle model and year.
- Trace the Circuit: Use the wiring diagrams to trace the headlight circuit from the power source to the headlight assembly, identifying all components and connections.
- Identify Potential Issues: Look for potential issues such as splices, connectors, and ground points that may be causing the fault.
5.2. Component Testing
- Test the Ballast: Use a multimeter to test the ballast for proper voltage and current output.
- Test the Igniter: Test the igniter to ensure it is providing the correct voltage to ignite the headlight bulb.
- Check the Shutter Motor: If the headlight has a shutter motor for high beam operation, check the motor for proper operation.
5.3. Checking CAN Bus Communication
- Monitor CAN Bus Signals: Use a diagnostic scan tool to monitor the CAN bus signals between the headlight control module and the vehicle’s central control unit.
- Check for Communication Errors: Look for any communication errors or dropped signals that may be causing the fault.
- Test CAN Bus Wiring: Test the CAN bus wiring for continuity and shorts to ensure it is functioning correctly.
5.4. Software and Firmware Updates
- Check for Updates: Check for any available software or firmware updates for the headlight control module and the vehicle’s central control unit.
- Install Updates: Install any available updates to ensure that the system is running the latest software and firmware.
- Verify Compatibility: Verify that the software and firmware are compatible with the vehicle model and year.
6. Preventing Future Occurrences of the B210D00 Fault Code
Preventive measures can help avoid future issues with the headlight system. Regular maintenance and proactive inspections can keep your Mercedes-Benz running smoothly.
6.1. Regular Maintenance
- Inspect Wiring: Regularly inspect the headlight wiring for any signs of damage, corrosion, or loose connections.
- Check Connectors: Check the headlight connectors for corrosion and ensure they are properly secured.
- Replace Bulbs: Replace headlight bulbs proactively before they burn out to avoid unexpected failures.
6.2. Protecting Wiring
- Use Protective Sleeving: Use protective sleeving to protect the headlight wiring from abrasion and damage.
- Secure Wiring Harness: Secure the wiring harness to prevent it from rubbing against sharp edges or moving components.
- Avoid Moisture: Avoid exposing the headlight wiring to excessive moisture, which can cause corrosion.
6.3. Professional Inspections
- Schedule Regular Inspections: Schedule regular inspections with a qualified technician to check the headlight system and other electrical components.
- Address Issues Promptly: Address any identified issues promptly to prevent them from escalating into more significant problems.
7. How AutoExplain.com Can Help
AutoExplain.com specializes in providing remote diagnostic and programming services for automotive electrical issues, including the B210D00 fault code. Our expertise and cutting-edge technology ensure efficient and accurate solutions.
7.1. Remote Diagnostics
- Expert Technicians: Our team of expert technicians can remotely diagnose the B210D00 fault code using advanced diagnostic tools and techniques.
- Accurate Identification: We accurately identify the root cause of the fault, whether it’s a wiring issue, a module failure, or another electrical problem.
- Step-by-Step Guidance: We provide step-by-step guidance on how to perform the necessary repairs.
7.2. Remote Programming
- Module Programming: We offer remote programming services to program new or replacement headlight control modules.
- Software Updates: We can perform software updates for the headlight control module and other vehicle systems.
- Configuration: We ensure that the headlight system is properly configured to the vehicle’s specifications.
7.3. Benefits of Using AutoExplain.com
- Expertise: Access to a team of highly skilled and experienced automotive technicians.
- Efficiency: Fast and efficient remote diagnostic and programming services.
- Cost-Effectiveness: Avoid the high costs of traditional dealership repairs.
- Convenience: Remote services can be performed from your workshop, saving time and hassle.
- Support: Ongoing technical support to ensure the issue is fully resolved.
8. Real-World Case Studies
Examining real-world scenarios can provide valuable insights into diagnosing and repairing the B210D00 fault code.
8.1. Case Study 1: Wiring Issue in a C-Class (W205)
- Vehicle: Mercedes-Benz C-Class (W205)
- Problem: The left headlight was not functioning, and the B210D00 fault code was present.
- Diagnosis: Remote diagnostics by AutoExplain.com revealed a broken wire in the headlight wiring harness.
- Solution: The broken wire was repaired, and the wiring harness was properly secured. The fault code was cleared, and the headlight functioned correctly.
8.2. Case Study 2: Headlight Control Module Failure in an E-Class (W213)
- Vehicle: Mercedes-Benz E-Class (W213)
- Problem: The left headlight was not functioning, and the B210D00 fault code was present.
- Diagnosis: Remote diagnostics indicated a faulty headlight control module.
- Solution: The headlight control module was replaced, and AutoExplain.com performed remote programming to configure the new module. The fault code was cleared, and the headlight functioned correctly.
8.3. Case Study 3: Corrosion Issue in a GLC (X253)
- Vehicle: Mercedes-Benz GLC (X253)
- Problem: The left headlight was functioning intermittently, and the B210D00 fault code was present.
- Diagnosis: Inspection revealed corrosion on the headlight connector.
- Solution: The corroded connector was cleaned, and dielectric grease was applied to prevent future corrosion. The fault code was cleared, and the headlight functioned correctly.
9. Tools and Equipment Needed
Having the right tools and equipment is essential for diagnosing and repairing the B210D00 fault code.
9.1. Diagnostic Scan Tool
- Function: To read and clear fault codes, monitor live data, and perform module programming.
- Recommendation: Autel MaxiSys, Snap-on Solus, or similar professional-grade scan tool.
9.2. Multimeter
- Function: To perform continuity tests, voltage tests, and ground tests.
- Recommendation: Fluke 115 or similar reliable multimeter.
9.3. Wiring Diagrams
- Function: To trace the headlight circuit and identify potential issues.
- Recommendation: Access to AllData, Mitchell OnDemand, or Mercedes-Benz WIS.
9.4. Wire Repair Tools
- Function: To repair broken wires and replace connectors.
- Recommendation: Wire stripper, crimp tool, soldering iron, heat shrink tubing.
9.5. Connector Cleaning Tools
- Function: To clean corroded connectors.
- Recommendation: Wire brush, electrical contact cleaner, dielectric grease.
10. Common Mistakes to Avoid
Avoiding common mistakes can save time and prevent further issues when diagnosing and repairing the B210D00 fault code.
10.1. Overlooking Simple Issues
- Mistake: Failing to check the headlight bulb and wiring for obvious damage before proceeding with more complex diagnostics.
- Solution: Always start with a visual inspection and check the simple things first.
10.2. Neglecting Wiring Diagrams
- Mistake: Attempting to diagnose the fault without consulting wiring diagrams.
- Solution: Always use wiring diagrams to trace the headlight circuit and identify potential issues.
10.3. Ignoring Related Fault Codes
- Mistake: Focusing solely on the B210D00 fault code and ignoring other related codes.
- Solution: Pay attention to all stored fault codes and consider how they may be related.
10.4. Improper Module Programming
- Mistake: Failing to properly program a new or replacement headlight control module.
- Solution: Always follow the correct programming procedures and use a compatible diagnostic scan tool. AutoExplain.com offers remote programming services to ensure proper module configuration.
10.5. Skipping Post-Repair Verification
- Mistake: Failing to verify that the headlight system is functioning correctly after completing the repairs.
- Solution: Always clear fault codes, retest the system, and perform a road test to ensure the issue is fully resolved.
11. Frequently Asked Questions (FAQ)
11.1. What does the B210D00 fault code mean?
The B210D00 fault code indicates an open circuit in the left headlight control circuit in Mercedes-Benz vehicles.
11.2. What are the common symptoms of the B210D00 fault code?
Common symptoms include a non-functional left headlight, error messages on the dashboard, and reduced visibility.
11.3. What are the potential causes of the B210D00 fault code?
Potential causes include wiring issues, headlight assembly problems, control module issues, and other electrical problems.
11.4. How do I diagnose the B210D00 fault code?
Diagnose the fault code by performing a visual inspection, using a diagnostic scan tool, testing the wiring and connections, and checking the headlight control module.
11.5. How do I repair the B210D00 fault code?
Repair the fault code by repairing wiring issues, addressing headlight assembly problems, resolving other electrical issues, and performing post-repair verification.
11.6. Can AutoExplain.com help with the B210D00 fault code?
Yes, AutoExplain.com offers remote diagnostics and programming services to help resolve the B210D00 fault code efficiently and accurately.
11.7. What tools and equipment are needed to diagnose and repair the B210D00 fault code?
Tools and equipment needed include a diagnostic scan tool, multimeter, wiring diagrams, wire repair tools, and connector cleaning tools.
11.8. How can I prevent future occurrences of the B210D00 fault code?
Prevent future occurrences by performing regular maintenance, protecting wiring, and scheduling professional inspections.
11.9. What are some common mistakes to avoid when diagnosing and repairing the B210D00 fault code?
Common mistakes to avoid include overlooking simple issues, neglecting wiring diagrams, ignoring related fault codes, improper module programming, and skipping post-repair verification.
11.10. Where can I get expert technical support for the B210D00 fault code?
You can get expert technical support from AutoExplain.com via WhatsApp at +1(936)2896695 or email at [email protected]. Our office is located at 4590 Angus Road, New York, United States. You can also visit our website at AutoExplain.com for more information.
12. Contact AutoExplain.com for Expert Assistance
If you are experiencing the B210D00 fault code or any other automotive electrical issues, don’t hesitate to contact AutoExplain.com. Our team of expert technicians is ready to provide fast, efficient, and cost-effective remote diagnostic and programming services. Reach out to us today and let us help you get your vehicle back on the road.
12.1. Contact Information
- Office Address: 4590 Angus Road, New York, United States
- WhatsApp: +1(936)2896695
- Email: [email protected]
- Website: AutoExplain.com
By providing detailed diagnostic procedures, repair guidance, and preventive measures, this comprehensive guide equips technicians and vehicle owners with the knowledge to effectively address the B210D00 Mercedes fault code. Trust AutoExplain.com for expert assistance and reliable solutions.

BMW FSC Codes Explained: Full FSC Code List for F-Series
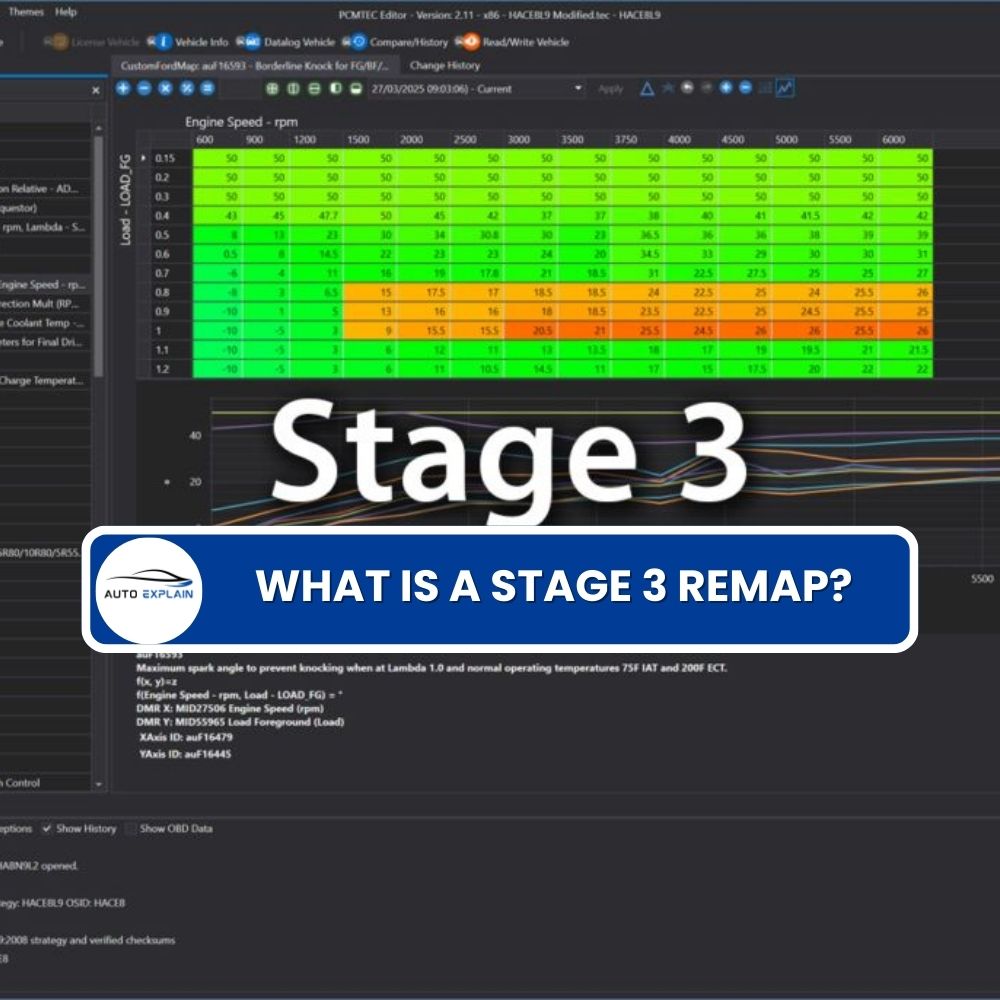
What is a Stage 3 Remap?

The Best Car Tuning Software in 2026: A Comprehensive Guide for Professionals


