The Audi A6 trouble code U140000 indicates “Function Restricted due to Insufficient Voltage,” which often stems from a low battery, faulty wiring, or a malfunctioning control module, but AutoExplain can help you diagnose and fix it quickly. This code can impact various vehicle functions, including the adaptive cruise control and other electronic systems. With AutoExplain’s expert remote diagnostic and programming services, you can swiftly identify the root cause, implement necessary repairs, and ensure your Audi A6 returns to optimal performance, leveraging our expertise in automotive electronic systems such as ECU, TCM, and BCM, backed by comprehensive data analysis and up-to-date repair strategies.
Table of Contents
1. Understanding the Audi A6 Trouble Code U140000
- 1.1 What Does U140000 Mean?
- 1.2 Common Symptoms
- 1.3 Potential Causes
2. Diagnostic Steps for U140000
- 2.1 Initial Inspection
- 2.2 Battery and Charging System Test
- 2.3 Wiring and Connector Checks
- 2.4 Control Module Analysis
- 2.5 Using Diagnostic Tools
3. Repair Solutions for U140000
- 3.1 Battery Replacement
- 3.2 Wiring Repair
- 3.3 Control Module Programming and Replacement
4. Advanced Troubleshooting with AutoExplain
- 4.1 Remote Diagnostic Services
- 4.2 ECU Programming and Calibration
- 4.3 Expert Support via WhatsApp and Email
5. Preventive Measures
- 5.1 Regular Battery Maintenance
- 5.2 Electrical System Inspections
- 5.3 Software Updates
6. Real-World Case Studies
- 6.1 Case Study 1: Battery Drain Issue
- 6.2 Case Study 2: Faulty Wiring Harness
7. Common Mistakes to Avoid
- 7.1 Overlooking Basic Checks
- 7.2 Neglecting Software Updates
8. Tools and Equipment Needed
- 8.1 Essential Tools
- 8.2 Advanced Diagnostic Equipment
9. Benefits of Professional Assistance
- 9.1 Accuracy and Efficiency
- 9.2 Access to Expertise
- 9.3 Cost Savings
10. FAQ: Troubleshooting Audi A6 U140000 Code
- 10.1 What is the U140000 trouble code in an Audi A6?
- 10.2 What are the common symptoms associated with the U140000 code?
- 10.3 What are the potential causes of the U140000 code?
- 10.4 How do I diagnose the U140000 code in my Audi A6?
- 10.5 Can I fix the U140000 code myself, or do I need a professional?
- 10.6 What tools do I need to diagnose and repair the U140000 code?
- 10.7 How can AutoExplain help with the U140000 code?
- 10.8 What preventive measures can I take to avoid the U140000 code?
- 10.9 What are the common mistakes to avoid when troubleshooting the U140000 code?
- 10.10 How often should I check my Audi A6’s electrical system to prevent issues like the U140000 code?
11. Conclusion
1. Understanding the Audi A6 Trouble Code U140000
1.1 What Does U140000 Mean?
The U140000 trouble code in an Audi A6 indicates a “Function Restricted due to Insufficient Voltage.” This means one or more of the vehicle’s control modules has detected a voltage level below the required threshold for proper operation. This can trigger a range of issues, as modern vehicles rely heavily on stable voltage to power their complex electronic systems. The code is often related to the vehicle’s battery, charging system, or associated wiring.
1.2 Common Symptoms
When the U140000 code is triggered, you may notice several symptoms affecting your Audi A6’s performance:
- Warning Lights: The most common symptom is the illumination of warning lights on the dashboard, such as the battery light, check engine light, or other system-specific warnings.
- Reduced Performance: The vehicle may exhibit reduced power, sluggish acceleration, or difficulty starting.
- System Malfunctions: Electronic systems like the adaptive cruise control, infotainment system, or power windows may malfunction or become inoperable.
- Erratic Behavior: The vehicle’s electrical systems might behave erratically, such as lights flickering or the engine stalling unexpectedly.
- Error Messages: The infotainment screen or instrument cluster may display error messages related to low voltage or system failures.
1.3 Potential Causes
Several factors can lead to the U140000 trouble code in an Audi A6:
- Low Battery Voltage: The most common cause is a weak or discharged battery. This can occur due to age, parasitic drain, or a faulty charging system.
- Faulty Alternator: The alternator is responsible for charging the battery while the engine is running. If the alternator fails, it can lead to low voltage and trigger the U140000 code.
- Wiring Issues: Damaged, corroded, or loose wiring can cause voltage drops and trigger the code. This includes issues with the battery cables, ground connections, and wiring harnesses.
- Faulty Control Modules: In some cases, a malfunctioning control module may incorrectly detect low voltage or fail to operate correctly due to insufficient power.
- Parasitic Drain: Excessive parasitic drain from components like aftermarket accessories or faulty modules can deplete the battery, especially when the vehicle is not in use.
2. Diagnostic Steps for U140000
Diagnosing the U140000 trouble code requires a systematic approach to identify the root cause of the voltage issue. Here are the key steps to follow:
2.1 Initial Inspection
Begin with a thorough visual inspection:
- Check the Battery: Look for signs of damage, corrosion, or leakage. Ensure the battery terminals are clean and securely connected.
- Inspect Wiring: Examine the wiring harnesses, connectors, and ground straps for any signs of damage, corrosion, or loose connections.
- Review Vehicle History: Check for any recent repairs or modifications that may have affected the electrical system.
2.2 Battery and Charging System Test
The battery and charging system are primary suspects when dealing with voltage-related issues:
- Battery Voltage Test: Use a multimeter to measure the battery voltage with the engine off. A fully charged battery should read around 12.6 volts. If the voltage is significantly lower, the battery may be weak or discharged.
- Load Test: Perform a load test to assess the battery’s ability to hold a charge under load. This test simulates the demands placed on the battery during starting.
- Charging System Test: With the engine running, measure the voltage at the battery terminals. The alternator should maintain a voltage between 13.5 and 14.5 volts. If the voltage is outside this range, the alternator may be faulty.
2.3 Wiring and Connector Checks
Voltage drops due to wiring issues can be subtle but significant:
- Voltage Drop Test: Perform voltage drop tests on the battery cables, ground connections, and wiring harnesses. Excessive voltage drop indicates resistance in the circuit, which can be caused by corrosion, loose connections, or damaged wiring.
- Continuity Test: Use a multimeter to check the continuity of wiring circuits. This ensures that the wires are intact and not broken or shorted.
- Connector Inspection: Inspect connectors for corrosion, bent pins, or loose connections. Clean and re-seat connectors as needed.
2.4 Control Module Analysis
If the battery, charging system, and wiring appear to be in good condition, the issue may lie with a control module:
- Module Voltage Check: Verify that the control modules are receiving the correct voltage. Use a wiring diagram to locate the power and ground connections for each module and measure the voltage at these points.
- Module Diagnostics: Use a diagnostic scan tool to check for fault codes related to specific control modules. These codes can provide clues about the source of the voltage issue.
2.5 Using Diagnostic Tools
Advanced diagnostic tools are essential for accurately diagnosing the U140000 code:
- OBD-II Scanner: An OBD-II scanner can read and clear diagnostic trouble codes, providing valuable information about the system’s status.
- Multimeter: A multimeter is used to measure voltage, current, and resistance, helping to identify electrical issues.
- Load Tester: A load tester assesses the battery’s ability to hold a charge under load, simulating real-world conditions.
- Wiring Diagrams: Wiring diagrams provide detailed information about the electrical circuits, helping to locate and troubleshoot wiring issues.
Alt Text: A detailed wiring diagram for an Audi A6, illustrating the complex network of electrical connections within the vehicle.
3. Repair Solutions for U140000
Once you have diagnosed the cause of the U140000 code, you can proceed with the necessary repairs. Here are some common solutions:
3.1 Battery Replacement
If the battery is weak or faulty, replacing it is a straightforward solution:
- Select the Correct Battery: Ensure you choose a battery that meets the specifications for your Audi A6, including the correct size, type, and cold-cranking amps (CCA).
- Disconnect the Battery: Disconnect the negative terminal first, followed by the positive terminal.
- Install the New Battery: Place the new battery in the tray and secure it. Connect the positive terminal first, followed by the negative terminal.
- Register the New Battery: Use a diagnostic scan tool to register the new battery with the vehicle’s computer system. This ensures proper charging and battery management.
3.2 Wiring Repair
Addressing wiring issues is crucial for restoring proper voltage levels:
- Repair Damaged Wires: Replace or repair any damaged or corroded wires. Use proper splicing techniques and heat-shrink tubing to ensure a secure and weather-resistant connection.
- Clean and Tighten Connections: Clean any corroded connectors and terminals with a wire brush or contact cleaner. Ensure all connections are tight and secure.
- Replace Faulty Connectors: If a connector is damaged or corroded beyond repair, replace it with a new connector.
3.3 Control Module Programming and Replacement
In some cases, control module issues may require more advanced solutions:
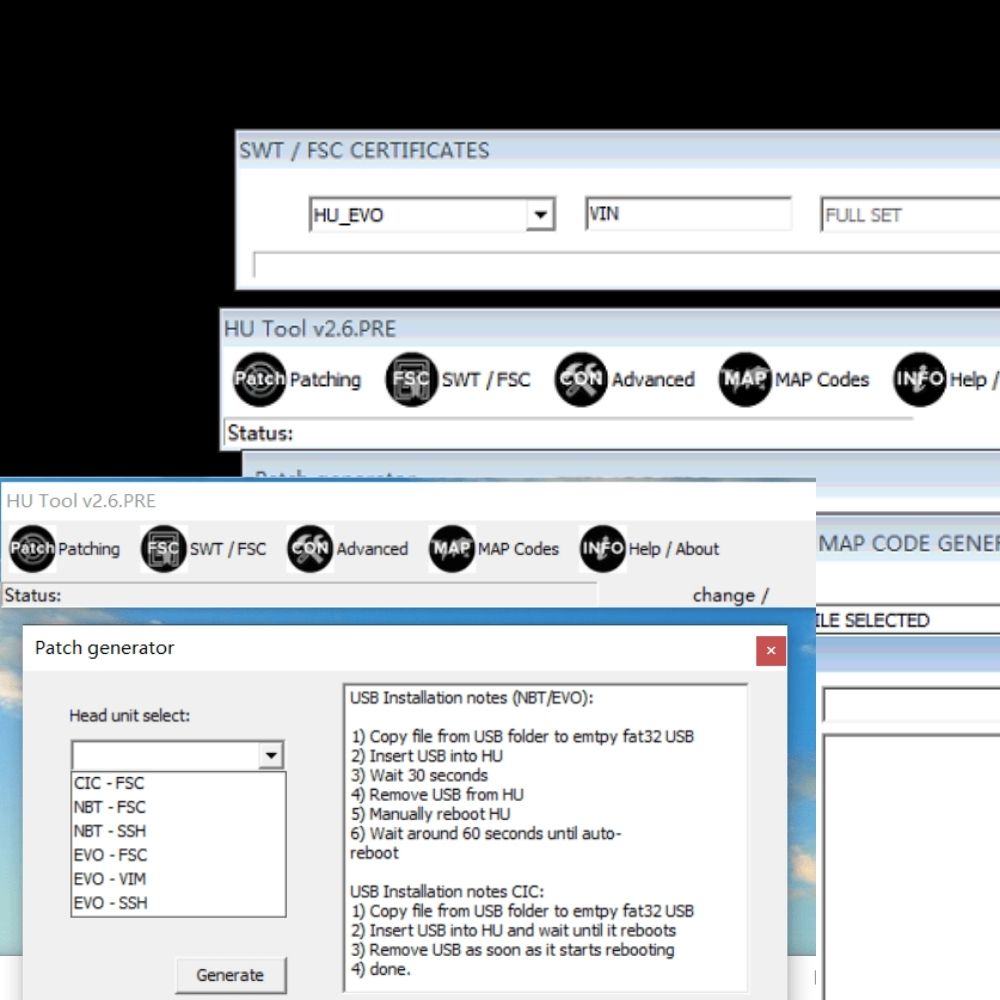
- Module Programming: If a control module has become corrupted or misconfigured, reprogramming it with the correct software may resolve the issue. This requires specialized tools and software.
- Module Replacement: If a control module is faulty and cannot be reprogrammed, it may need to be replaced. Ensure you select a replacement module that is compatible with your vehicle and program it with the correct software.
4. Advanced Troubleshooting with AutoExplain
For complex issues or when you need expert assistance, AutoExplain offers a range of services to help you resolve the U140000 code:
4.1 Remote Diagnostic Services
AutoExplain provides remote diagnostic services to help you pinpoint the cause of the U140000 code quickly and accurately. Our expert technicians can remotely access your vehicle’s computer system, read fault codes, and perform advanced diagnostics.
Alt Text: A technician using remote diagnostic tools to analyze a vehicle’s electronic systems via AutoExplain.
4.2 ECU Programming and Calibration
If the U140000 code is related to a control module issue, AutoExplain can provide ECU programming and calibration services. Our technicians can remotely reprogram or calibrate your vehicle’s control modules to ensure they are functioning correctly.
4.3 Expert Support via WhatsApp and Email
AutoExplain offers expert support via WhatsApp at +1(936)2896695 and email at [email protected]. Our team of experienced technicians is available to answer your questions, provide guidance, and help you resolve the U140000 code.
5. Preventive Measures
Preventing the U140000 code involves maintaining your vehicle’s electrical system and addressing potential issues before they escalate. Here are some key preventive measures:
5.1 Regular Battery Maintenance
- Keep the Battery Clean: Clean the battery terminals regularly to prevent corrosion.
- Check Battery Voltage: Monitor the battery voltage periodically to ensure it is within the normal range.
- Avoid Deep Discharges: Avoid leaving the vehicle’s lights or accessories on for extended periods, as this can drain the battery.
5.2 Electrical System Inspections
- Inspect Wiring: Regularly inspect the wiring harnesses, connectors, and ground straps for any signs of damage, corrosion, or loose connections.
- Test the Charging System: Have the charging system tested periodically to ensure the alternator is functioning correctly.
5.3 Software Updates
- Keep Software Up-to-Date: Ensure your vehicle’s control modules have the latest software updates. These updates can improve system performance and prevent potential issues.
6. Real-World Case Studies
6.1 Case Study 1: Battery Drain Issue
A customer reported a U140000 code in their Audi A6, along with symptoms of reduced performance and intermittent system malfunctions. After performing a remote diagnostic scan, AutoExplain’s technicians identified a parasitic drain caused by a faulty aftermarket amplifier. The amplifier was drawing excessive current even when the vehicle was turned off, leading to a discharged battery and the U140000 code. Disconnecting the amplifier resolved the issue, and the customer was advised to replace it with a more efficient model.
6.2 Case Study 2: Faulty Wiring Harness
Another customer experienced a U140000 code in their Audi A6, accompanied by erratic electrical behavior. AutoExplain’s technicians conducted a remote diagnostic session and recommended a thorough inspection of the vehicle’s wiring harnesses. The customer found a damaged wiring harness near the engine compartment, with several wires corroded and exposed. Repairing the wiring harness restored proper voltage levels and resolved the U140000 code.
7. Common Mistakes to Avoid
When troubleshooting the U140000 code, avoid these common mistakes:
7.1 Overlooking Basic Checks
- Ignoring Visual Inspection: Always start with a thorough visual inspection of the battery, wiring, and connections.
- Skipping Battery Test: Don’t assume the battery is good without testing it. A weak battery is a common cause of voltage-related issues.
7.2 Neglecting Software Updates
- Ignoring Software Updates: Ensure your vehicle’s control modules have the latest software updates. These updates can improve system performance and prevent potential issues.
8. Tools and Equipment Needed
Having the right tools and equipment is essential for diagnosing and repairing the U140000 code:
8.1 Essential Tools
- OBD-II Scanner: Reads and clears diagnostic trouble codes.
- Multimeter: Measures voltage, current, and resistance.
- Socket Set: Used for removing and installing components.
- Wrench Set: Used for tightening and loosening bolts.
- Wire Strippers: Used for stripping wires.
- Crimping Tool: Used for crimping connectors.
8.2 Advanced Diagnostic Equipment
- Load Tester: Assesses the battery’s ability to hold a charge under load.
- Wiring Diagrams: Provides detailed information about the electrical circuits.
- ECU Programming Tool: Used for programming and calibrating control modules.
9. Benefits of Professional Assistance
While it is possible to diagnose and repair the U140000 code yourself, seeking professional assistance from AutoExplain offers several benefits:
9.1 Accuracy and Efficiency
Professional technicians have the knowledge, experience, and tools to accurately diagnose and repair the U140000 code quickly and efficiently.
9.2 Access to Expertise
AutoExplain’s technicians have extensive experience working with Audi vehicles and can provide expert guidance and support.
9.3 Cost Savings
While there is an initial cost for professional assistance, it can save you money in the long run by preventing misdiagnoses, unnecessary repairs, and potential damage to your vehicle.
10. FAQ: Troubleshooting Audi A6 U140000 Code
10.1 What is the U140000 trouble code in an Audi A6?
The U140000 trouble code in an Audi A6 indicates “Function Restricted due to Insufficient Voltage,” meaning one or more control modules has detected low voltage.
10.2 What are the common symptoms associated with the U140000 code?
Common symptoms include warning lights, reduced performance, system malfunctions, erratic electrical behavior, and error messages.
10.3 What are the potential causes of the U140000 code?
Potential causes include low battery voltage, a faulty alternator, wiring issues, faulty control modules, and parasitic drain.
10.4 How do I diagnose the U140000 code in my Audi A6?
Start with a visual inspection, then test the battery and charging system, check wiring and connectors, and analyze control modules using diagnostic tools like an OBD-II scanner and multimeter.
10.5 Can I fix the U140000 code myself, or do I need a professional?
Simple issues like loose connections or a weak battery can be addressed DIY, but complex problems may require professional diagnostics and repairs from services like AutoExplain.
10.6 What tools do I need to diagnose and repair the U140000 code?
Essential tools include an OBD-II scanner, multimeter, socket set, wrench set, wire strippers, and crimping tool. Advanced equipment includes a load tester, wiring diagrams, and an ECU programming tool.
10.7 How can AutoExplain help with the U140000 code?
AutoExplain offers remote diagnostic services, ECU programming and calibration, and expert support via WhatsApp and email to help pinpoint and resolve the issue.
10.8 What preventive measures can I take to avoid the U140000 code?
Preventive measures include regular battery maintenance, electrical system inspections, and keeping software updates current.
10.9 What are the common mistakes to avoid when troubleshooting the U140000 code?
Avoid overlooking basic checks like visual inspections and battery tests, and don’t neglect software updates.
10.10 How often should I check my Audi A6’s electrical system to prevent issues like the U140000 code?
It’s recommended to check your Audi A6’s electrical system at least once a year, or more frequently if you notice any symptoms of electrical issues.
11. Conclusion
The Audi A6 trouble code U140000 can be a complex issue, but with a systematic approach and the right tools, you can diagnose and repair it effectively. Whether you choose to tackle the problem yourself or seek professional assistance from AutoExplain, understanding the potential causes, diagnostic steps, and repair solutions is essential for maintaining your vehicle’s performance and reliability. For expert support and remote diagnostic services, contact AutoExplain via WhatsApp at +1(936)2896695 or email at [email protected]. Our office is located at 1500 N Grant ST Sten Denver, CO 80203. Visit our website at AutoExplain for more information.