Audi A3 Trouble Code B1802f1 indicates an issue within the energy management system, often pointing to a battery-related problem, especially in hybrid models like the e-tron. This article delves into the causes, diagnostics, and solutions for this code, offering expert insights to help automotive technicians resolve the issue efficiently, and to seek support from AutoExplain.com. Addressing these issues promptly ensures the vehicle operates reliably and avoids potential breakdowns, enhancing overall vehicle maintenance.
1. What is Audi A3 Trouble Code B1802F1 and What Does It Indicate?
Audi A3 trouble code B1802F1 signifies a malfunction within the vehicle’s energy management system, generally indicating a battery-related issue, particularly in hybrid models like the e-tron. This code suggests that the car’s computer has detected a problem with how the battery is charging, discharging, or maintaining its state of health. Understanding the specifics of this code and its symptoms will help technicians to streamline the repair process and ensure that the car operates smoothly and reliably.
1.1. Root Causes of Trouble Code B1802F1
The B1802F1 trouble code in an Audi A3 can stem from several underlying issues within the vehicle’s energy management system. Understanding these root causes is crucial for accurate diagnosis and effective repair. Here’s a detailed look at the common culprits:
- Faulty 12V Battery: The most straightforward cause is a failing or weak 12V battery. This battery is responsible for starting the car and powering essential electrical systems. If it’s not holding a charge or is nearing the end of its lifespan, it can trigger the B1802F1 code.
- Hybrid Battery Issues: In Audi A3 e-tron models, the hybrid battery pack is a critical component. Problems such as cell imbalance, degradation, or a faulty battery management system (BMS) can lead to energy management errors and the activation of the B1802F1 code.
- Alternator Problems: The alternator charges the 12V battery while the engine is running. If the alternator is not providing sufficient voltage or has inconsistent output, the battery may not charge correctly, leading to the error code.
- Wiring and Connection Issues: Damaged, corroded, or loose wiring and connections in the battery or energy management system can disrupt the proper flow of electricity. This can result in incorrect readings and trigger the B1802F1 code.
- Energy Management Control Module (J644) Failure: The energy management control module oversees the charging and distribution of energy in the vehicle. If this module malfunctions, it can provide incorrect data or fail to manage the battery system properly, leading to the B1802F1 code.
- Software Issues: Outdated or corrupt software in the vehicle’s control units can cause miscommunication between the various systems. A software update or reflash may be necessary to resolve the issue.
- Parasitic Drain: Excessive parasitic drain occurs when electrical components continue to draw power from the battery even when the car is off. This can deplete the battery and trigger the energy management system to report an error.
- Sensor Malfunctions: Various sensors monitor battery voltage, current, and temperature. If these sensors provide inaccurate readings, the energy management system may misinterpret the battery’s condition and activate the B1802F1 code.
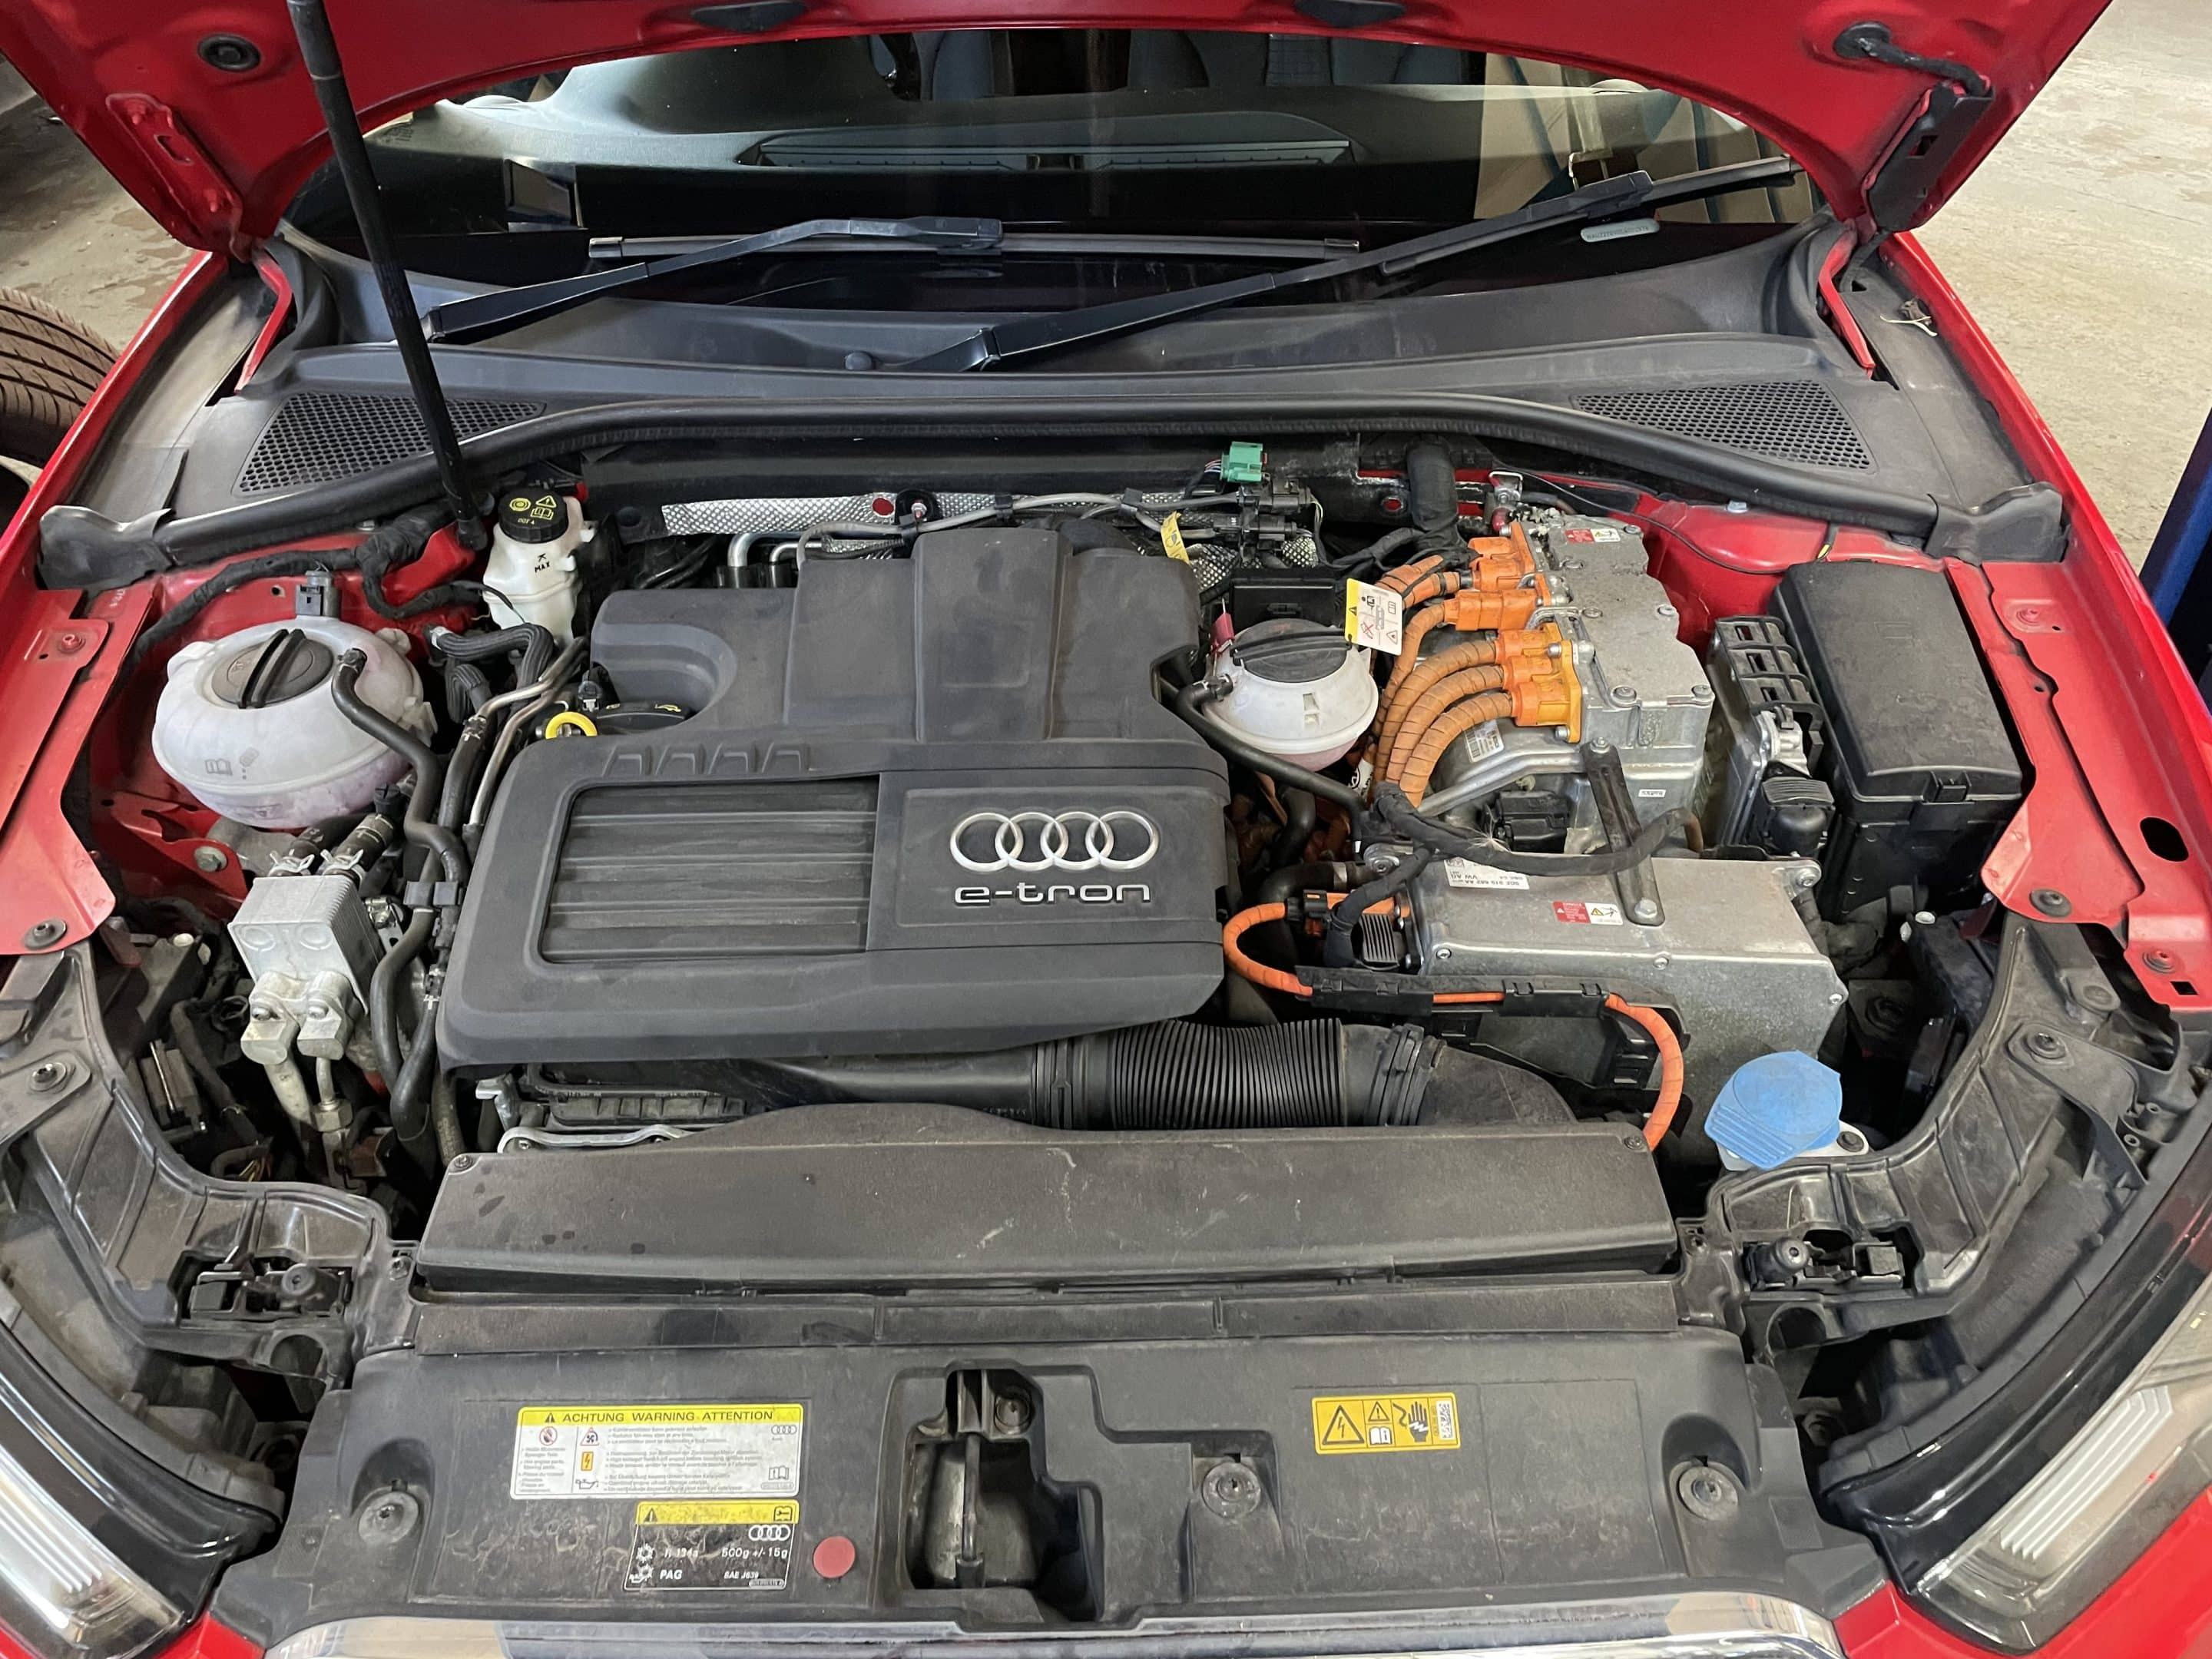
 Audi A3 E-tron battery fault indicating B1802F1
1.2. Symptoms Associated with Trouble Code B1802F1
When the B1802F1 trouble code appears in your Audi A3, it’s often accompanied by a range of symptoms that can affect the vehicle’s performance and reliability. Recognizing these symptoms is essential for prompt diagnosis and repair. Here are the common signs associated with this error code:
- Battery Warning Light: One of the most noticeable symptoms is the illumination of the battery warning light on the dashboard. This light indicates that there is an issue with the battery or charging system.
- Reduced Electrical Power: The vehicle’s electrical systems may exhibit reduced power, such as dim headlights, slow power windows, or a weak air conditioning system.
- Starting Problems: Difficulty starting the car, or a slow crank, can indicate that the battery is not providing sufficient power to the starter motor.
- Error Messages on the Dashboard: Modern Audi A3 models often display specific error messages on the dashboard related to the battery or energy management system, providing more detailed information about the issue.
- Hybrid System Malfunctions (e-tron): In hybrid e-tron models, there may be issues with the hybrid system, such as reduced electric range, failure to switch to electric mode, or error messages related to the hybrid battery.
- Decreased Fuel Efficiency (e-tron): The e-tron may experience a decrease in fuel efficiency as the hybrid system struggles to operate optimally due to battery issues.
- Engine Performance Issues: In some cases, the engine may run rough or stall, especially if the battery issue is affecting the engine management system.
- Inability to Charge (e-tron): The hybrid battery may fail to charge properly when plugged in, or it may take an unusually long time to reach full charge.
- Unexpected Shutdowns: The vehicle may unexpectedly shut down, especially under high electrical load, as the energy management system tries to protect the battery.
- Audible Warning Sounds: Some Audi models may emit audible warning sounds or chimes when a significant fault is detected in the energy management system.
By paying attention to these symptoms, technicians can quickly identify that the B1802F1 code is active and take appropriate diagnostic and repair steps. Addressing these issues promptly ensures the vehicle operates reliably and avoids potential breakdowns. If you encounter these symptoms, consider seeking expert assistance from AutoExplain.com to ensure accurate and effective resolution.
2. Step-by-Step Guide to Diagnose Audi A3 Trouble Code B1802F1
Diagnosing the Audi A3 trouble code B1802F1 requires a systematic approach to pinpoint the exact cause. Here’s a detailed, step-by-step guide to help technicians accurately diagnose and resolve the issue:
Step 1: Preliminary Checks
- Visual Inspection: Begin with a thorough visual inspection of the battery, wiring, and connections. Look for any signs of damage, corrosion, or loose connections. Clean any corroded terminals and ensure all connections are secure.
- Battery Condition: Check the overall condition of the battery. Look for swelling, cracks, or leaks. These signs indicate that the battery may need replacement.
- Review Fault Codes: Use a diagnostic scanner to read and record all fault codes present in the vehicle’s system. Note any other codes that appear alongside B1802F1, as they may provide additional clues.
Step 2: Battery Testing
- Voltage Test: Use a multimeter to measure the battery’s voltage. A fully charged 12V battery should read around 12.6 volts. If the voltage is significantly lower, the battery may be discharged or failing.
- Load Test: Perform a load test to assess the battery’s ability to deliver current under load. A load tester will simulate the draw of the starter motor and measure the battery’s voltage response. A significant drop in voltage indicates a weak battery.
- State of Health (SOH) and State of Charge (SOC): Use a battery analyzer to determine the battery’s state of health (SOH) and state of charge (SOC). These metrics provide insights into the battery’s overall condition and capacity.
Step 3: Alternator Testing
- Output Voltage: With the engine running, use a multimeter to measure the alternator’s output voltage. It should typically be between 13.5 and 14.5 volts.
- Charging Current: Use a clamp meter to measure the alternator’s charging current. The current should increase as electrical loads are added, indicating that the alternator is properly charging the battery.
- Ripple Test: Use an oscilloscope to check for AC ripple in the alternator’s output. Excessive ripple indicates a failing diode in the alternator, which can cause battery issues.
Step 4: Hybrid System Assessment (e-tron Models)
- Hybrid Battery Health: Use a diagnostic scanner to access the hybrid battery management system (BMS) and check the health of the hybrid battery pack. Look for any cell imbalances, temperature irregularities, or error messages.
- Charging Performance: Monitor the hybrid battery’s charging performance. Check the charging voltage, current, and charging time. Any anomalies can indicate issues with the hybrid battery or charging system.
- Isolation Test: Perform an isolation test to check for any electrical leaks in the hybrid system. This test ensures that there is no unintended current flow from the high-voltage components to the vehicle’s chassis.
Step 5: Wiring and Connection Checks
- Continuity Test: Use a multimeter to perform continuity tests on the wiring and connections related to the battery and energy management system. Check for any breaks or shorts in the wiring.
- Resistance Test: Measure the resistance of the wiring and connections to ensure they are within the specified range. High resistance can restrict current flow and cause issues.
- Connector Inspection: Inspect all connectors for corrosion, damage, or loose pins. Clean and reseat any suspect connectors.
Step 6: Energy Management Control Module (J644) Testing
- Module Communication: Use a diagnostic scanner to verify communication with the energy management control module (J644). If the module is not communicating, check its power supply, ground, and communication lines.
- Data Monitoring: Monitor the data provided by the J644 module, such as battery voltage, current, and temperature readings. Compare these values to the actual measurements to identify any discrepancies.
- Software Version: Check the software version of the J644 module and update it to the latest version if necessary. Software updates can resolve known issues and improve system performance.
Step 7: Parasitic Drain Testing
- Identify Drain: Use a multimeter to measure the parasitic drain on the battery with the vehicle off. A normal drain should be less than 50 milliamps (mA).
- Isolate Circuits: Systematically disconnect circuits to identify the source of excessive drain. Once the offending circuit is identified, further investigate the components within that circuit to pinpoint the cause.
Step 8: Sensor Testing
- Voltage Sensors: Use a multimeter to check the voltage output of the battery voltage sensors. Compare the readings to the specifications to ensure accuracy.
- Current Sensors: Use a clamp meter to measure the current flow through the battery current sensors. Verify that the readings are consistent with the actual current flow.
- Temperature Sensors: Use a thermometer or diagnostic scanner to check the temperature readings from the battery temperature sensors. Compare the readings to the ambient temperature to ensure accuracy.
Step 9: Final Verification
- Clear Fault Codes: After completing the repairs, clear all fault codes from the vehicle’s system.
- Test Drive: Perform a test drive to verify that the B1802F1 code does not reappear and that all vehicle systems are functioning correctly.
- System Check: Perform a final system check with the diagnostic scanner to ensure that no new fault codes have been triggered.
By following these steps, technicians can effectively diagnose and resolve the B1802F1 trouble code in an Audi A3. Addressing the root cause of the problem ensures the vehicle operates reliably and avoids future issues. If you need further assistance or expert guidance, AutoExplain.com is available to provide remote diagnostic support and solutions.
2.1. Essential Tools for Diagnosing Code B1802F1
Diagnosing the Audi A3 trouble code B1802F1 requires a combination of specialized tools and a thorough understanding of automotive electrical systems. Here’s a list of essential tools that technicians should have on hand:
- Diagnostic Scanner (e.g., VCDS, ODIS): A diagnostic scanner is crucial for reading and clearing fault codes, accessing live data, and performing system tests. For Audi vehicles, it’s beneficial to have access to tools like VCDS (VAG-COM Diagnostic System) or ODIS (Offboard Diagnostic Information System), which provide in-depth diagnostic capabilities specific to Volkswagen Audi Group vehicles.
- Multimeter: A multimeter is essential for measuring voltage, current, and resistance in electrical circuits. It’s used to check battery voltage, alternator output, wiring continuity, and sensor readings.
- Load Tester: A load tester assesses the battery’s ability to deliver current under load. It simulates the draw of the starter motor and measures the battery’s voltage response to determine its overall health.
- Battery Analyzer: A battery analyzer provides detailed information about the battery’s state of health (SOH), state of charge (SOC), and internal resistance. It helps technicians determine the battery’s overall condition and capacity.
- Clamp Meter: A clamp meter measures the current flow in a circuit without needing to disconnect any wires. It’s useful for checking the alternator’s charging current and identifying parasitic drains.
- Oscilloscope: An oscilloscope is used to analyze electrical signals, such as the alternator’s output waveform. It can detect issues like AC ripple, which indicates a failing diode in the alternator.
- Wiring Diagrams: Access to accurate wiring diagrams for the Audi A3 is essential for tracing circuits and identifying components. Wiring diagrams provide detailed information about the wiring layout, connector locations, and component connections.
- OBD-II Connector Breakout Box: An OBD-II connector breakout box allows technicians to access the pins on the OBD-II connector for testing and diagnostics. It’s useful for verifying the integrity of the communication lines and diagnosing communication issues.
- Specialized Tools for Hybrid Systems (e-tron Models): For Audi A3 e-tron models, specialized tools for working with high-voltage hybrid systems are necessary. These tools include high-voltage gloves, insulated tools, and a high-voltage meter for safely measuring voltage in the hybrid system.
- Pry Tools and Socket Sets: Various pry tools and socket sets are needed for disassembling and reassembling vehicle components during diagnosis and repair.
Having these tools readily available enables technicians to efficiently and accurately diagnose the B1802F1 trouble code in an Audi A3. If you require assistance with diagnosis or need expert guidance, consider reaching out to AutoExplain.com for remote diagnostic support and solutions.
2.2. Common Mistakes to Avoid During Diagnosis
When diagnosing the Audi A3 trouble code B1802F1, it’s crucial to avoid common mistakes that can lead to misdiagnosis and wasted time. Here are some pitfalls to watch out for:
- Skipping Preliminary Checks: Failing to perform a thorough visual inspection of the battery, wiring, and connections can lead to overlooking obvious issues. Always start with a careful visual check to identify any signs of damage, corrosion, or loose connections.
- Assuming the Battery is Always the Problem: While a faulty battery is a common cause of the B1802F1 code, it’s not always the culprit. Simply replacing the battery without proper diagnosis can mask the underlying issue and lead to the code reappearing.
- Ignoring Other Fault Codes: The B1802F1 code may be accompanied by other fault codes that provide valuable clues about the problem. Ignoring these codes can result in an incomplete diagnosis.
- Failing to Test the Alternator: A malfunctioning alternator can cause battery issues and trigger the B1802F1 code. Failing to test the alternator’s output voltage, charging current, and ripple can lead to misdiagnosing the problem as a faulty battery.
- Neglecting Wiring and Connection Issues: Damaged, corroded, or loose wiring and connections can disrupt the proper flow of electricity and cause the B1802F1 code to appear. Neglecting to inspect and test these components can result in a missed diagnosis.
- Not Considering Parasitic Drain: Excessive parasitic drain can deplete the battery and trigger the energy management system to report an error. Failing to measure and investigate parasitic drain can lead to an incomplete diagnosis.
- Overlooking Software Issues: Outdated or corrupt software in the vehicle’s control units can cause miscommunication between systems and trigger the B1802F1 code. Neglecting to check and update the software can result in a missed diagnosis.
- Not Using Proper Diagnostic Tools: Using generic diagnostic tools or relying solely on code definitions can lead to inaccurate diagnoses. It’s important to use specialized tools like VCDS or ODIS, which provide in-depth diagnostic capabilities specific to Audi vehicles.
- Failing to Verify the Repair: After completing the repairs, it’s essential to verify that the B1802F1 code does not reappear and that all vehicle systems are functioning correctly. Failing to perform a test drive and system check can result in the customer returning with the same issue.
- Ignoring Hybrid System Components (e-tron Models): In hybrid e-tron models, neglecting to thoroughly assess the hybrid battery pack, charging system, and related components can lead to misdiagnosing the problem.
By avoiding these common mistakes, technicians can improve their diagnostic accuracy and efficiently resolve the B1802F1 trouble code in an Audi A3. If you need further assistance or expert guidance, AutoExplain.com is available to provide remote diagnostic support and solutions.
3. Repairing the Audi A3 with Trouble Code B1802F1: Solutions and Procedures
Once the Audi A3 trouble code B1802F1 has been accurately diagnosed, the next step is to implement the appropriate repair procedures. Here’s a detailed guide to the solutions and procedures that can effectively resolve this issue:
1. Battery Replacement
- Procedure: If the battery is found to be faulty or nearing the end of its lifespan, replace it with a new battery that meets the vehicle’s specifications. Ensure the new battery is properly charged before installation.
- Coding: After installing the new battery, it may be necessary to code the battery management system (BMS) to recognize the new battery. Use a diagnostic scanner like VCDS or ODIS to perform the coding procedure.
- Verification: Verify that the B1802F1 code is cleared and does not reappear after the battery replacement. Perform a test drive to ensure the vehicle’s electrical systems are functioning correctly.
2. Alternator Repair or Replacement
- Procedure: If the alternator is not providing sufficient voltage or has excessive AC ripple, repair or replace the alternator as needed. Inspect the alternator’s wiring and connections for any damage or corrosion.
- Testing: After installing the repaired or replaced alternator, test its output voltage and charging current to ensure it is functioning within the specified range.
- Verification: Verify that the B1802F1 code is cleared and does not reappear after the alternator repair or replacement. Perform a test drive to ensure the vehicle’s battery is being properly charged.
3. Wiring and Connection Repair
- Procedure: If damaged, corroded, or loose wiring and connections are found, repair or replace them as needed. Clean any corroded terminals and ensure all connections are secure.
- Testing: Use a multimeter to perform continuity and resistance tests on the wiring and connections to ensure they are within the specified range.
- Verification: Verify that the B1802F1 code is cleared and does not reappear after the wiring and connection repair. Perform a test drive to ensure the vehicle’s electrical systems are functioning correctly.
4. Energy Management Control Module (J644) Repair or Replacement
- Procedure: If the energy management control module (J644) is found to be faulty, repair or replace it as needed. Ensure the replacement module is properly programmed and coded to the vehicle’s specifications.
- Coding: Use a diagnostic scanner to perform the coding and programming procedure for the new J644 module.
- Verification: Verify that the B1802F1 code is cleared and does not reappear after the J644 module repair or replacement. Monitor the data provided by the module to ensure it is functioning correctly.
5. Software Update
- Procedure: If the vehicle’s control units have outdated or corrupt software, perform a software update to the latest version. Use a diagnostic scanner like VCDS or ODIS to perform the software update procedure.
- Compatibility: Ensure that the software update is compatible with the vehicle’s model and specifications.
- Verification: Verify that the B1802F1 code is cleared and does not reappear after the software update. Perform a test drive to ensure the vehicle’s systems are functioning correctly.
6. Parasitic Drain Correction
- Procedure: If excessive parasitic drain is found, identify and correct the source of the drain. Systematically disconnect circuits to isolate the offending component.
- Repair: Repair or replace the component causing the parasitic drain as needed.
- Verification: Verify that the parasitic drain is reduced to the specified level (less than 50 mA). Verify that the B1802F1 code is cleared and does not reappear after the parasitic drain correction.
7. Hybrid System Repair (e-tron Models)
- Procedure: For Audi A3 e-tron models, repair any issues with the hybrid battery pack, charging system, or related components. This may involve replacing individual battery cells, repairing wiring and connections, or replacing the hybrid battery management system (BMS).
- High-Voltage Safety: Follow proper high-voltage safety procedures when working with the hybrid system. Use high-voltage gloves and insulated tools to avoid electrical shock.
- Verification: Verify that the B1802F1 code is cleared and does not reappear after the hybrid system repair. Monitor the hybrid battery’s charging performance and overall health to ensure it is functioning correctly.
8. Sensor Replacement
- Procedure: If any sensors related to the battery or energy management system are found to be faulty, replace them as needed. Ensure the replacement sensors are properly calibrated and coded to the vehicle’s specifications.
- Calibration: Use a diagnostic scanner to perform the calibration procedure for the new sensors.
- Verification: Verify that the B1802F1 code is cleared and does not reappear after the sensor replacement. Monitor the data provided by the sensors to ensure they are functioning correctly.
By following these repair procedures, technicians can effectively resolve the B1802F1 trouble code in an Audi A3. Addressing the root cause of the problem ensures the vehicle operates reliably and avoids future issues. If you need further assistance or expert guidance, AutoExplain.com is available to provide remote diagnostic support and solutions.
3.1. Step-by-Step Instructions for Replacing a Faulty Battery
Replacing a faulty battery in an Audi A3 requires careful attention to detail to ensure the vehicle’s electrical systems function correctly. Here are step-by-step instructions for safely and effectively replacing the battery:
Tools and Materials Needed:
- New battery (matching the vehicle’s specifications)
- Socket set with extensions
- Wrench set
- Battery terminal cleaner
- Battery terminal protector
- Memory saver (optional)
- Gloves and safety glasses
Step 1: Safety Precautions
- Wear gloves and safety glasses to protect yourself from battery acid and other hazards.
- Ensure the vehicle is parked on a level surface and the parking brake is engaged.
- Turn off the engine and all electrical accessories.
- Disconnect the negative (-) terminal first to prevent accidental short circuits.
Step 2: Locate the Battery
- Refer to the vehicle’s owner’s manual to locate the battery. In most Audi A3 models, the battery is located in the engine compartment or under the rear seat.
Step 3: Disconnect the Battery Terminals
- Use a wrench to loosen the nut on the negative (-) battery terminal.
- Carefully disconnect the negative (-) terminal and tuck it away from the battery.
- Use a wrench to loosen the nut on the positive (+) battery terminal.
- Carefully disconnect the positive (+) terminal and tuck it away from the battery.
Step 4: Remove the Battery Hold-Down
- Locate the battery hold-down clamp or strap that secures the battery in place.
- Use a socket or wrench to remove the hold-down.
- Carefully lift the battery out of the tray.
Step 5: Clean the Battery Tray and Terminals
- Inspect the battery tray for corrosion or debris. Clean the tray as needed.
- Use a battery terminal cleaner to clean the battery terminals.
- Apply battery terminal protector to prevent future corrosion.
Step 6: Install the New Battery
- Carefully place the new battery into the battery tray.
- Secure the battery with the hold-down clamp or strap.
Step 7: Connect the Battery Terminals
- Connect the positive (+) battery terminal to the positive (+) post on the battery.
- Tighten the nut on the positive (+) terminal.
- Connect the negative (-) battery terminal to the negative (-) post on the battery.
- Tighten the nut on the negative (-) terminal.
Step 8: Verify the Connection
- Ensure that the battery terminals are securely connected and there is no corrosion.
- Double-check that the battery hold-down is properly secured.
Step 9: Code the New Battery (if necessary)
- Use a diagnostic scanner like VCDS or ODIS to code the new battery to the vehicle’s battery management system (BMS).
- Follow the instructions provided by the diagnostic scanner to complete the coding procedure.
Step 10: Verify Proper Operation
- Start the engine and verify that the vehicle’s electrical systems are functioning correctly.
- Check for any error messages or warning lights on the dashboard.
- Perform a test drive to ensure the vehicle’s battery is being properly charged.
By following these step-by-step instructions, technicians can safely and effectively replace a faulty battery in an Audi A3. If you need further assistance or expert guidance, AutoExplain.com is available to provide remote diagnostic support and solutions.
3.2. How to Prevent the B1802F1 Code from Recurring
Preventing the B1802F1 code from recurring in an Audi A3 involves implementing proactive maintenance measures and addressing potential issues before they escalate. Here are several strategies to help prevent the B1802F1 code from reappearing:
- Regular Battery Maintenance:
- Scheduled Inspections: Conduct regular inspections of the battery’s condition, including voltage, terminal connections, and overall health.
- Terminal Cleaning: Clean battery terminals regularly to prevent corrosion. Use a battery terminal cleaner and apply a terminal protector to maintain optimal conductivity.
- Load Testing: Perform load tests periodically to assess the battery’s ability to deliver current under load. Replace the battery if it shows signs of weakness.
- Alternator Maintenance:
- Voltage Monitoring: Monitor the alternator’s output voltage to ensure it is within the specified range.
- Belt Inspection: Inspect the alternator belt for wear and tear. Replace the belt if it shows signs of damage or slippage.
- Output Testing: Test the alternator’s output current to ensure it is charging the battery properly.
- Wiring and Connection Care:
- Visual Inspections: Regularly inspect wiring and connections related to the battery and energy management system.
- Securing Connections: Ensure all connections are secure and free from corrosion. Use dielectric grease to protect connections from moisture and corrosion.
- Wiring Repairs: Repair or replace damaged wiring promptly to prevent electrical issues.
- Software Updates:
- Regular Updates: Keep the vehicle’s software up to date to ensure proper communication between systems.
- Module Updates: Check for software updates for the energy management control module (J644) and other related modules.
- Parasitic Drain Management:
- Identify Sources: Identify and address any sources of excessive parasitic drain.
- Circuit Testing: Test circuits for parasitic drain and repair any components causing the drain.
- Minimize Load: Minimize the use of electrical accessories when the engine is off to reduce the load on the battery.
- Hybrid System Care (e-tron Models):
- Battery Monitoring: Monitor the health of the hybrid battery pack using a diagnostic scanner.
- Charging Practices: Follow proper charging practices for the hybrid battery, including avoiding extreme temperatures and overcharging.
- System Inspections: Regularly inspect the hybrid system for any signs of damage or issues.
- Driving Habits:
- Avoid Short Trips: Avoid frequent short trips, as they can prevent the battery from fully charging.
- Limit Electrical Usage: Limit the use of electrical accessories during start-up to reduce the load on the battery.
- Professional Maintenance:
- Scheduled Servicing: Follow the manufacturer’s recommended maintenance schedule for the battery and charging system.
- Expert Inspections: Have the battery and charging system inspected by a qualified technician during routine servicing.
By implementing these preventive measures, technicians can significantly reduce the likelihood of the B1802F1 code recurring in an Audi A3. Consistent maintenance and proactive care ensure the vehicle’s electrical systems operate reliably and efficiently. If you need further assistance or expert guidance, AutoExplain.com is available to provide remote diagnostic support and solutions.
 Audi E-tron battery fault fix ensures customer satisfaction
4. Benefits of Professional Assistance from AutoExplain.com
Diagnosing and repairing complex automotive issues like the Audi A3 trouble code B1802F1 can be challenging, requiring specialized knowledge, tools, and experience. Seeking professional assistance from AutoExplain.com offers numerous benefits for automotive technicians:
- Expertise and Experience: AutoExplain.com provides access to a team of highly skilled and experienced automotive technicians who specialize in diagnosing and repairing a wide range of vehicle issues.
- Remote Diagnostic Support: AutoExplain.com offers remote diagnostic support, allowing technicians to receive real-time guidance and assistance from experts, regardless of their location.
- Accurate Diagnoses: With their expertise and advanced diagnostic tools, AutoExplain.com can help technicians accurately diagnose the root cause of the B1802F1 code, avoiding misdiagnosis and unnecessary repairs.
- Efficient Repairs: AutoExplain.com provides step-by-step repair procedures and best practices, enabling technicians to efficiently and effectively resolve the B1802F1 code.
- Access to Information: AutoExplain.com offers access to a comprehensive database of technical information, including wiring diagrams, diagnostic procedures, and repair manuals.
- Cost Savings: By providing accurate diagnoses and efficient repair solutions, AutoExplain.com can help technicians save time and money on unnecessary parts and labor.
- Improved Customer Satisfaction: With AutoExplain.com’s assistance, technicians can provide high-quality repairs and excellent customer service, leading to improved customer satisfaction and loyalty.
- Training and Education: AutoExplain.com offers training and educational resources to help technicians enhance their skills and knowledge, keeping them up to date with the latest automotive technologies.
- Remote ECU Programming, BCM and TCM: AutoExplain.com offers remote programming services for various vehicle modules, including the Engine Control Unit (ECU), Body Control Module (BCM), and Transmission Control Module (TCM). This service ensures that these critical components are correctly configured and functioning optimally.
- Navigation Update Service: AutoExplain.com provides navigation update services to ensure your vehicle’s navigation system has the latest maps and software, enhancing your driving experience with accurate and up-to-date information.
- Key Programming: AutoExplain.com offers key programming services to help you replace or duplicate your vehicle keys, ensuring you always have access to your vehicle when you need it.
By leveraging the expertise and resources of AutoExplain.com, automotive technicians can confidently tackle complex issues like the B1802F1 code and provide their customers with top-notch service. AutoExplain.com is committed to helping technicians succeed in the ever-evolving automotive industry.
4.1. What Makes AutoExplain.com the Right Choice for Your Needs?
When facing complex automotive issues such as the Audi A3 trouble code B1802F1, choosing the right support system is critical for efficient and accurate resolution. AutoExplain.com stands out as the premier choice for automotive technicians due to several key factors:
- Extensive Expertise: AutoExplain.com boasts a team of seasoned professionals with years of hands-on experience in automotive diagnostics and repair. Their in-depth knowledge covers a broad spectrum of vehicle systems, ensuring reliable and effective solutions for even the most challenging problems.
- Advanced Diagnostic Tools: AutoExplain.com is equipped with state-of-the-art diagnostic tools and software, enabling precise identification of issues. This advanced technology ensures that technicians receive accurate information, leading to quicker and more effective repairs.
- Remote Support Capabilities: One of the standout features of AutoExplain.com is its robust remote support system. Technicians can receive real-time guidance and assistance from experts, regardless of their location. This remote capability minimizes downtime and ensures that repairs are completed efficiently.
- Comprehensive Database: AutoExplain.com provides access to an extensive database of technical information, including wiring diagrams, diagnostic procedures, and repair manuals. This wealth of information empowers technicians to make informed decisions and execute repairs with confidence.
- Customized Solutions: Recognizing that every automotive issue is unique, AutoExplain.com offers customized solutions tailored to the specific needs of each technician. This personalized approach ensures that the support provided is directly relevant to the problem at hand.
- Continuous Training and Education: AutoExplain.com is committed to keeping automotive technicians up-to-date with the latest industry advancements. They offer continuous training and educational resources to enhance skills and knowledge, ensuring technicians are well-prepared to tackle emerging technologies.
- Cost-Effective Services: By providing accurate diagnoses and efficient repair solutions, AutoExplain.com helps technicians save time and money on unnecessary parts and labor. This cost-effective approach maximizes profitability and minimizes expenses.
- Excellent Customer Service: AutoExplain.com is dedicated to providing exceptional customer service. Their support team is responsive, knowledgeable, and committed to ensuring that technicians receive the assistance they need in a timely manner.
- Key Programming and ECU Services: AutoExplain.com goes beyond diagnostics and repair by offering specialized services such as key programming and ECU (Engine Control Unit) services. This comprehensive approach ensures that all aspects of vehicle maintenance are covered.
In summary, AutoExplain.com combines expertise, advanced technology, remote support, and a commitment to continuous improvement to deliver unparalleled value to automotive technicians. Choosing AutoExplain.com means partnering with a trusted ally dedicated to helping you succeed in the dynamic world of automotive repair.
4.2. Real-World Success Stories: How AutoExplain.com Has Helped Technicians
AutoExplain.com has a proven track record of assisting automotive technicians in resolving complex vehicle issues and improving their overall efficiency. Here are a few real-world success stories that highlight the impact of AutoExplain.com’s support:


