B1F4500 Mercedes Fault Code: Diagnosis and Solutions Explained
The B1F4500 Mercedes code, indicating excessive resistance in the starter battery, can trigger a frustrating “Stop vehicle, shift to P” warning. AutoExplain.com provides comprehensive guidance to troubleshoot and resolve this issue, potentially saving you time and money. Discover effective diagnostic methods and expert solutions for your Mercedes-Benz electrical system.
Table of Contents
Toggle1. Understanding the B1F4500 Mercedes Code
The B1F4500 code in a Mercedes-Benz signals an issue with the starter battery’s resistance. This doesn’t always mean the battery is completely dead, but it does suggest that the car’s electrical system is detecting a problem that could affect starting or other functions. This fault code can appear in various Mercedes-Benz models, often accompanied by a warning message on the dashboard.
1.1 What Does the B1F4500 Code Mean?
The B1F4500 Mercedes code specifically points to “Starter battery has excessive resistance.” While a simple voltage check might show a seemingly healthy 12.6V, the internal resistance could be high enough to impede the battery’s ability to deliver the necessary current. This resistance can lead to various issues, from the warning light to starting problems.
1.2 Common Symptoms Associated with B1F4500
Several symptoms can accompany the B1F4500 code:
- Dashboard warning: “Stop vehicle, shift to ‘P,’ leave engine running.”
- Difficulty starting the engine.
- Electrical system malfunctions (e.g., lights flickering, infotainment issues).
- Reduced fuel economy (in some cases).
- The auxiliary battery might be mistakenly flagged as the cause.
Alt text: Mercedes-Benz dashboard displaying the error message “Stop vehicle, shift to ‘P,’ leave engine running” due to the B1F4500 fault code.
1.3 Potential Causes of the B1F4500 Code
Several factors can contribute to the B1F4500 code:
- Degraded Main Battery: Internal resistance increases with age and wear, even if the voltage seems normal.
- Corroded Battery Terminals: Corrosion can impede current flow, increasing resistance.
- Faulty Battery Sensor: A malfunctioning sensor can provide incorrect readings to the ECU.
- Wiring Issues: Damaged or loose wiring in the starting circuit can create resistance.
- Alternator Problems: Although less common, an underperforming alternator can strain the battery, leading to premature failure and the B1F4500 code.
2. Diagnosing the B1F4500 Mercedes Code
Proper diagnosis is essential to avoid unnecessary replacements. Here’s a step-by-step approach:
2.1 Tools and Equipment Needed
- OBD-II Scanner: To read and clear diagnostic trouble codes (DTCs).
- Multimeter: To measure voltage, resistance, and current.
- Battery Load Tester: To assess the battery’s ability to deliver current under load.
- Terminal Cleaning Tools: Wire brush, battery terminal cleaner.
- Socket Set and Wrenches: For disconnecting and reconnecting battery terminals.
- Wiring Diagram: Specific to your Mercedes-Benz model.
2.2 Step-by-Step Diagnostic Procedure
- Read the Codes: Use an OBD-II scanner to confirm the presence of the B1F4500 code and check for other related codes.
- Inspect the Battery Terminals: Check for corrosion. Clean the terminals and cable connectors thoroughly.
- Voltage Test: With the engine off, measure the battery voltage. A healthy battery should read around 12.6V.
- Load Test: Perform a load test to assess the battery’s ability to deliver current under load. A significant voltage drop during the load test indicates a failing battery.
- Check Wiring and Connections: Inspect the wiring and connections between the battery, starter, and alternator for damage or looseness.
- Alternator Output Test: With the engine running, measure the alternator output voltage. It should be between 13.5V and 14.5V.
- Battery Sensor Check: If equipped, test the battery sensor’s functionality. Consult your vehicle’s service manual for specific testing procedures.
2.3 Interpreting Diagnostic Results
| Test | Expected Result | Possible Issue |
|---|---|---|
| Voltage Test (Engine Off) | 12.6V or higher | Low voltage indicates a discharged or failing battery. |
| Load Test | Minimal voltage drop | Significant drop suggests a failing battery. |
| Alternator Output | 13.5V – 14.5V | Out-of-range voltage indicates alternator issues. |
| Terminal Inspection | Clean, corrosion-free | Corrosion can increase resistance and impede current flow. |
| Wiring Inspection | Intact, secure connections | Damaged or loose wiring can cause voltage drops and resistance. |
| Battery Sensor Check | Readings within specified range | Faulty sensor providing inaccurate data. |
3. Repairing the B1F4500 Mercedes Code
Based on the diagnostic results, here are the common repair strategies:
3.1 Replacing the Main Battery
If the battery fails the load test or shows signs of degradation, replacement is often necessary.
- Disconnect the Negative Terminal: Use a wrench to loosen and remove the negative battery cable.
- Disconnect the Positive Terminal: Repeat the process for the positive cable.
- Remove the Battery Hold-Down: This secures the battery in place.
- Lift Out the Old Battery: Be careful, as batteries can be heavy.
- Install the New Battery: Place the new battery in the tray and secure it with the hold-down.
- Reconnect the Positive Terminal: Ensure a snug fit.
- Reconnect the Negative Terminal: Tighten securely.
- Clear the Codes: Use an OBD-II scanner to clear the B1F4500 code and any related codes.
Alt text: Automotive technician replacing a car battery, ensuring proper connections and secure placement in the battery tray for optimal vehicle performance.
3.2 Cleaning Battery Terminals
Corroded terminals can significantly increase resistance.
- Disconnect the Battery: Remove both the negative and positive cables.
- Prepare a Cleaning Solution: Mix baking soda and water to form a paste.
- Apply the Paste: Use a brush to apply the paste to the terminals and cable connectors.
- Scrub Thoroughly: Remove all traces of corrosion.
- Rinse with Water: Clean off any remaining baking soda residue.
- Dry the Terminals: Use a clean cloth.
- Apply Terminal Protectant: This helps prevent future corrosion.
- Reconnect the Battery: Ensure tight connections.
3.3 Repairing Wiring Issues
Inspect and repair any damaged or loose wiring in the starting circuit.
- Visually Inspect Wires: Look for frayed insulation, broken wires, or loose connections.
- Test for Continuity: Use a multimeter to check the continuity of each wire.
- Repair or Replace Damaged Wires: Use appropriate connectors and tools to repair or replace any faulty wiring.
- Secure Connections: Ensure all connections are tight and secure.
3.4 Addressing Alternator Problems
If the alternator is not providing the correct output voltage, it may need to be repaired or replaced. This usually requires specialized tools and expertise.
4. Advanced Troubleshooting and Solutions
If the basic repairs don’t resolve the B1F4500 code, more in-depth troubleshooting may be required.
4.1 Checking the Battery Management System (BMS)
Mercedes-Benz vehicles often have a sophisticated Battery Management System (BMS) that monitors and controls battery charging and health. Issues with the BMS can sometimes trigger the B1F4500 code.
- Scan for BMS Codes: Use a high-end scan tool that can access the BMS module and check for any related codes.
- Check BMS Parameters: Monitor parameters such as battery voltage, current, and temperature to identify any anomalies.
- BMS Reset: In some cases, a BMS reset may be necessary after replacing the battery. Consult your vehicle’s service manual for the correct procedure.
4.2 Examining the Starting Circuit
A problem in the starting circuit itself, such as a faulty starter motor or solenoid, can sometimes cause the B1F4500 code to appear.
- Starter Motor Test: Use a multimeter to check the voltage at the starter motor during cranking. A significant voltage drop indicates a problem with the starter.
- Solenoid Inspection: Inspect the starter solenoid for damage or corrosion.
- Wiring to Starter: Check the wiring to the starter for any breaks or shorts.
4.3 Software and Firmware Updates
In rare cases, a software or firmware issue in the vehicle’s ECU can cause the B1F4500 code to appear. Check with your Mercedes-Benz dealer or a qualified technician to see if there are any available updates for your vehicle.
5. Preventing the B1F4500 Mercedes Code
Preventative maintenance can help avoid the B1F4500 code and extend the life of your battery.
5.1 Regular Battery Maintenance
- Periodic Voltage Checks: Regularly check the battery voltage to monitor its health.
- Terminal Cleaning: Clean the battery terminals at least once a year to prevent corrosion.
- Load Testing: Have the battery load tested every two years to assess its performance.
5.2 Proper Electrical System Care
- Avoid Excessive Electrical Loads: Minimize the use of accessories when the engine is off.
- Ensure Correct Charging: Make sure the alternator is charging the battery properly.
- Address Electrical Issues Promptly: Fix any electrical problems as soon as they arise to prevent them from straining the battery.
5.3 Choosing the Right Battery
- Use a High-Quality Battery: Opt for a reputable brand that meets or exceeds the original equipment specifications.
- Correct Battery Size: Ensure the new battery is the correct size and type for your vehicle.
- Check the Manufacturing Date: Choose a battery that is as fresh as possible.
6. Real-World Case Studies
Understanding how the B1F4500 code has been resolved in real-world scenarios can provide valuable insights.
6.1 Case Study 1: The Corroded Terminals
A Mercedes-Benz C300 repeatedly displayed the B1F4500 code despite having a relatively new battery. Upon inspection, significant corrosion was found on the battery terminals. After cleaning the terminals and applying a terminal protectant, the code disappeared, and the car ran normally.
6.2 Case Study 2: The Failing Battery
A Mercedes-Benz E350 exhibited the B1F4500 code along with slow engine cranking. A voltage test showed a healthy 12.6V, but a load test revealed a significant voltage drop. Replacing the battery resolved the issue.
6.3 Case Study 3: The Alternator Issue
A Mercedes-Benz S550 displayed the B1F4500 code intermittently. Testing revealed that the alternator was not providing consistent output voltage. Replacing the alternator fixed the problem.
7. The Importance of Professional Assistance
While some of these steps can be performed by a skilled DIYer, diagnosing and repairing electrical issues in modern Mercedes-Benz vehicles can be complex. Consulting a qualified technician is often the best course of action.
7.1 When to Seek Professional Help
- If you are not comfortable working with electrical systems.
- If you are unable to diagnose the problem using the steps outlined above.
- If you suspect a problem with the BMS or other advanced systems.
- If the code persists after performing basic repairs.
7.2 Benefits of Using a Professional Technician
- Expertise: Technicians have the knowledge and experience to accurately diagnose and repair complex electrical issues.
- Specialized Tools: They have access to advanced diagnostic tools and equipment.
- Access to Information: Technicians have access to service manuals, wiring diagrams, and technical bulletins.
- Warranty: Repairs performed by a professional technician are often covered by a warranty.
8. AutoExplain.com: Your Partner in Automotive Diagnostics
At AutoExplain.com, we understand the complexities of modern automotive systems. We offer a range of services to help you diagnose and repair your vehicle, including:
8.1 Remote Diagnostic Support
Our team of experienced technicians can provide remote diagnostic support via WhatsApp or email. We can help you interpret diagnostic codes, troubleshoot problems, and recommend repair strategies.
8.2 Wiring Diagrams and Technical Information
We have a vast library of wiring diagrams and technical information for a wide range of Mercedes-Benz vehicles. This information can be invaluable for troubleshooting electrical issues.
8.3 Personalized Assistance
We offer personalized assistance to help you resolve your specific automotive problems. Our goal is to provide you with the information and support you need to get your car back on the road.
Alt text: AutoExplain remote support providing expert diagnostic assistance for complex automotive issues, enhancing vehicle troubleshooting efficiency.
9. Understanding Mercedes-Benz Electrical Systems
Delving deeper into the intricacies of Mercedes-Benz electrical systems helps in more effective troubleshooting.
9.1 CAN Bus Communication
Mercedes-Benz utilizes a Controller Area Network (CAN) bus for communication between various electronic control units (ECUs). Problems with the CAN bus can sometimes manifest as seemingly unrelated fault codes, including B1F4500.
- CAN Bus Diagnostics: Use a scan tool to check for CAN bus communication errors.
- Wiring Inspection: Inspect the CAN bus wiring for damage or shorts.
- ECU Issues: In rare cases, a faulty ECU can disrupt CAN bus communication.
9.2 Voltage Drop Testing
Voltage drop testing is a valuable technique for identifying areas of excessive resistance in the electrical system.
- How to Perform a Voltage Drop Test: Use a multimeter to measure the voltage drop across a circuit while it is under load. A high voltage drop indicates excessive resistance.
- Applications: Voltage drop testing can be used to check the battery cables, wiring to the starter, and other critical circuits.
9.3 Understanding Battery Types
Modern Mercedes-Benz vehicles may use different types of batteries, such as AGM (Absorbent Glass Mat) batteries. Using the wrong type of battery can cause problems.
- AGM Batteries: AGM batteries are designed to provide high current output and withstand deep cycling.
- Battery Registration: In some cases, replacing an AGM battery may require registration with the vehicle’s ECU.
10. Common Mistakes to Avoid
When troubleshooting the B1F4500 code, it’s important to avoid common mistakes that can lead to misdiagnosis and wasted time.
10.1 Assuming the Auxiliary Battery is the Problem
While a faulty auxiliary battery can sometimes cause similar symptoms, the B1F4500 code specifically points to the main starter battery.
10.2 Ignoring Corrosion
Corrosion on the battery terminals is a common cause of electrical problems. Always clean the terminals thoroughly before proceeding with other repairs.
10.3 Overlooking Wiring Issues
Damaged or loose wiring can cause a variety of electrical problems. Always inspect the wiring carefully for any signs of damage.
10.4 Neglecting the Alternator
A faulty alternator can strain the battery and lead to premature failure. Always check the alternator output voltage to ensure it is within the correct range.
11. The Future of Automotive Diagnostics
Automotive diagnostics is constantly evolving with the introduction of new technologies.
11.1 Artificial Intelligence (AI)
AI is being used to analyze diagnostic data and provide more accurate and efficient troubleshooting.
11.2 Remote Diagnostics
Remote diagnostics is becoming increasingly popular, allowing technicians to diagnose and repair vehicles from anywhere in the world.
11.3 Connected Car Technology
Connected car technology is providing real-time data on vehicle performance, allowing for proactive maintenance and diagnostics.
12. Frequently Asked Questions (FAQ)
1. What does the B1F4500 code mean on a Mercedes-Benz?
The B1F4500 code indicates excessive resistance in the starter battery.
2. Can I fix the B1F4500 code myself?
Depending on your mechanical skills, you might be able to fix it by cleaning terminals or replacing the battery. However, professional diagnosis is recommended for complex issues.
3. How much does it cost to fix the B1F4500 code?
The cost varies. Cleaning terminals might be a simple fix, while a battery replacement could range from $150 to $300, depending on the battery type.
4. Will the B1F4500 code affect my car’s performance?
Yes, it can cause starting problems and potentially affect other electrical systems.
5. Is it safe to drive with the B1F4500 code?
It’s not recommended, as it could lead to the car not starting or other electrical malfunctions.
6. How do I test my car battery for the B1F4500 code?
Use a multimeter to check voltage and a load tester to assess the battery’s ability to deliver current.
7. What if replacing the battery doesn’t fix the B1F4500 code?
There might be other issues, such as wiring problems, a faulty battery sensor, or alternator issues.
8. Can a bad alternator cause the B1F4500 code?
Yes, an underperforming alternator can strain the battery, leading to its premature failure and triggering the B1F4500 code.
9. Where is the starter battery located in a Mercedes-Benz?
Typically, it’s located in the engine compartment or under the rear seat, depending on the model.
10. How do I clear the B1F4500 code after fixing the problem?
Use an OBD-II scanner to clear the code after the issue has been resolved.
13. AutoExplain.com: Contact Us For Expert Assistance
Experiencing the B1F4500 Mercedes code can be unsettling, but with the right knowledge and tools, you can resolve the issue efficiently. AutoExplain.com is dedicated to providing you with the expert support you need to keep your Mercedes-Benz running smoothly.
If you’re struggling with the B1F4500 code or any other automotive diagnostic challenge, don’t hesitate to reach out to us. Our team of experienced technicians is ready to assist you with remote diagnostic support, wiring diagrams, and personalized assistance.
Contact AutoExplain.com today for expert assistance:
- Office Address: 4590 Angus Road, New York, United States
- WhatsApp: +1(936)2896695
- Email: [email protected]
- Website: AutoExplain.com
Let AutoExplain.com be your trusted partner in automotive diagnostics. We’re here to help you get your car back on the road quickly and efficiently. Our goal is to provide you with the information and support you need to resolve your specific automotive problems.


BMW FSC Codes Explained: Full FSC Code List for F-Series
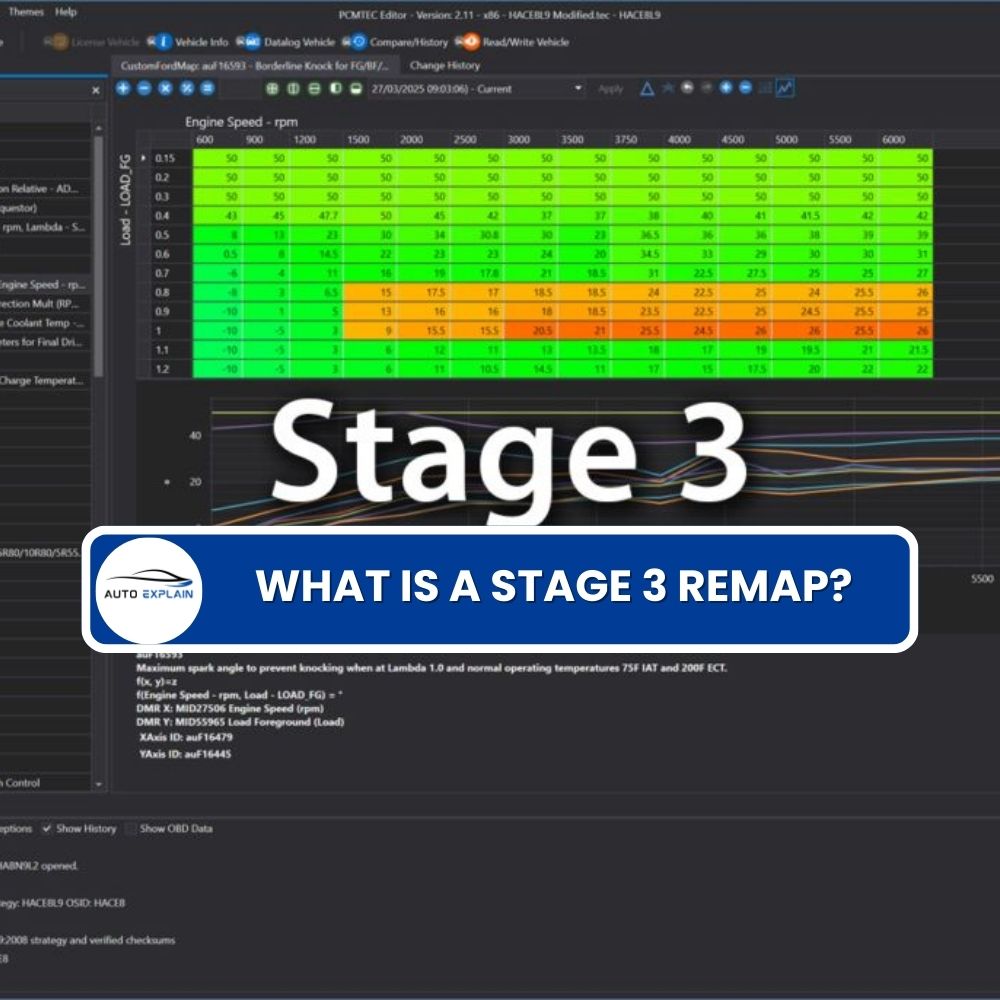
What is a Stage 3 Remap?

The Best Car Tuning Software in 2026: A Comprehensive Guide for Professionals


