Contents
The P0606 Mercedes Fault Code indicates a potential problem within the Engine Control Module (ECM) or Powertrain Control Module (PCM), impacting vehicle performance and drivability. AutoExplain.com provides expert diagnostics, troubleshooting steps, and potential solutions to resolve P0606 errors in Mercedes-Benz vehicles, ensuring optimal engine operation and preventing further system damage, along with comprehensive support for control module issues and electronic control unit malfunctions. With AutoExplain.com, you’re not alone in diagnosing and fixing the P0606 fault.
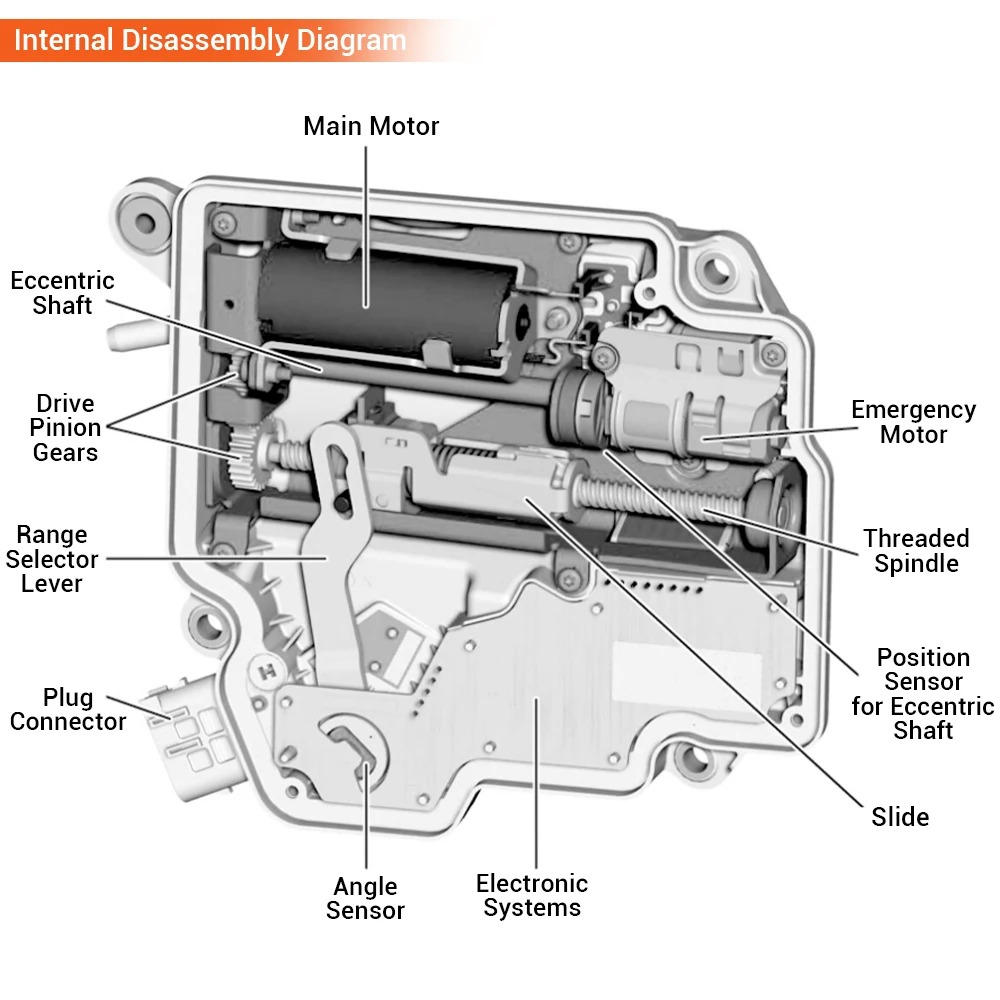
The P0606 fault code, specifically in Mercedes-Benz vehicles, signifies an issue within the internal control module (ICM). This module, often the PCM or ECM, is essentially the car’s brain, managing numerous critical systems. When this module detects an internal error, such as a processing fault, it triggers the P0606 code.
The P0606 code indicates that the PCM has detected an internal fault. This could be related to the processor, memory, or other internal components within the module. Since the PCM controls numerous vehicle functions, a P0606 code can lead to various drivability problems.
Several symptoms can manifest when the P0606 code is present. These may include:
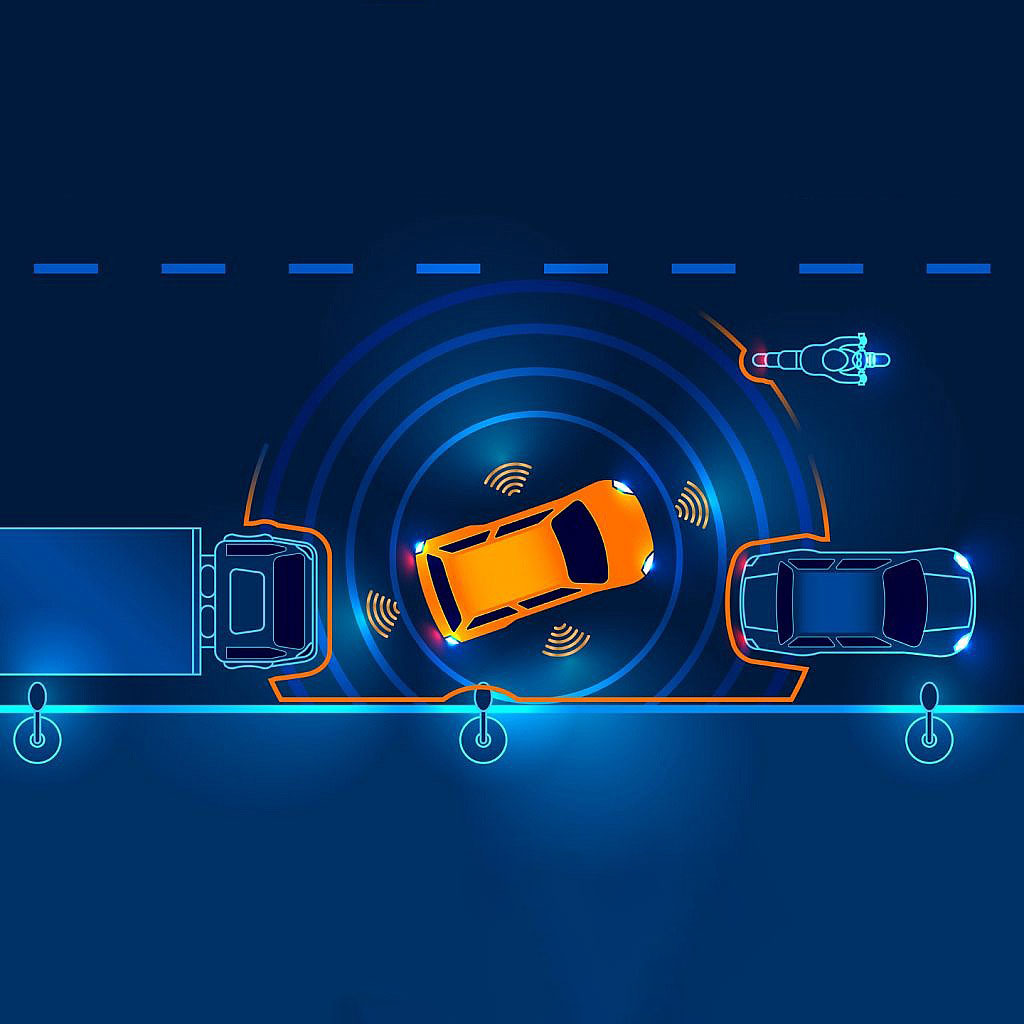
The severity of the P0606 fault code can vary. In some cases, it may only cause minor drivability issues. However, in other situations, it can lead to significant engine or transmission damage if not addressed promptly. Because the PCM is crucial for managing critical systems, any malfunction can have cascading effects.
Identifying the root cause of the P0606 code is essential for effective repair. Several potential causes can trigger this code in Mercedes-Benz vehicles.
The most common cause of the P0606 code is an internal failure within the PCM itself. This can be due to component aging, electrical surges, or other factors that damage the module’s circuitry.
Faulty wiring and connections can also trigger the P0606 code. This includes:
Although less common, a faulty sensor or actuator connected to the PCM can sometimes trigger the P0606 code. This occurs when the sensor sends incorrect data, causing the PCM to misinterpret the information and flag an internal error.
In some instances, software glitches or corrupted programming within the PCM can trigger the P0606 code. This may occur after a software update or if the PCM’s memory becomes corrupted.
Voltage fluctuations or power surges can damage the PCM and trigger the P0606 code. This is more likely to occur in vehicles with electrical system problems.
Diagnosing the P0606 code requires a systematic approach to identify the root cause accurately. Here’s a step-by-step guide:
Begin with a thorough visual inspection of the PCM, its connectors, and the surrounding wiring harness. Look for signs of corrosion, damage, or loose connections. Clean any corroded connectors and repair or replace any damaged wiring.
Use a professional-grade scan tool to read all stored DTCs in the PCM. Note all codes, as additional codes can provide valuable clues about the underlying issue. Pay attention to any codes related to sensors, actuators, or other PCM-related systems.
Verify that the PCM is receiving the correct voltage and has a good ground connection. Use a multimeter to check the voltage at the PCM power and ground pins. Consult the vehicle’s wiring diagram to identify the correct pins.
Use a scan tool or multimeter to test the input and output signals of the PCM. This can help identify if any sensors or actuators are sending incorrect data or if the PCM is not properly controlling them.
Many scan tools have the capability to perform a PCM self-test. This test can help identify internal PCM faults. Follow the scan tool’s instructions to perform the self-test and interpret the results.
The Controller Area Network (CAN) bus is a communication network that allows various modules in the vehicle to communicate with each other, including the PCM. A malfunctioning CAN bus can trigger the P0606 code. Use a scan tool to check for CAN bus communication errors.
Use the scan tool to monitor live data from various sensors and actuators. Look for any readings that are out of range or inconsistent. This can help identify if a faulty sensor is causing the PCM to flag the P0606 code.
Refer to the vehicle’s wiring diagrams to trace circuits and identify potential wiring issues. This is particularly useful for identifying shorts, open circuits, or high resistance in the PCM wiring harness.
Based on the diagnostic results, isolate the problem to either the PCM itself, the wiring harness, or a related sensor or actuator. If the PCM self-test indicates an internal fault, the PCM likely needs to be replaced. If wiring or sensor issues are identified, address those problems first before replacing the PCM.
If you are unsure about any of the diagnostic steps or need further assistance, contact AutoExplain.com. Our expert technicians can provide remote diagnostic support and guidance to help you accurately diagnose and resolve the P0606 code. Reach us via WhatsApp at +1(936)2896695 or email at [email protected].
Once the root cause of the P0606 code has been identified, the next step is to perform the necessary repairs. Here are some common repair strategies:
If the PCM is found to be faulty, replacement is often the most effective solution. Follow these steps:
If the P0606 code is caused by wiring or connection issues, follow these steps:
If a faulty sensor or actuator is causing the P0606 code, follow these steps:
If the P0606 code is caused by software or programming issues, follow these steps:
If voltage problems are causing the P0606 code, follow these steps:
For complex cases, advanced diagnostic techniques may be necessary to accurately diagnose the P0606 code.
An oscilloscope can be used to analyze the electrical signals in the PCM wiring harness. This can help identify intermittent problems or signal distortions that may not be visible with a multimeter or scan tool.
A pinpoint test involves systematically testing each pin on the PCM connector to check for voltage, ground, and continuity. This can help identify wiring issues or internal PCM faults.
Freeze frame data captures the conditions present when the P0606 code was set. Analyzing this data can provide valuable clues about the underlying cause of the code.
A wiggle test involves wiggling the PCM connectors and wiring harness while monitoring the scan tool data. This can help identify loose connections or damaged wires that are causing intermittent problems.
Individual components connected to the PCM, such as sensors and actuators, can be tested using specialized equipment to verify their proper operation.
Preventing the P0606 fault code involves maintaining the vehicle’s electrical system and performing regular inspections.
Follow the manufacturer’s recommended maintenance schedule to ensure that all systems are functioning correctly. This includes checking and maintaining the battery, charging system, and wiring harness.
Periodically inspect the PCM wiring harness and connectors for any signs of damage, corrosion, or loose connections. Clean any corroded connectors and repair or replace any damaged wiring.
Ensure that the battery is in good condition and properly charged. A weak battery can cause voltage fluctuations that can damage the PCM.
Install a surge protector in the vehicle’s electrical system to protect the PCM from voltage spikes.
Pay attention to any changes in vehicle performance, such as rough running, stalling, or reduced fuel economy. Address any issues promptly to prevent them from escalating and potentially damaging the PCM.
AutoExplain.com offers unparalleled expertise and support for diagnosing and repairing the P0606 fault code in Mercedes-Benz vehicles.
Our team of experienced technicians has extensive knowledge of Mercedes-Benz vehicles and their electronic systems. We can provide accurate and reliable diagnostic assistance.
We offer remote diagnostic support to help you troubleshoot the P0606 code. Using advanced diagnostic tools and techniques, we can guide you through the diagnostic process and help you identify the root cause of the problem.
AutoExplain.com provides remote PCM programming services to ensure that replacement PCMs are properly programmed to match your vehicle’s specific configuration.
We offer comprehensive solutions for the P0606 code, including diagnostic assistance, repair guidance, and PCM programming services. We are committed to helping you resolve the issue quickly and effectively.
You can easily contact us for assistance via WhatsApp at +1(936)2896695 or email at [email protected]. Our team is available to answer your questions and provide the support you need.
To illustrate the complexities and solutions for the P0606 fault code, here are a few real-world case studies.
A Mercedes-Benz C-Class owner experienced a P0606 code along with rough idling and occasional stalling. After performing a preliminary inspection, the technician found significant corrosion on the PCM connectors. The connectors were cleaned, and the corroded wiring was repaired. The P0606 code was cleared, and the vehicle returned to normal operation.
A Mercedes-Benz E-Class exhibited a P0606 code along with transmission shifting problems. The technician performed a PCM self-test, which indicated an internal fault. The PCM was replaced and programmed, resolving the transmission issues and clearing the P0606 code.
A Mercedes-Benz S-Class displayed a P0606 code along with reduced engine power. The technician used a scan tool to monitor live data and found that the mass airflow (MAF) sensor was sending incorrect readings. The MAF sensor was replaced, which resolved the engine power issue and cleared the P0606 code.
A Mercedes-Benz GLC experienced a P0606 code after a recent software update. The technician checked for software updates and found that the PCM software had become corrupted. The PCM was reprogrammed with the latest software version, resolving the issue and clearing the P0606 code.
This guide provides a detailed walkthrough of the repair process for the P0606 fault code on Mercedes-Benz vehicles.
Here are some frequently asked questions about the P0606 Mercedes fault code.
The P0606 code indicates an internal control module (ICM) malfunction in the PCM or ECM of a Mercedes-Benz vehicle. This means the computer that controls the engine has detected a fault within its own circuitry.
Driving with a P0606 code is not recommended, as it can lead to unpredictable engine performance, stalling, or transmission issues. It’s best to diagnose and repair the issue as soon as possible to prevent further damage.
The cost to fix a P0606 code can vary depending on the cause. Minor wiring repairs may cost as little as $100, while PCM replacement and programming can range from $500 to $2000 or more.
Yes, the P0606 code is serious, as it indicates a problem with the PCM, which controls many critical vehicle functions. Ignoring this code can lead to significant engine or transmission damage.
Yes, a weak or failing battery can cause voltage fluctuations that can trigger the P0606 code. It’s important to ensure that the battery is in good condition.
You can clear the P0606 code using a scan tool after the underlying issue has been resolved. However, the code will return if the problem persists.
Common symptoms include the check engine light, poor engine performance, stalling, transmission issues, reduced fuel economy, and starting problems.
Yes, AutoExplain.com offers remote diagnostic support to help you troubleshoot the P0606 code. Our expert technicians can guide you through the diagnostic process and help you identify the root cause of the problem.
Yes, AutoExplain.com provides remote PCM programming services to ensure that replacement PCMs are properly programmed to match your vehicle’s specific configuration.
You can contact us via WhatsApp at +1(936)2896695 or email at [email protected]. Our team is available to answer your questions and provide the support you need. Our office is located at 4590 Angus Road, New York, United States. Visit our website at AutoExplain.com for more information.
Don’t let the P0606 Mercedes fault code keep you off the road. Contact AutoExplain.com today for expert diagnostics, reliable solutions, and unparalleled support. Reach out via WhatsApp at +1(936)2896695 or email us at AutoExplain[email protected] to get started.


Milebah Bruno is a seasoned automotive expert and technical writer at AutoExplain. With a background as an automotive technician, he brings hands-on experience and deep industry knowledge to his writing.
At AutoExplain, we provide automotive online repair service, auto repair tips, car repair manuals & document & training course to help mechanics of all experience levels—fix vehicles efficiently
AUTO EXPLAIN LLC
Employer Identification Number (EIN):
38-4349958
Whatsapp Us: +1(936)2896695
Gmail: [email protected]
Our Workshop: 1500 N Grant ST Sten Denver, Colorado, United States
Copyright 2025 © AutoExplain