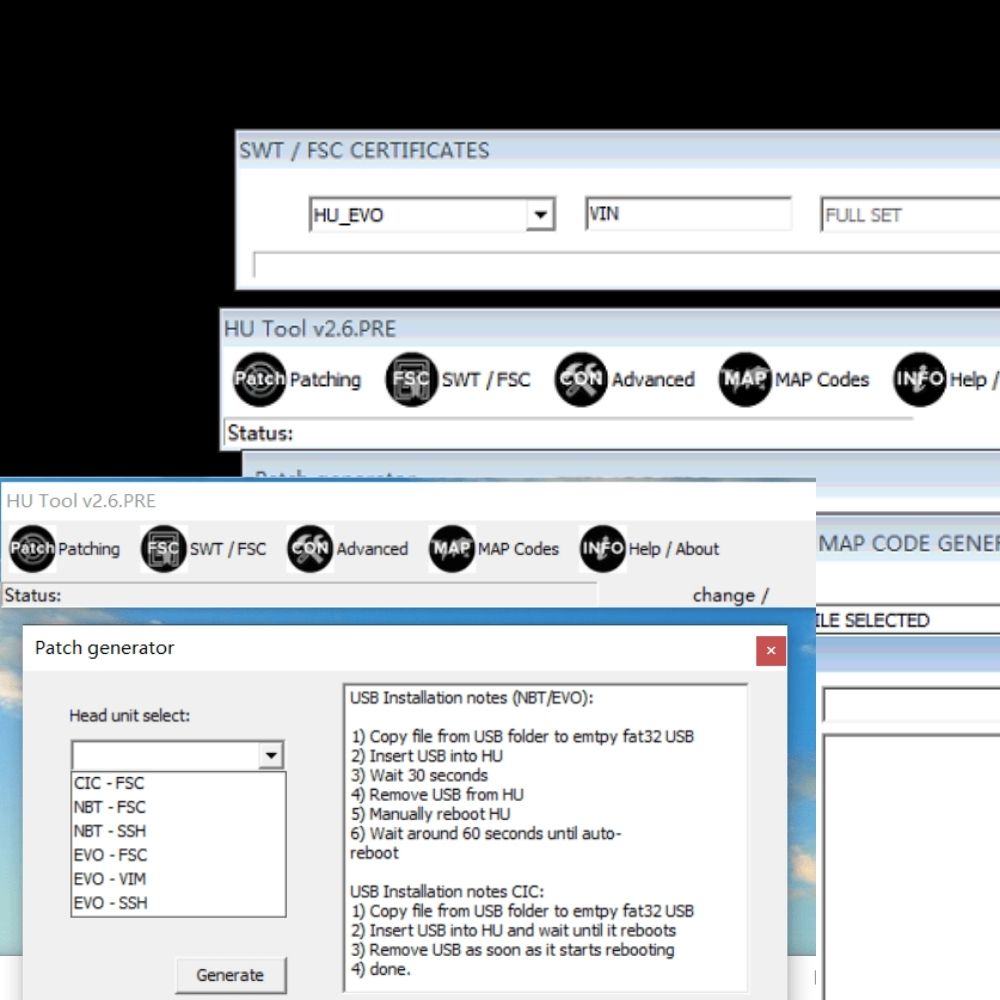
Mercedes Benz DTC 6106: Diagnosis And Repair Guide
The 6106 Mercedes code indicates a “Engine Control Unit/transmission control unit No CAN message,” suggesting a communication issue within the Controller Area Network (CAN) bus system. This article, brought to you by AutoExplain.com, will delve into the complexities of this code, offering solutions to technicians and DIYers alike. This detailed guide will cover troubleshooting steps, potential causes, and effective repair strategies, including ECU diagnosis and CAN bus inspection to facilitate automotive diagnostics and ensure optimal vehicle performance.
Table of Contents
Toggle1. Understanding the 6106 Mercedes Code
The 6106 Mercedes code signifies a breakdown in communication between the Engine Control Unit (ECU) and the Transmission Control Unit (TCU) within the Controller Area Network (CAN) bus system. The CAN bus acts as the central nervous system of the vehicle, enabling various electronic control units (ECUs) to communicate and share data. When the ECU and TCU can’t communicate effectively, it can lead to a range of drivability problems and warning lights. This communication error can stem from diverse underlying problems, including wiring faults, faulty control units, or CAN bus issues. Addressing this code promptly is essential to avoid potential damage to the transmission and ensure the vehicle operates smoothly.
The implications of a faulty CAN bus system extend beyond just communication issues. Modern vehicles rely heavily on the CAN bus for critical functions such as:
- Engine management
- Transmission control
- Braking systems (ABS, ESP)
- Airbag deployment
- Dashboard instrumentation
A failure in the CAN bus can affect multiple systems simultaneously, making diagnosis and repair more complex.
An illustrative view of a Mercedes-Benz engine compartment, demonstrating the complex array of components that rely on a functional CAN bus for communication, vital for diagnosing the 6106 Mercedes Code.
2. Common Symptoms Associated with Code 6106
When the 6106 Mercedes code appears, it is often accompanied by a range of noticeable symptoms that can affect vehicle performance and driver experience. Recognizing these symptoms is crucial for prompt diagnosis and repair. Here are some of the most common indicators:
- Limp Mode: The vehicle may enter limp mode, also known as reduced power mode, limiting engine speed and power output to prevent further damage.
- ESP/ASR Warning Lights: Electronic Stability Program (ESP) and Acceleration Skid Control (ASR) warning lights may illuminate on the dashboard, indicating a problem with the stability control system.
- Transmission Problems: The transmission may exhibit erratic shifting, delayed engagement, or failure to shift altogether.
- Check Engine Light: The check engine light will likely be illuminated, signaling that the vehicle’s computer has detected a fault.
- Diagnostic Trouble Codes (DTCs): Other related DTCs may be stored in the vehicle’s computer, providing further insight into the nature of the problem.
- Starting Problems: In some cases, the vehicle may experience difficulty starting or fail to start altogether.
- Loss of Communication: Diagnostic tools may be unable to communicate with certain control units, indicating a more widespread CAN bus issue.
- Instrument Cluster Malfunctions: The instrument cluster may display inaccurate readings or fail to function correctly.
- ABS Issues: Anti-lock Braking System (ABS) malfunctions can arise, compromising braking performance.
- Cruise Control Inoperability: Cruise control systems may cease to function, adding to driver inconvenience.
These symptoms can vary depending on the specific vehicle model and the severity of the communication fault. It’s essential to address these issues as soon as they are detected to avoid potential safety hazards and more extensive repairs.
3. Potential Causes of the 6106 Mercedes Code
The 6106 Mercedes code can arise from various underlying causes, each requiring a specific diagnostic approach. Understanding these potential causes is essential for accurate troubleshooting and effective repair. Here are some of the most common reasons for this code to appear:
- CAN Bus Wiring Issues:
- Short circuits: Damaged or frayed wiring can cause short circuits, disrupting communication on the CAN bus.
- Open circuits: Broken or disconnected wires can lead to open circuits, preventing data transmission.
- Corrosion: Corrosion on connectors and wiring can increase resistance and impede communication.
- Loose connections: Loose or improperly seated connectors can cause intermittent communication problems.
- Faulty Control Units:
- ECU failure: A malfunctioning Engine Control Unit (ECU) can disrupt communication on the CAN bus.
- TCU failure: A faulty Transmission Control Unit (TCU) can also cause communication problems.
- Other module failures: Other control modules, such as the ABS module or instrument cluster, can interfere with CAN bus communication if they malfunction.
- CAN Bus Resistor Problems:
- Incorrect resistance: The CAN bus relies on specific termination resistors to maintain signal integrity. If these resistors are faulty or missing, it can disrupt communication.
- Power Supply Issues:
- Low voltage: Insufficient voltage to the control units can cause communication errors.
- Grounding problems: Poor grounding can also interfere with CAN bus communication.
- Software Problems:
- Software corruption: Corrupted or outdated software in the ECU or TCU can lead to communication problems.
- Incompatible software: Incompatible software versions between different control units can also cause issues.
- Connector Problems:
- Damaged connectors: Physical damage to connectors can disrupt communication.
- Pin issues: Bent or broken pins in connectors can also cause problems.
- Electromagnetic Interference (EMI):
- External interference: External sources of electromagnetic interference can disrupt CAN bus communication.
- Battery Issues:
- Weak battery: A weak or failing battery can cause voltage fluctuations that affect CAN bus communication.
- Aftermarket Accessories:
- Improper installation: Incorrectly installed aftermarket accessories, such as alarms or remote starters, can interfere with CAN bus communication.
- Physical Damage:
- Accident damage: Physical damage to the vehicle, especially to the wiring harness or control units, can cause CAN bus problems.
Identifying the root cause of the 6106 Mercedes code requires a systematic approach to diagnosis, often involving specialized tools and knowledge.
4. Diagnosing the 6106 Mercedes Code: A Step-by-Step Guide
Diagnosing the 6106 Mercedes code requires a systematic approach to pinpoint the underlying cause. Here’s a step-by-step guide to help you through the diagnostic process:
- Preliminary Checks:
- Battery Voltage: Verify the battery voltage is within the acceptable range (typically 12.6V or higher). A weak battery can cause communication issues.
- Visual Inspection: Conduct a thorough visual inspection of the wiring harness, connectors, and control units for any signs of damage, corrosion, or loose connections.
- Scan for Codes: Use an OBD-II scanner to retrieve all stored diagnostic trouble codes (DTCs). Note all codes, as they can provide valuable clues.
- CAN Bus Testing:
- CAN Bus Resistance: Measure the resistance between the CAN High and CAN Low wires with the ignition off. The resistance should typically be around 60 ohms with both termination resistors in the circuit.
- CAN Bus Voltage: With the ignition on, measure the voltage on the CAN High and CAN Low wires. CAN High should be around 2.5V to 3.5V, and CAN Low should be around 1.5V to 2.5V.
- Oscilloscope Testing: Use an oscilloscope to examine the CAN bus waveforms. Look for any abnormalities, such as signal distortion or missing signals.
- Control Unit Testing:
- ECU and TCU Inspection: Visually inspect the ECU and TCU for any signs of physical damage or corrosion.
- Communication Test: Use a diagnostic scanner to attempt to communicate with the ECU and TCU. If communication fails, it may indicate a problem with the control unit itself.
- Power and Ground Checks: Verify that the ECU and TCU are receiving proper power and ground. Use a multimeter to check voltage and ground continuity.
- Wiring Harness Testing:
- Continuity Testing: Use a multimeter to check the continuity of the CAN bus wires between the ECU, TCU, and other relevant control units.
- Short Circuit Testing: Check for short circuits to ground or power in the CAN bus wiring.
- Resistance Testing: Measure the resistance of the CAN bus wires to identify any excessive resistance that could be impeding communication.
- Software and Programming:
- Software Updates: Check for any available software updates for the ECU and TCU. Outdated or corrupted software can cause communication issues.
- Programming: If necessary, reprogram the ECU or TCU with the latest software.
- Component Isolation:
- Disconnect Components: Disconnect non-essential components from the CAN bus one at a time to see if the communication issue resolves. This can help isolate a faulty module.
- Advanced Diagnostics:
- Wiring Diagrams: Consult wiring diagrams to understand the CAN bus network and identify potential problem areas.
- Technical Service Bulletins (TSBs): Check for any relevant TSBs from Mercedes-Benz that may provide additional guidance on diagnosing and repairing the 6106 code.
Here’s a table summarizing the diagnostic steps:
| Step | Description | Tools Required |
|---|---|---|
| Preliminary Checks | Verify battery voltage, perform a visual inspection of wiring and connectors, and scan for all DTCs. | Multimeter, OBD-II Scanner |
| CAN Bus Testing | Measure CAN bus resistance and voltage, and use an oscilloscope to examine waveforms. | Multimeter, Oscilloscope |
| Control Unit Testing | Inspect ECU and TCU for damage, attempt to communicate with them using a diagnostic scanner, and check power and ground connections. | Diagnostic Scanner, Multimeter |
| Wiring Harness Testing | Perform continuity, short circuit, and resistance tests on the CAN bus wiring. | Multimeter |
| Software & Programming | Check for software updates for the ECU and TCU, and reprogram if necessary. | Diagnostic Scanner, Programming Tool |
| Component Isolation | Disconnect non-essential components from the CAN bus to isolate a faulty module. | Basic Hand Tools |
| Advanced Diagnostics | Consult wiring diagrams and check for relevant Technical Service Bulletins (TSBs). | Wiring Diagrams, TSB Database Access |
By following these steps, you can systematically diagnose the 6106 Mercedes code and identify the root cause of the communication issue. If you’re unsure about any of these steps, consider seeking assistance from a professional technician at AutoExplain.com.
A Mercedes-Benz diagnostic tool connected to a vehicle, essential for accurately diagnosing the 6106 Mercedes Code by reading and interpreting error messages.
5. Repairing the 6106 Mercedes Code: Solutions and Strategies
Once you’ve diagnosed the cause of the 6106 Mercedes code, the next step is to implement the appropriate repair. Here are some common solutions and strategies for addressing this communication issue:
- CAN Bus Wiring Repairs:
- Repairing Damaged Wires: Repair any damaged or frayed wires by splicing in new sections of wire and properly insulating the connections.
- Replacing Wiring Harness Sections: If the wiring is extensively damaged, replace entire sections of the wiring harness.
- Cleaning Corroded Connectors: Clean corroded connectors with a wire brush or contact cleaner to ensure good electrical contact.
- Securing Loose Connections: Secure any loose connections by tightening connectors or replacing damaged connector housings.
- Control Unit Replacement:
- ECU Replacement: If the ECU is faulty, replace it with a new or refurbished unit. Ensure the replacement ECU is properly programmed to match the vehicle’s specifications.
- TCU Replacement: Similarly, replace a faulty TCU with a new or refurbished unit and ensure it is correctly programmed.
- Module Programming: After replacing any control unit, it may be necessary to perform programming or coding to ensure it functions correctly with the rest of the vehicle’s systems.
- CAN Bus Resistor Replacement:
- Checking Resistance Values: Verify the resistance values of the CAN bus termination resistors. Replace any resistors that are out of specification.
- Proper Installation: Ensure that the new resistors are properly installed and connected to the CAN bus network.
- Power Supply Repairs:
- Voltage Stabilization: Address any issues with low voltage by repairing or replacing faulty wiring, connectors, or the battery itself.
- Grounding Enhancement: Improve grounding by cleaning and tightening ground connections or adding additional ground straps.
- Software Updates and Programming:
- Software Updates: Update the software in the ECU and TCU to the latest versions. This can often resolve communication issues caused by software bugs or incompatibilities.
- Reprogramming: If necessary, reprogram the ECU or TCU with the correct software.
- Connector Repairs:
- Replacing Damaged Connectors: Replace any damaged connectors with new ones.
- Repairing Pin Issues: Repair bent or broken pins in connectors or replace the entire connector if necessary.
- Addressing Electromagnetic Interference (EMI):
- Shielding Wiring: Shield CAN bus wiring to protect it from external sources of electromagnetic interference.
- Relocating Components: Relocate components that may be causing interference to a different location in the vehicle.
- Battery Replacement:
- Replacing Weak Battery: Replace a weak or failing battery with a new one that meets the vehicle’s specifications.
- Aftermarket Accessory Removal:
- Disconnecting Accessories: Disconnect any aftermarket accessories that may be interfering with CAN bus communication.
- Proper Installation: If the accessories are necessary, ensure they are properly installed according to the manufacturer’s instructions.
- Physical Damage Repairs:
- Repairing Damage: Repair any physical damage to the vehicle, especially to the wiring harness or control units.
- Replacing Components: Replace any components that have been damaged beyond repair.
Here’s a table summarizing the repair solutions:
| Repair Area | Solution |
|---|---|
| CAN Bus Wiring | Repair damaged wires, replace wiring harness sections, clean corroded connectors, and secure loose connections. |
| Control Units | Replace faulty ECU or TCU, and perform module programming as needed. |
| CAN Bus Resistors | Check and replace faulty termination resistors, ensuring proper installation. |
| Power Supply | Stabilize voltage by repairing wiring, connectors, or replacing the battery; enhance grounding. |
| Software & Programming | Update software in ECU and TCU, and reprogram if necessary. |
| Connectors | Replace damaged connectors, and repair or replace pins. |
| EMI | Shield CAN bus wiring and relocate components causing interference. |
| Battery | Replace weak or failing battery. |
| Aftermarket Accessories | Disconnect interfering accessories or ensure proper installation. |
| Physical Damage | Repair physical damage to the vehicle, wiring harness, or control units. |
By implementing these solutions, you can effectively repair the 6106 Mercedes code and restore proper communication within the vehicle’s CAN bus network. If you encounter difficulties or are unsure about any of these repairs, consider seeking assistance from AutoExplain.com to ensure that the repairs are carried out correctly and safely.
A detailed view of a Mercedes-Benz wiring harness, illustrating the complexity of the vehicle’s electrical system, crucial for addressing the 6106 Mercedes Code.
6. Preventing Future Occurrences of the 6106 Mercedes Code
After successfully repairing the 6106 Mercedes code, taking proactive steps to prevent its recurrence is essential. Implementing preventive measures can help maintain the integrity of the CAN bus system and avoid future communication issues. Here are some key strategies to consider:
- Regular Maintenance:
- Routine Inspections: Perform regular inspections of the wiring harness, connectors, and control units for any signs of damage, corrosion, or loose connections.
- Battery Maintenance: Ensure the battery is in good condition and properly maintained. Clean battery terminals and check the battery voltage regularly.
- Proper Wiring Practices:
- Secure Wiring: Ensure that all wiring is properly secured and routed to prevent chafing or damage.
- Avoid Sharp Bends: Avoid sharp bends in the wiring, as this can damage the wires over time.
- Use Proper Connectors: Use only high-quality connectors and ensure they are properly installed.
- Protect Against Corrosion:
- Apply Dielectric Grease: Apply dielectric grease to connectors to protect them from corrosion.
- Seal Connections: Seal any exposed connections to prevent moisture from entering.
- Software Updates:
- Stay Updated: Keep the software in the ECU and TCU updated to the latest versions. This can often resolve software bugs that could cause communication issues.
- Professional Installations:
- Proper Installation: Ensure that any aftermarket accessories are properly installed by a qualified technician.
- Avoid Interference: Choose accessories that are known to be compatible with the vehicle’s CAN bus system.
- Environmental Considerations:
- Protect Against Extreme Temperatures: Protect the vehicle from extreme temperatures, as this can damage wiring and control units.
- Avoid Moisture: Avoid exposing the vehicle to excessive moisture, as this can cause corrosion.
- Prompt Repairs:
- Address Issues Quickly: Address any warning lights or drivability issues promptly to prevent them from escalating into more significant problems.
- Diagnostic Scanning:
- Regular Scanning: Regularly scan the vehicle for diagnostic trouble codes (DTCs) to identify potential problems early on.
Here’s a table summarizing the preventive measures:
| Prevention Area | Measure |
|---|---|
| Regular Maintenance | Perform routine inspections of wiring and connectors; maintain battery health. |
| Wiring Practices | Secure wiring, avoid sharp bends, and use high-quality connectors. |
| Corrosion Protection | Apply dielectric grease and seal exposed connections. |
| Software Updates | Keep ECU and TCU software updated. |
| Professional Installs | Ensure aftermarket accessories are properly installed and compatible. |
| Environmental Care | Protect from extreme temperatures and moisture. |
| Prompt Repairs | Address warning lights and drivability issues quickly. |
| Diagnostic Scanning | Regularly scan for DTCs to catch early signs of potential problems. |
By implementing these preventive measures, you can significantly reduce the risk of the 6106 Mercedes code recurring and maintain the reliability of your vehicle’s CAN bus system.
7. The Role of AutoExplain.com in Diagnosing and Repairing Mercedes Codes
AutoExplain.com offers a wide range of services to assist both professional technicians and DIY enthusiasts in diagnosing and repairing complex Mercedes codes, including the 6106. Our expertise and resources can help you navigate the complexities of modern automotive systems and ensure that repairs are carried out correctly and efficiently. Here’s how AutoExplain.com can help:
- Expert Technical Support:
- Remote Diagnostics: We offer remote diagnostic services via WhatsApp and email, allowing you to connect with our experienced technicians for real-time assistance.
- Step-by-Step Guidance: Our experts can provide step-by-step guidance on diagnosing and repairing the 6106 Mercedes code, tailored to your specific vehicle and situation.
- Access to Technical Information:
- Detailed Repair Guides: AutoExplain.com provides access to detailed repair guides, wiring diagrams, and technical service bulletins (TSBs) to help you understand the intricacies of the CAN bus system and related components.
- Code Definitions: We offer comprehensive code definitions and explanations to help you interpret diagnostic trouble codes (DTCs) accurately.
- Software and Programming Assistance:
- Software Updates: We can assist with software updates for the ECU and TCU, ensuring that your vehicle is running the latest software versions.
- Programming Support: Our team can provide support for programming and coding control units, including ECU and TCU replacements.
- Component Identification and Sourcing:
- Part Identification: We can help you identify the correct replacement parts for your vehicle, ensuring compatibility and proper fitment.
- Sourcing Assistance: Our network of suppliers can help you source high-quality replacement parts at competitive prices.
- Training and Education:
- Online Courses: AutoExplain.com offers online courses and training materials to help you expand your knowledge of automotive diagnostics and repair.
- Webinars and Workshops: We host webinars and workshops on various automotive topics, providing opportunities to learn from industry experts.
Here’s how AutoExplain.com supports you:
| Support Area | Service Offered |
|---|---|
| Technical Support | Remote diagnostics via WhatsApp and email; step-by-step guidance. Contact us at +1(936)2896695 or [email protected] |
| Technical Information | Detailed repair guides, wiring diagrams, and TSBs. Visit AutoExplain.com. |
| Software Assistance | Software updates for ECU and TCU; programming support. |
| Component Support | Part identification and sourcing assistance. |
| Training & Education | Online courses, webinars, and workshops. |
With AutoExplain.com, you’re not alone in tackling complex Mercedes codes. Our team of experts is ready to provide the support and resources you need to get your vehicle back on the road.
8. Advanced Diagnostic Techniques for Code 6106
When standard diagnostic procedures don’t yield a clear solution for the 6106 Mercedes code, employing advanced diagnostic techniques can help pinpoint elusive issues. These techniques often require specialized equipment and in-depth knowledge of automotive systems. Here are some advanced methods to consider:
- CAN Bus Signal Analysis with an Oscilloscope:
- Waveform Analysis: Use a high-resolution oscilloscope to analyze the CAN bus waveforms in detail. Look for anomalies such as signal attenuation, reflections, or noise that could indicate wiring problems or faulty components.
- Eye Pattern Testing: Perform eye pattern testing to assess the overall quality of the CAN bus signals. A distorted or closed eye pattern can indicate communication problems.
- Network Topology Testing:
- Node Isolation: Systematically isolate nodes (control units) on the CAN bus to identify a faulty module that is disrupting communication.
- Network Segmentation: Divide the CAN bus into smaller segments to isolate problem areas.
- Data Logging and Analysis:
- Capture Data: Use a data logger to capture CAN bus traffic over a period of time.
- Analyze Data: Analyze the data to identify intermittent communication errors or patterns that could indicate a specific problem.
- Resistance Measurement with a Precision Multimeter:
- Accurate Measurement: Use a precision multimeter to measure the resistance of the CAN bus wiring and termination resistors with high accuracy.
- Micro-Ohm Measurement: Look for subtle variations in resistance that could indicate corrosion or other wiring issues.
- Voltage Drop Testing Under Load:
- Simulate Load: Apply a load to the CAN bus wiring to simulate real-world operating conditions.
- Measure Voltage Drop: Measure the voltage drop across the wiring to identify areas of excessive resistance.
- Utilizing OEM Diagnostic Tools:
- Mercedes-Benz Star Diagnosis: Use the Mercedes-Benz Star Diagnosis system or equivalent OEM diagnostic tools to perform advanced diagnostics and programming.
- Access Specific Tests: Access specialized tests and procedures that are not available with generic OBD-II scanners.
- Environmental Stress Testing:
- Simulate Conditions: Subject the vehicle to various environmental conditions, such as temperature extremes or vibration, to see if the communication problem is triggered.
- Monitor CAN Bus: Monitor the CAN bus signals during testing to identify any changes or anomalies.
Here’s a summary of advanced techniques:
| Advanced Technique | Description |
|---|---|
| Oscilloscope Analysis | Analyze CAN bus waveforms and perform eye pattern testing. |
| Topology Testing | Isolate nodes and segment the network to identify faulty areas. |
| Data Logging | Capture and analyze CAN bus traffic over time. |
| Precision Measurement | Measure resistance with high accuracy to detect subtle variations. |
| Load Testing | Measure voltage drop under load to identify areas of excessive resistance. |
| OEM Tools | Utilize Mercedes-Benz Star Diagnosis for advanced diagnostics and programming. |
| Stress Testing | Subject the vehicle to environmental conditions to trigger communication problems. |
These advanced diagnostic techniques can help you uncover the most challenging CAN bus issues and ensure that repairs are carried out effectively.
9. Case Studies: Real-World Examples of 6106 Code Resolution
Examining real-world case studies can provide valuable insights into the diagnosis and repair of the 6106 Mercedes code. These examples illustrate the diverse range of issues that can cause this code and the strategies used to resolve them.
Case Study 1: Faulty CAN Bus Wiring
- Vehicle: 2010 Mercedes-Benz C300
- Symptoms: ESP/ASR warning lights, limp mode, 6106 code
- Diagnosis:
- Initial scan revealed the 6106 code and other related CAN bus communication errors.
- Visual inspection of the wiring harness revealed chafing near the engine mount.
- CAN bus testing with an oscilloscope showed signal distortion on the CAN High wire.
- Solution:
- Repaired the damaged wiring by splicing in new sections of wire and properly insulating the connections.
- Rerouted the wiring harness to prevent future chafing.
- Cleared the DTCs and verified that the ESP/ASR warning lights were no longer illuminated.
- Outcome: The vehicle was returned to normal operation, and the 6106 code did not recur.
Case Study 2: Faulty Transmission Control Unit (TCU)
- Vehicle: 2012 Mercedes-Benz E350
- Symptoms: Erratic shifting, transmission slipping, 6106 code
- Diagnosis:
- Initial scan revealed the 6106 code and other transmission-related DTCs.
- Attempted to communicate with the TCU using a diagnostic scanner but communication failed.
- Power and ground checks to the TCU were normal.
- Solution:
- Replaced the faulty TCU with a new unit.
- Programmed the new TCU to match the vehicle’s specifications using the Mercedes-Benz Star Diagnosis system.
- Performed a transmission adaptation procedure to ensure smooth shifting.
- Outcome: The transmission shifting issues were resolved, and the 6106 code was cleared.
Case Study 3: Software Incompatibility
- Vehicle: 2015 Mercedes-Benz GLK350
- Symptoms: Intermittent ESP/ASR warning lights, occasional limp mode, 6106 code
- Diagnosis:
- Initial scan revealed the 6106 code but no other significant DTCs.
- CAN bus testing and wiring checks were normal.
- Checked for software updates for the ECU and TCU and found that the TCU software was outdated.
- Solution:
- Updated the TCU software to the latest version using the Mercedes-Benz Star Diagnosis system.
- Cleared the DTCs and performed a test drive to verify that the issue was resolved.
- Outcome: The ESP/ASR warning lights no longer appeared, and the vehicle operated normally.
Case Study 4: Corroded Connectors
- Vehicle: 2008 Mercedes-Benz C230
- Symptoms: ABS and ESP warning lights, 6106 code
- Diagnosis:
- Initial scan showed the 6106 code along with ABS-related codes.
- Visual inspection revealed corrosion on the ABS module connectors.
- CAN bus testing indicated intermittent signal loss.
- Solution:
- Cleaned the corroded connectors with a contact cleaner.
- Applied dielectric grease to prevent future corrosion.
- Secured the connectors to ensure proper contact.
- Outcome: The ABS and ESP warning lights were resolved, and the 6106 code disappeared.
These case studies demonstrate that the 6106 Mercedes code can be caused by a variety of issues, ranging from wiring problems to faulty control units to software incompatibilities. A systematic approach to diagnosis and repair, along with access to the right tools and information, is essential for resolving this complex communication issue.
10. Frequently Asked Questions (FAQ) About the 6106 Mercedes Code
Here are some frequently asked questions about the 6106 Mercedes code, along with detailed answers to help you better understand this communication issue.
Q1: What does the 6106 Mercedes code mean?
A: The 6106 Mercedes code indicates a communication issue between the Engine Control Unit (ECU) and the Transmission Control Unit (TCU) within the Controller Area Network (CAN) bus system. It means that the ECU and TCU are not communicating effectively, which can lead to various drivability problems.
Q2: What are the common symptoms associated with the 6106 code?
A: Common symptoms include limp mode, ESP/ASR warning lights, transmission problems (erratic shifting, delayed engagement), check engine light, starting problems, and loss of communication with certain control units.
Q3: What are the potential causes of the 6106 code?
A: Potential causes include CAN bus wiring issues (short circuits, open circuits, corrosion), faulty control units (ECU, TCU), CAN bus resistor problems, power supply issues, software problems, connector problems, electromagnetic interference, and battery issues.
Q4: How do I diagnose the 6106 code?
A: Diagnosing the 6106 code involves preliminary checks (battery voltage, visual inspection), CAN bus testing (resistance, voltage, oscilloscope), control unit testing (communication, power, ground), wiring harness testing (continuity, short circuit, resistance), and software/programming checks.
Q5: Can I fix the 6106 code myself?
A: Depending on your technical skills and experience, you may be able to fix the 6106 code yourself. However, it often requires specialized tools, knowledge of automotive systems, and access to technical information. If you’re unsure, it’s best to seek assistance from a professional technician.
Q6: What tools are needed to diagnose and repair the 6106 code?
A: Tools needed include an OBD-II scanner, multimeter, oscilloscope, diagnostic scanner, programming tool (if necessary), wiring diagrams, and basic hand tools.
Q7: How can AutoExplain.com help with the 6106 code?
A: AutoExplain.com offers expert technical support via remote diagnostics, access to detailed repair guides and wiring diagrams, software and programming assistance, component identification and sourcing, and training and education resources.
Q8: What are some common mistakes to avoid when diagnosing and repairing the 6106 code?
A: Common mistakes include neglecting basic checks (battery voltage, visual inspection), not performing CAN bus testing, overlooking wiring issues, failing to check for software updates, and replacing components without proper diagnosis.
Q9: How can I prevent the 6106 code from recurring?
A: Preventive measures include regular maintenance (routine inspections, battery maintenance), proper wiring practices, protecting against corrosion, keeping software updated, ensuring professional installations of aftermarket accessories, and addressing issues promptly.
Q10: What is the typical cost to repair the 6106 Mercedes code?
A: The cost to repair the 6106 Mercedes code can vary widely depending on the underlying cause and the extent of the repairs needed. It can range from a few hundred dollars for simple wiring repairs to several thousand dollars for control unit replacements or extensive wiring harness repairs.
Do you need help diagnosing the 6106 Mercedes code on your vehicle? Contact AutoExplain.com today via WhatsApp at +1(936)2896695 or email us at [email protected] for expert technical support and assistance. Our team of experienced technicians is ready to help you resolve this complex communication issue and get your vehicle back on the road.

BMW FSC Codes Explained: Full FSC Code List for F-Series
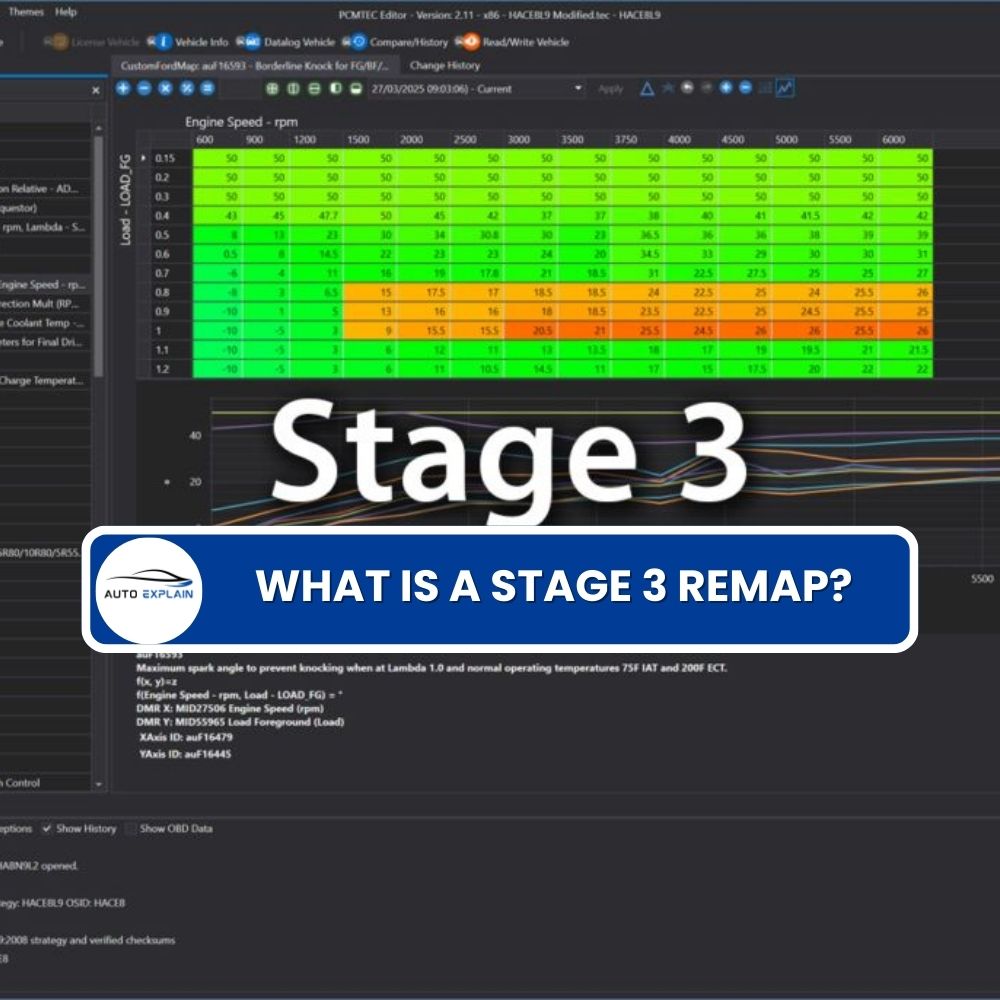
What is a Stage 3 Remap?

The Best Car Tuning Software in 2026: A Comprehensive Guide for Professionals


